A well-organized garage workshop can transform your DIY projects from stressful endeavours to enjoyable and efficient tasks. Whether you’re a weekend warrior or a professional craftsman, the right layout is crucial for maximizing your space, enhancing safety, and boosting productivity. In this comprehensive guide, we’ll explore 15 garage workshop layout ideas that will help you create the ultimate workspace. From modular storage solutions to dedicated workstations, each idea is designed to meet the unique needs of your projects and tools.
In designing your ideal garage workshop, it’s crucial to ensure that all elements are functioning smoothly, including the garage door. A malfunctioning door can disrupt your workflow and compromise safety. If you’re experiencing issues, it’s essential to address them promptly. For those in the area, you can easily fix garage door problems in Winter Park to maintain a seamless and efficient workspace. By ensuring that your garage door operates correctly, you can focus on creating a productive environment that supports all your projects and hobbies.
1. Zoning Your Workshop for Efficiency
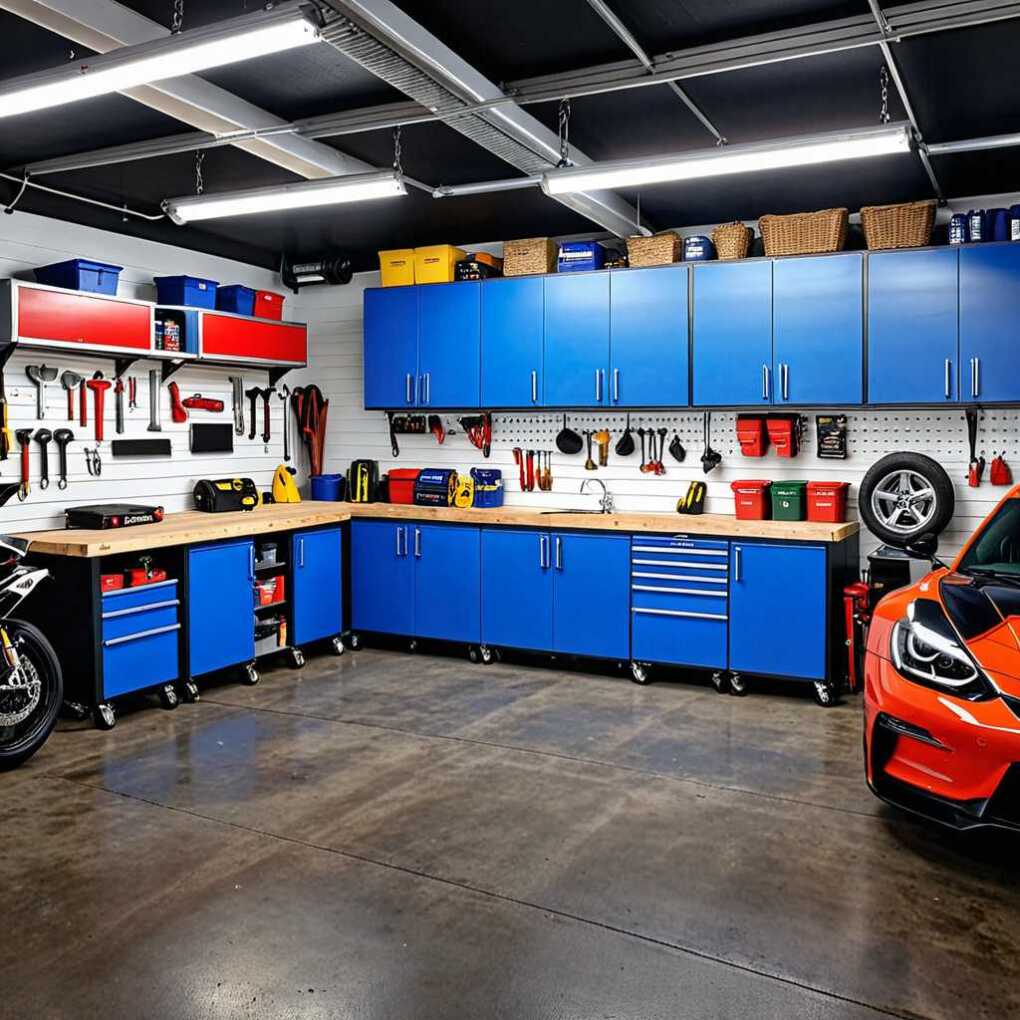
The Power of Zoning
Zoning your garage workshop involves dividing the space into specific areas based on their functions. This approach helps streamline your workflow and keeps everything in its place. For example, you might have a tool storage area, a workbench, a finishing area, and a clean-up station.
Practical Implementation
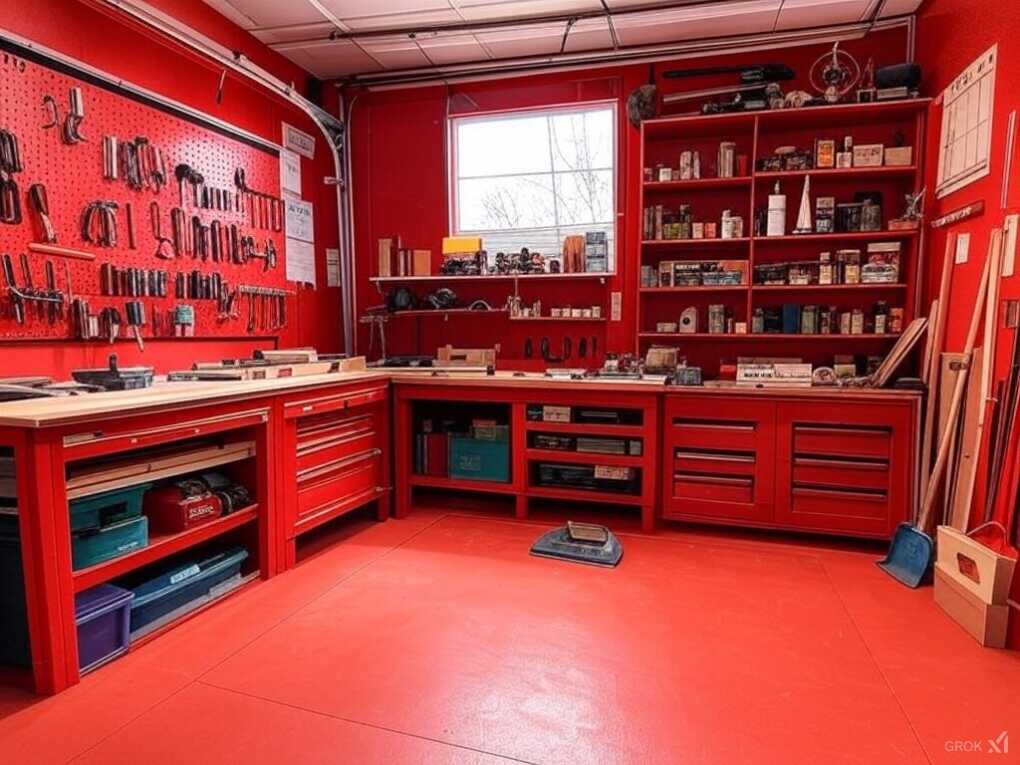
Start by assessing the dimensions of your garage and the types of projects you typically undertake. Use tape or chalk to mark out the zones on the floor. Consider using color-coded labels to further differentiate each area. This not only makes it easier to find what you need but also helps maintain a tidy workspace.
Pro Tip: Invest in durable, labelled bins and shelves to keep your tools and materials organized within each zone.
2. Maximize Vertical Space with Wall-Mounted Storage
Utilize Every Inch
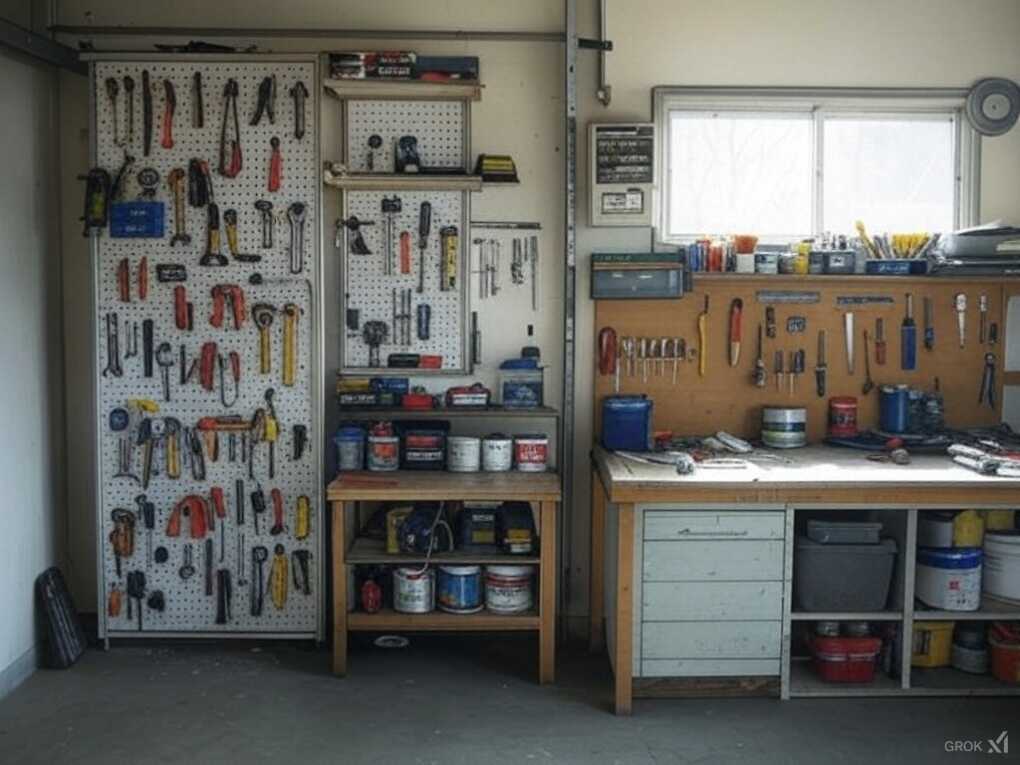
Vertical storage is a game-changer in small or cluttered workshops. By mounting shelves, pegboards, and magnetic strips on the walls, you can free up valuable floor space and keep your tools within easy reach.
To maximize the efficiency of your garage workshop, consider integrating smart storage solutions that cater to your specific needs. One innovative option is GarageSmart storage, which offers customizable systems designed to optimize space and keep your tools and materials organized. By utilizing wall-mounted racks, overhead storage, and modular shelving, you can create a streamlined environment that enhances productivity and reduces clutter. This approach not only improves the functionality of your workshop but also ensures that every item has its designated place, making it easier to maintain order and focus on your projects.
What to Store Vertically
Use pegboards to hang hand tools, paintbrushes, and measuring tools. Magnetic strips are perfect for securing metal tools like chisels and screwdrivers. Wall-mounted cabinets can house larger items like power tools and safety equipment.
Pro Tip: Install adjustable shelving to accommodate items of different sizes and reconfigure the layout as needed.
3. Create a Central Workbench
The Heart of Your Workshop
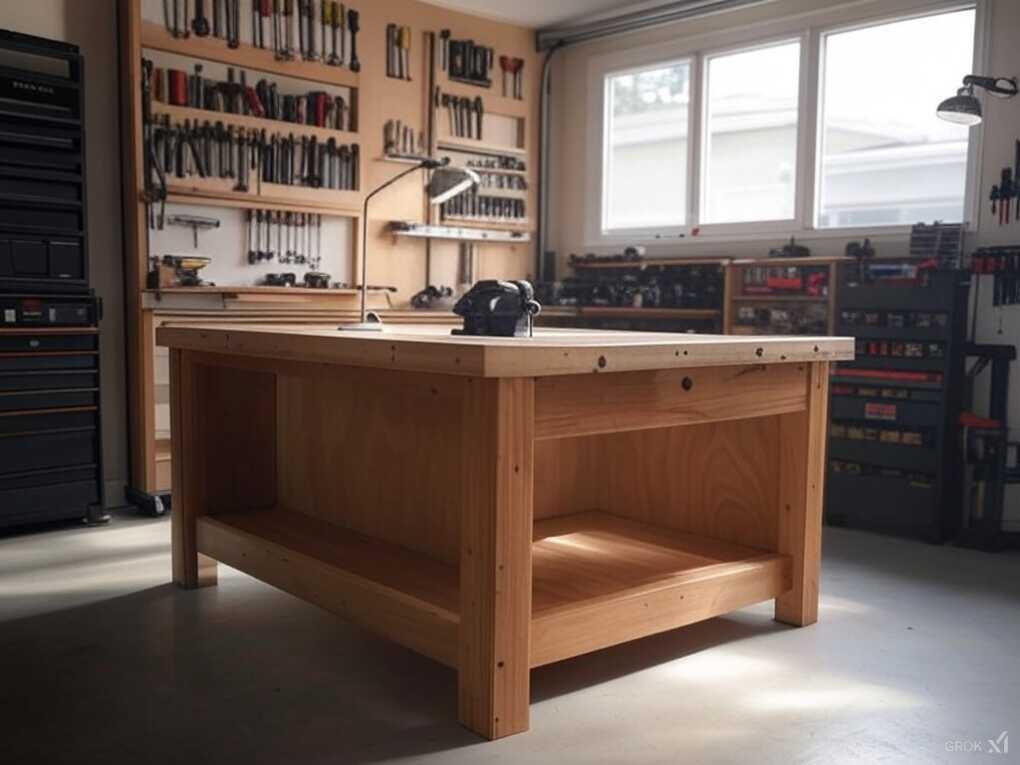
A central workbench serves as the focal point of your garage workshop. It should be sturdy, spacious, and located in a well-lit area. Consider a bench with a built-in storage compartment to keep frequently used tools within arm’s reach.
Customization Options
You can build a custom workbench or purchase a pre-made one. If you opt for a DIY approach, use high-quality materials like hardwood or metal for durability. Add a vise, clamps, and a task light to enhance functionality.
Pro Tip: Install casters on your workbench to make it mobile, allowing you to move it to different areas as needed.
4. Designate a Tool Charging Station
Keep Your Tools Ready to Go
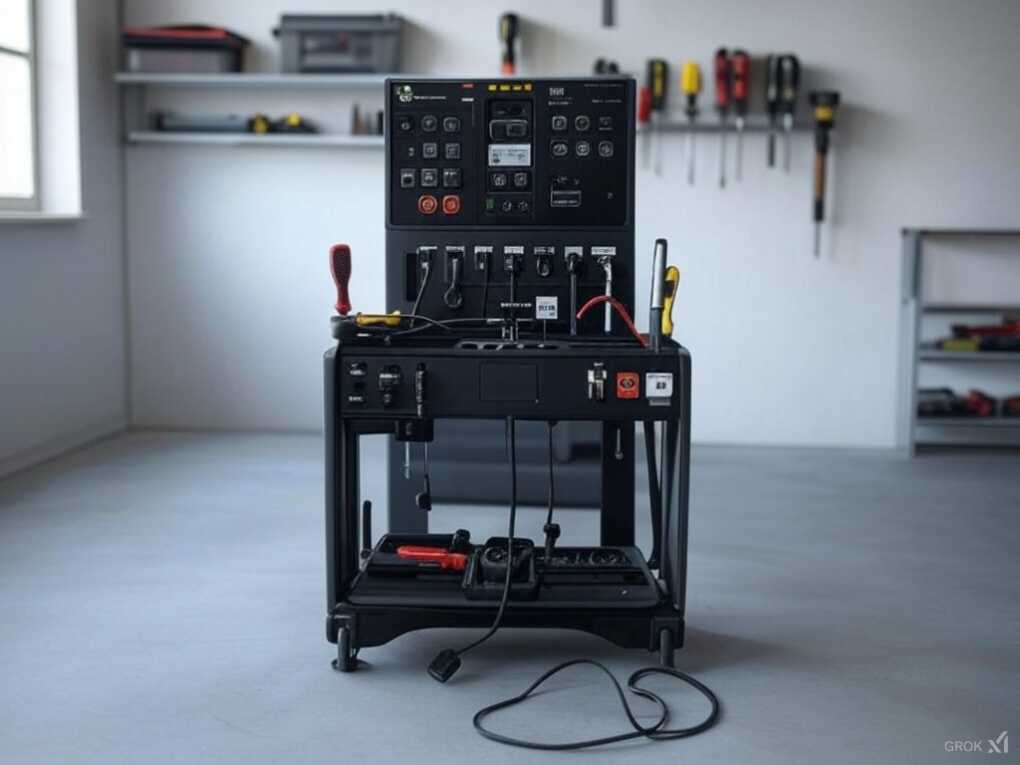
A tool charging station ensures that your power tools are always charged and ready for use. This can be a simple setup, such as a designated area with multiple outlets and a power strip, or a more elaborate solution with built-in charging docks.
Why It Matters
Having a centralized charging station prevents cords from becoming tangled and reduces the risk of tripping hazards. It also helps you keep track of which tools need charging.
Pro Tip: Label each outlet or charger to avoid confusion and ensure that your tools are always ready for your next project.
5. Incorporate Overhead Storage
The Sky’s the Limit
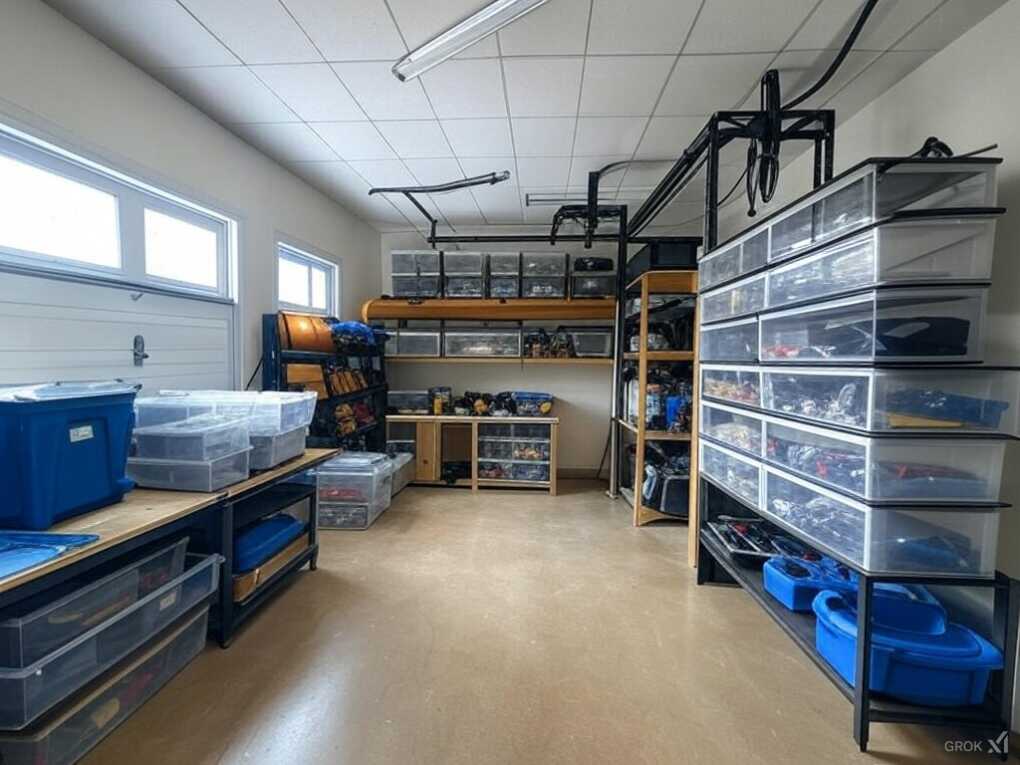
Overhead storage can be a lifesaver in a small garage workshop. Use this space to store rarely used tools, supplies, and seasonal equipment. Options include overhead racks, ceiling-mounted hoists, and pull-down shelves.
What to Store Up High
Items that are heavy or bulky, such as ladders, boards, and canoes, can be stored overhead. Just make sure to secure them properly to prevent accidents.
Pro Tip: Consider using clear bins for overhead storage to easily identify the contents without having to take everything down.
6. Install a Pegboard Tool Organizer
A Visual Solution
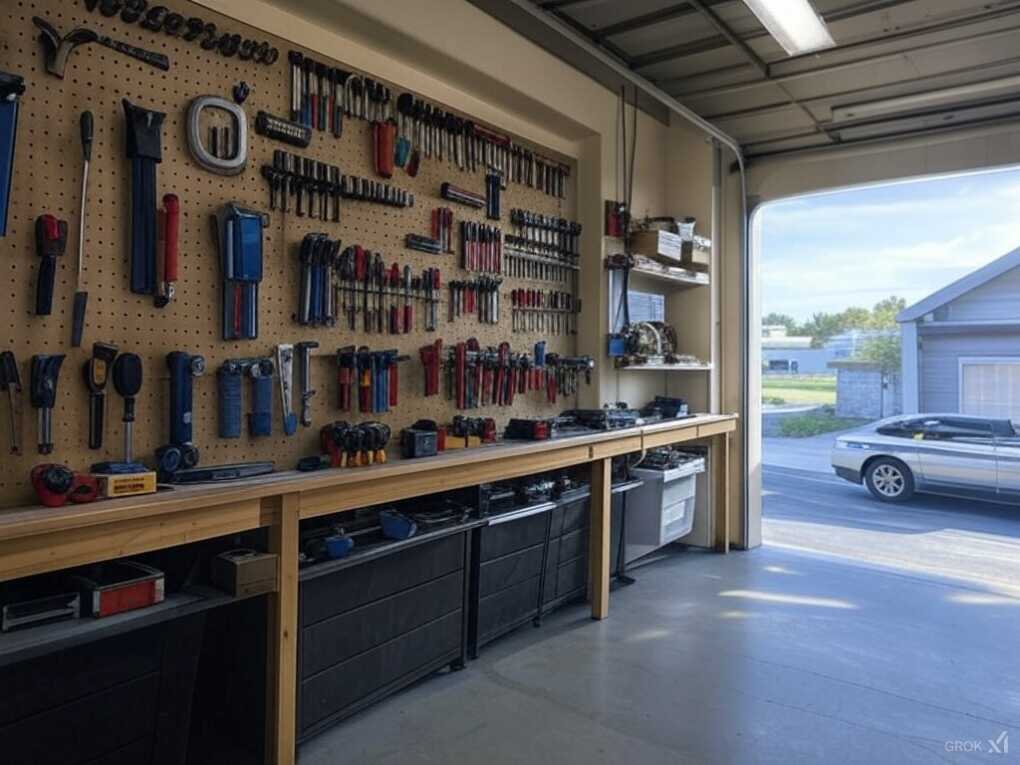
Pegboards are a classic tool organization solution for good reason. They are versatile, and affordable, and allow you to see exactly what tools you have at a glance. Mounting a pegboard on the wall can transform a cluttered space into a well-organized one.
Customization and Maintenance
Use a variety of hooks and pegs to organize different types of tools. You can also create custom labels or silhouettes of the tools to make it easy to return them to their designated spots.
Pro Tip: Use a clear backing, such as plexiglass, behind the pegboard to catch small parts that might fall off the hooks.
7. Build a Rolling Tool Cart
Mobility and Flexibility
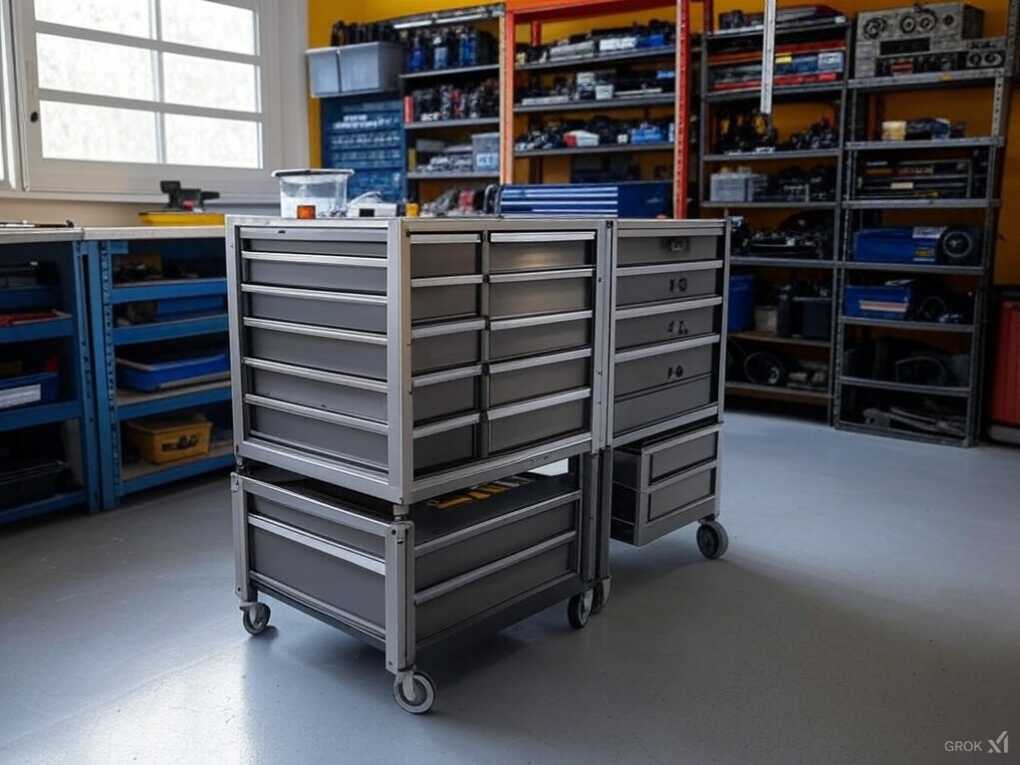
A rolling tool cart is a must-have for any garage workshop. It allows you to move your tools from one area to another, making it easy to set up a temporary workstation wherever you need it.
What to Include
Design your cart with multiple drawers and shelves to accommodate a variety of tools and supplies. Consider adding a top work surface and a drawer for small parts. Casters with locks ensure stability when you’re working.
Pro Tip: Use a multi-tiered cart to maximize vertical space and keep everything organized.
8. Utilize Under-Bench Storage
Hidden Gems
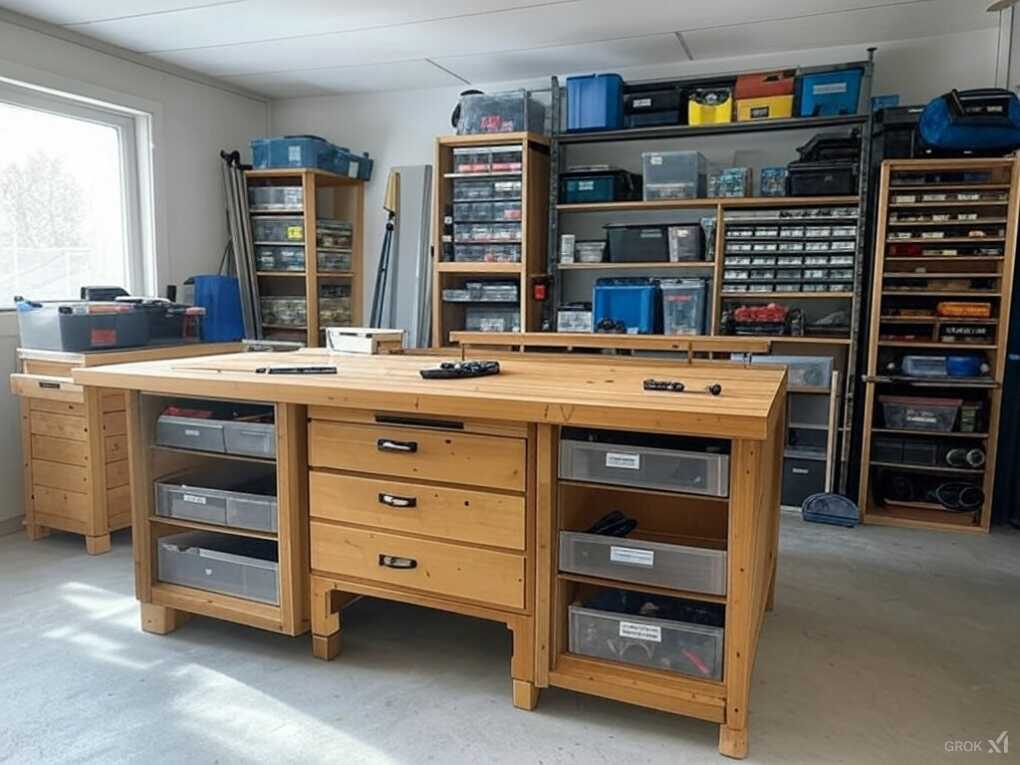
Under-bench storage is a clever way to utilize often-overlooked spaces. You can install drawers, bins, or even a pull-out shelf to store items that you need to access frequently but don’t want to clutter your work surface.
What to Store Under the Bench
Keep frequently used tools, small parts, and cleaning supplies under your workbench. This makes them easily accessible without taking up valuable workspace.
Pro Tip: Use clear bins or labelled containers to keep everything organized and easy to find.
9. Create a Dedicated Finishing Area
The Final Touch
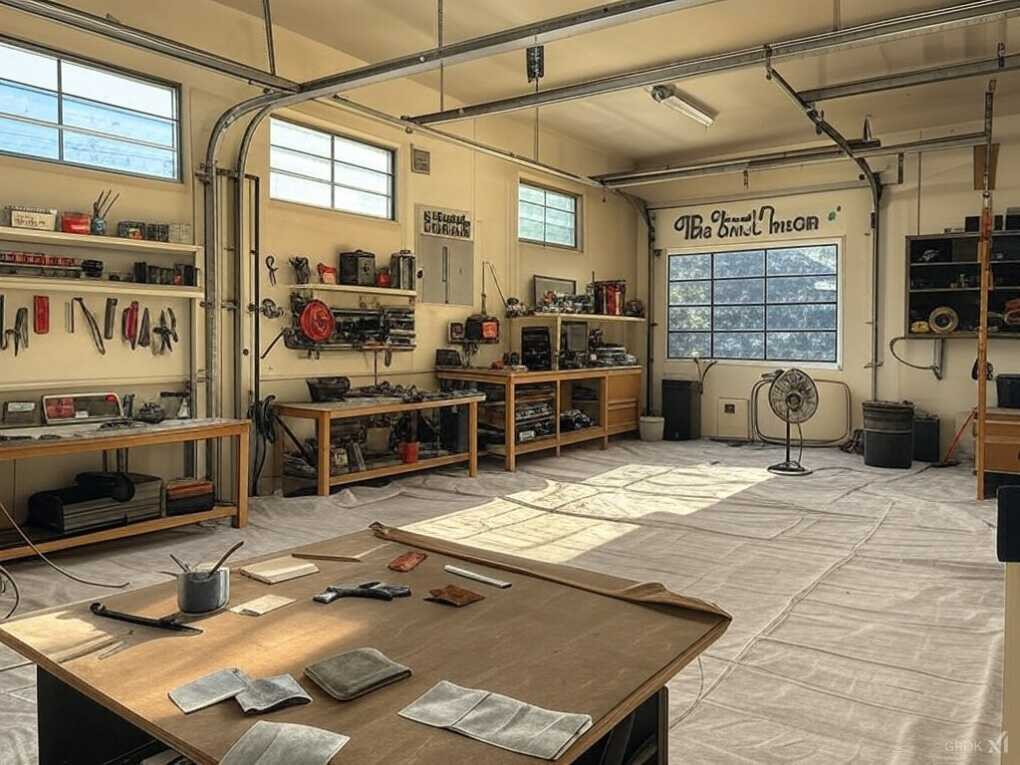
A dedicated finishing area is essential for tasks like painting, staining, and sanding. This area should be well-ventilated and equipped with proper lighting to ensure the best results.
What to Include
Install a fan or exhaust system to remove fumes and dust. Use a work surface that is easy to clean, such as a drop cloth or a large piece of cardboard. Keep paintbrushes, sandpaper, and other finishing tools nearby.
Pro Tip: Use a roll of paper or a drop cloth to protect the floor and make clean-up easier.
10. Set Up a Wall-Mounted Tool Station
The Ultimate Convenience
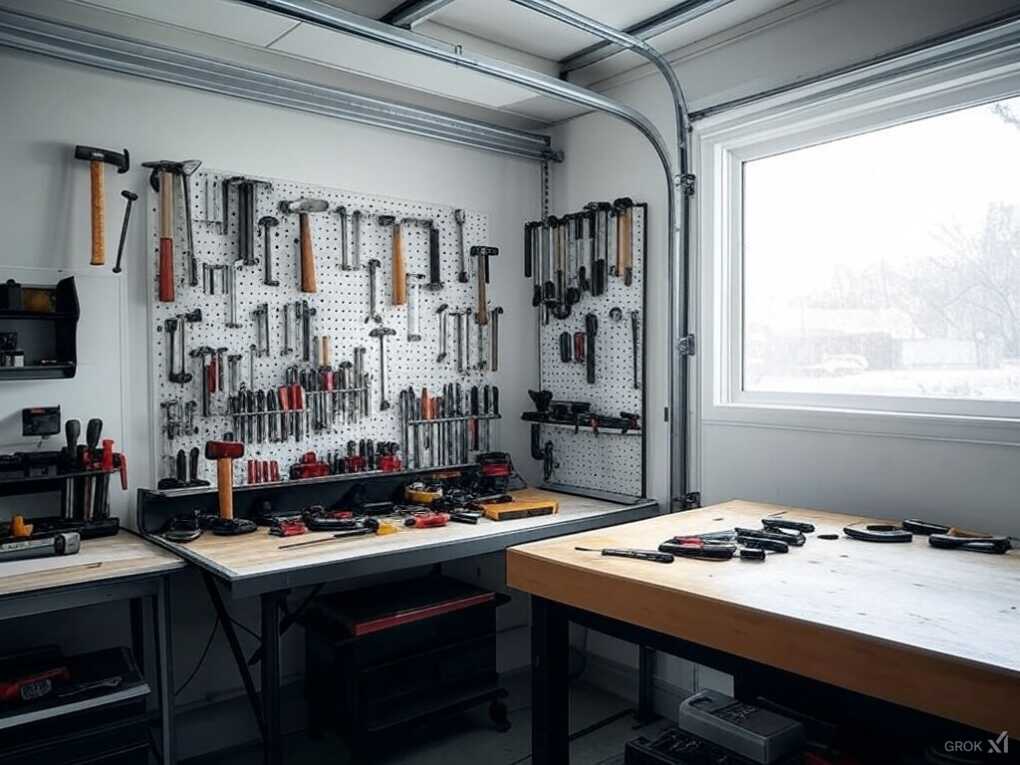
A wall-mounted tool station is a space-saving solution that keeps your tools within easy reach. This can be a combination of pegboards, shelves, and hooks, all mounted on the wall.
Customization and Flexibility
Design your tool station based on the tools you use most often. Use a variety of mounting options to accommodate different tool sizes and types. Consider adding a magnetic strip for metal tools and a drawer for small parts.
Pro Tip: Use a combination of horizontal and vertical storage to maximize your wall space.
11. Install a Sliding Door Cabinet
Conceal and Reveal
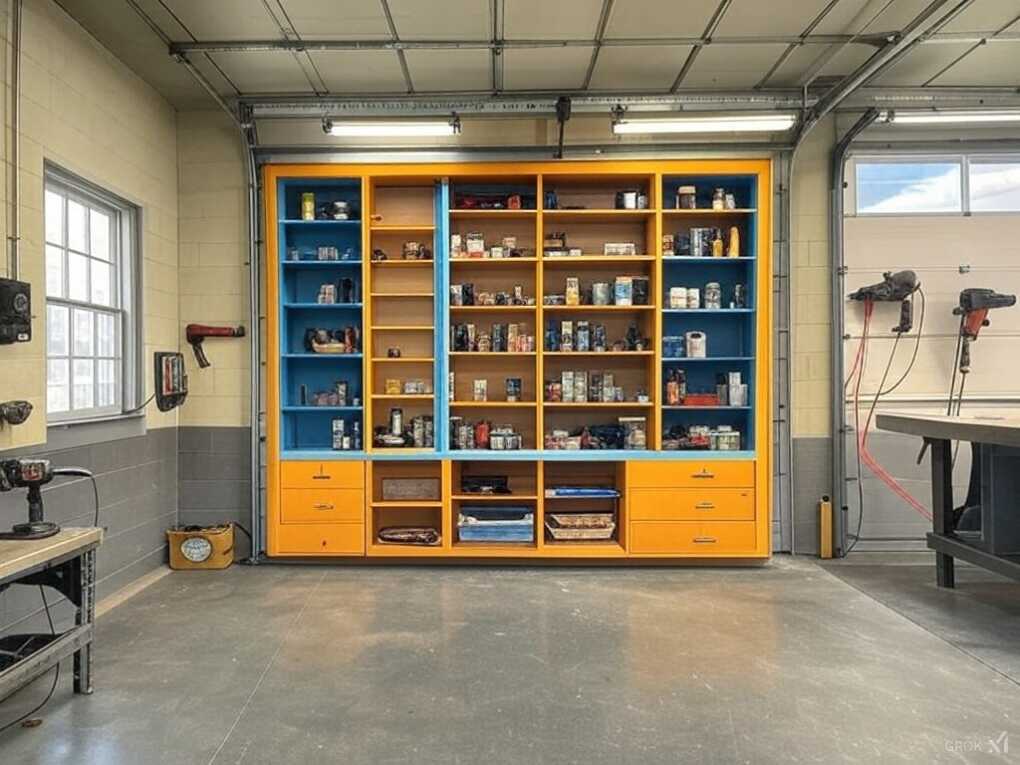
A sliding door cabinet is a great way to keep your tools and supplies organized and out of sight when not in use. This type of cabinet can be mounted on the wall or built into a custom workshop design.
What to Store
Use the cabinet to store rarely used tools, small parts, and supplies. The sliding doors make it easy to access what you need without taking up valuable floor space.
Pro Tip: Install self-closing hinges on the doors to prevent them from swinging open accidentally.
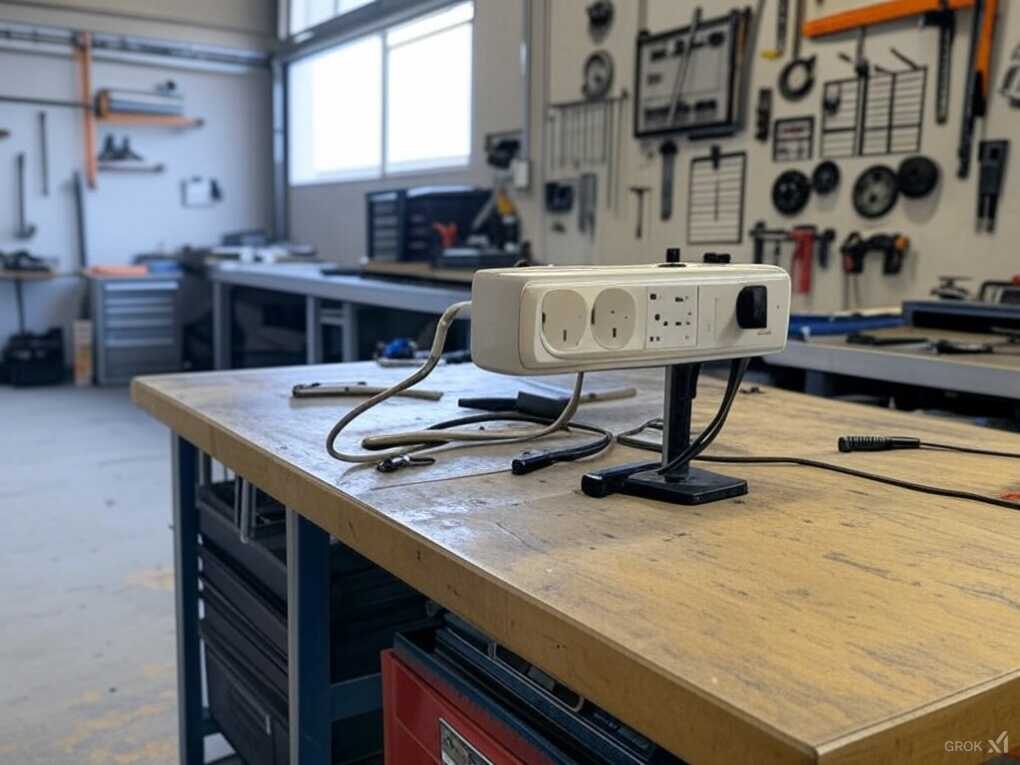
12. Create a Wall-Mounted Power Strip
Power at Your Fingertips
A wall-mounted power strip ensures that you always have access to power, no matter where you are in your workshop. This is especially useful if you have multiple power tools or stations.
Installation and Safety
Mount the power strip at a convenient height and within reach of your work area. Use a surge protector to protect your tools from power surges and fluctuations.
Pro Tip: Label each outlet to indicate which tool or device it powers, making it easy to manage your setup.
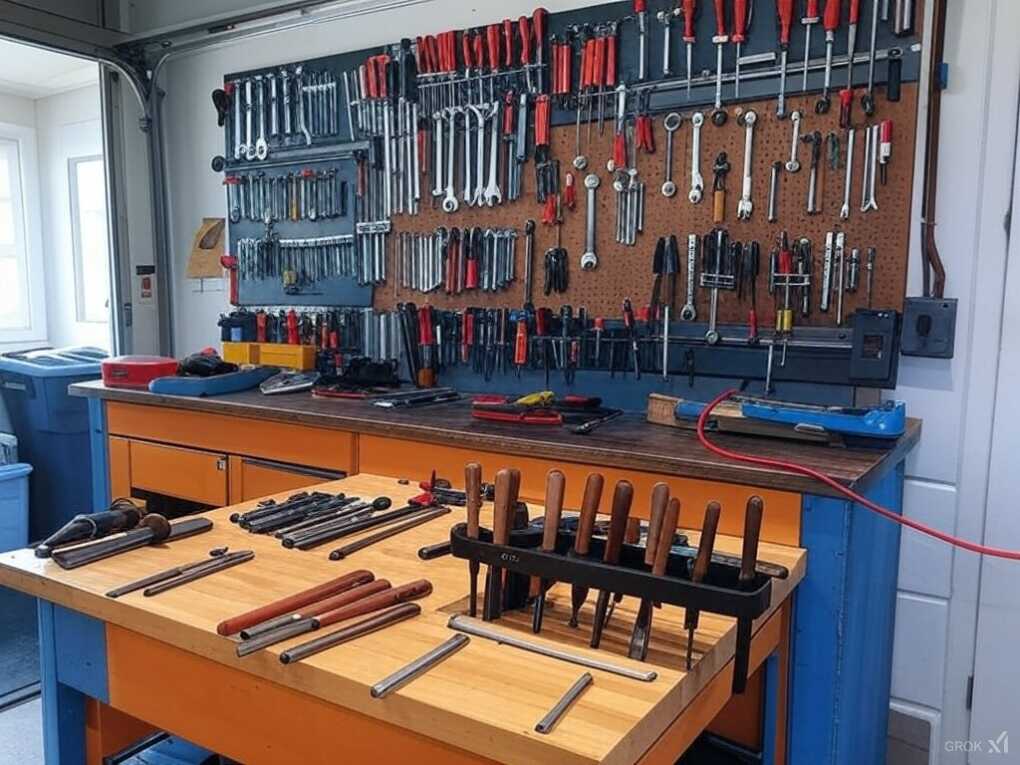
13. Use Magnetic Tool Holders
Magnetic Magic
Magnetic tool holders are a great way to keep metal tools organized and within reach. These can be mounted on walls, workbenches, or even the underside of shelves.
What to Store
Use magnetic tool holders for chisels, screwdrivers, wrenches, and other metal tools. They are particularly useful for keeping small tools from getting lost.
Pro Tip: Use a combination of magnetic strips and hooks for a versatile storage solution.
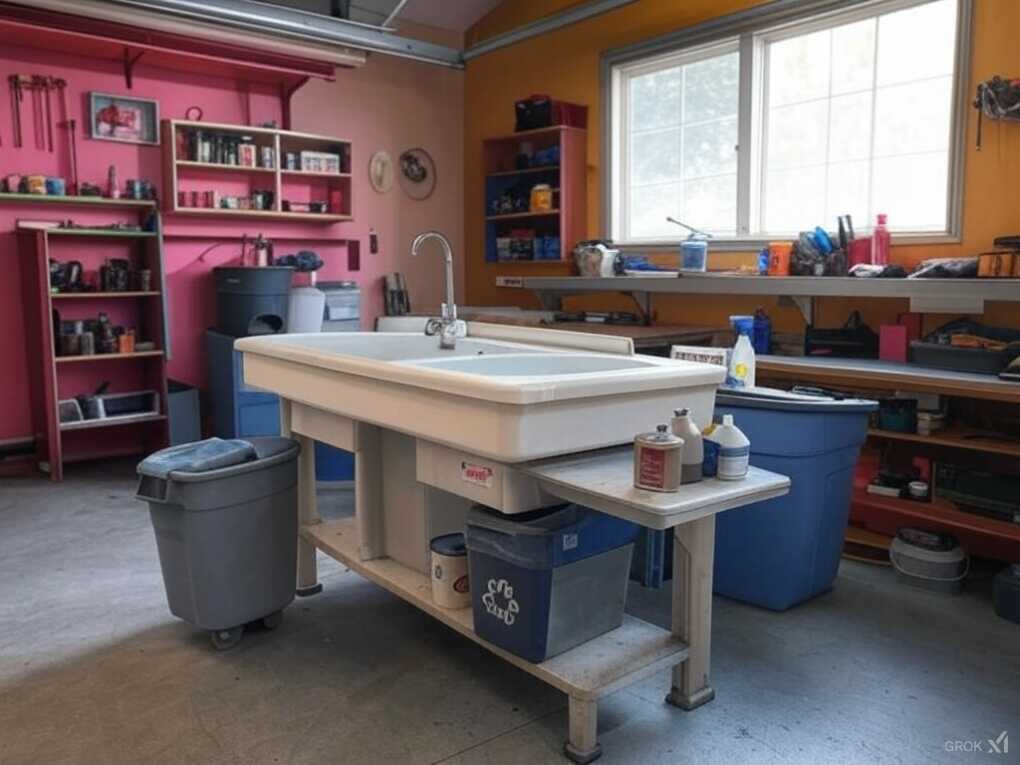
14. Designate a Cleanup Station
Keep It Clean
A dedicated cleanup station is essential for maintaining a clean and organized workshop. This area should have a sink, a trash can, and a recycling bin.
What to Include
Install a utility sink for washing hands and tools. Use a pull-down faucet to reach different areas of the sink. Keep a microfiber cloth and cleaning supplies nearby.
Pro Tip: Use a separate bin for recyclable materials to reduce waste and promote sustainability.
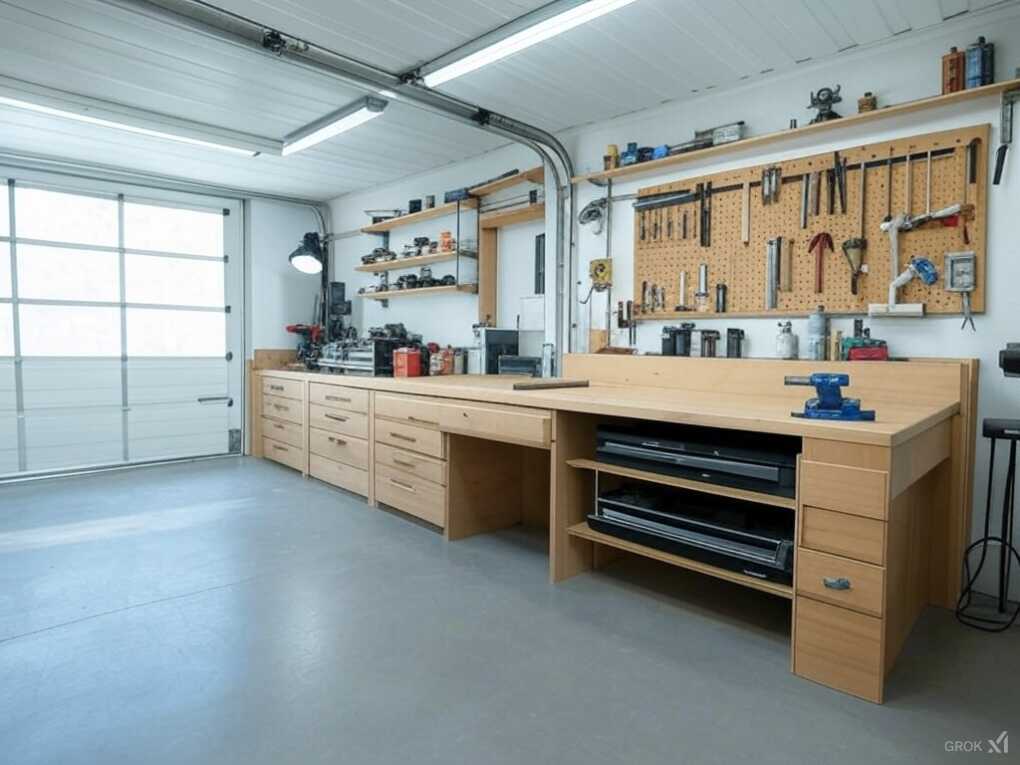
15. Install a Custom Sliding Workbench
The Ultimate Flexibility
A custom sliding workbench is a high-end solution that offers maximum flexibility and functionality. This type of workbench can be designed to fit your specific needs and can be reconfigured as your projects evolve.
Customization and Durability
Work with a professional to design a sliding workbench that incorporates features like built-in drawers, tool storage, and a vise. Use high-quality materials to ensure longevity and stability.
Pro Tip: Consider adding a pegboard or magnetic strip above the workbench for additional tool storage.
Conclusion
Creating an efficient and organized garage workshop is all about maximizing your space, enhancing safety, and boosting productivity. By implementing these 15 garage workshop layout ideas, you can transform your workspace into a functional and enjoyable environment. Remember, the key is to customize your setup to meet your specific needs and preferences. Happy crafting!
By following these garage workshop layout ideas, you’ll be well on your way to creating a space that is both functional and inspiring. Happy building!
