Are you tired of tripping over shoes in your entryway? IKEA’s shoe cabinets are already fantastic space-savers, but with a few creative hacks, you can transform them into stunning custom pieces that look like high-end furniture. In this guide, we’ll explore 13 innovative ways to hack IKEA shoe cabinets, particularly the popular HEMNES and TRONES models.
Transform your entryway from cluttered to curated with these ingenious IKEA shoe cabinet hacks that combine style and functionality. These modifications not only maximize storage but also create a designer look without breaking the bank.
1. Modern Fluted Console Makeover
The classic HEMNES shoe cabinet takes on a whole new personality with this sophisticated fluted design transformation. By adding vertical wooden dowels to the cabinet fronts and painting everything in a rich, matte colour, you create a piece that looks straight out of a high-end furniture showroom.
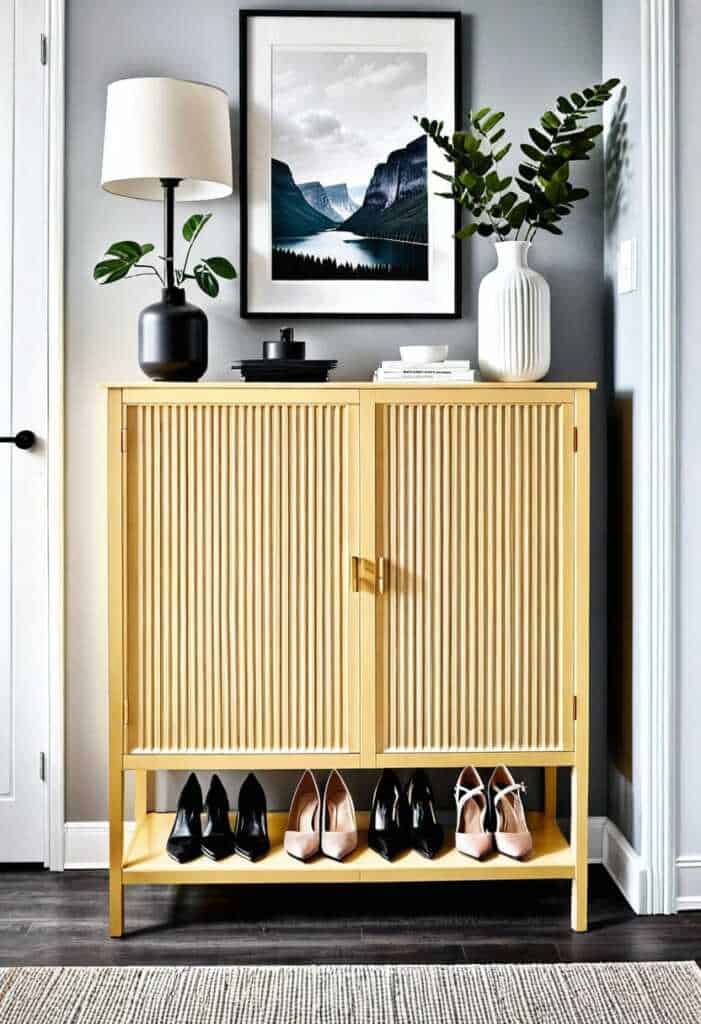
Pro Tip: Use 1/4-inch wooden dowels spaced 1 inch apart for the perfect fluted effect. Apply wood glue in a straight line using a level as your guide for professional results.
| Materials Needed | Estimated Cost | Difficulty Level | Time Required |
|---|---|---|---|
| Wooden dowels | $15-20 | Moderate | 4-6 hours |
| Wood glue | $8 | ||
| Paint | $25-30 | ||
| Level | $10 |
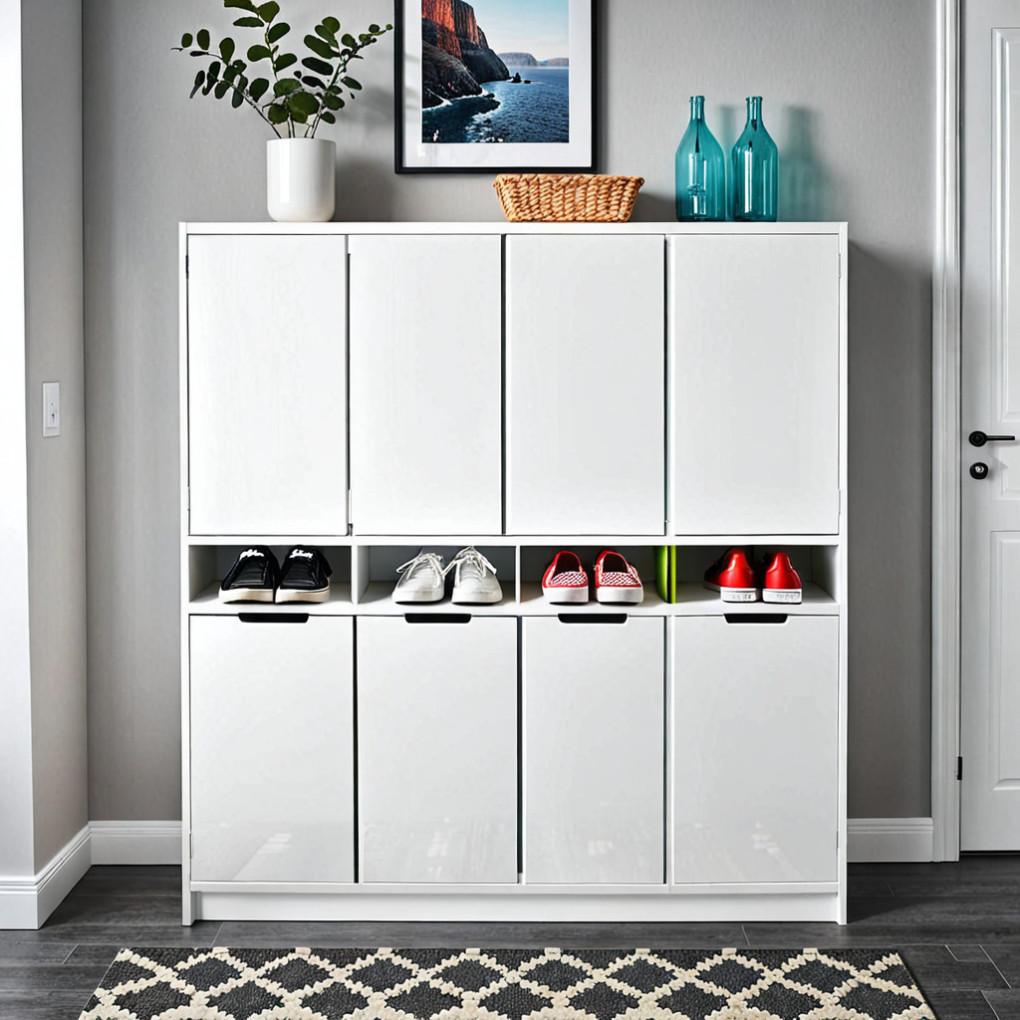
2. Extended Entryway Bench Combo
Transform your shoe storage into a practical seating area by combining the TRONES cabinet with a custom-built bench top. This hack creates a multifunctional piece perfect for putting on shoes while maximizing vertical storage space.
The key to this transformation lies in proper mounting and support. Ensure your bench top extends slightly beyond the cabinets for a built-in look that appears intentional and designer-inspired.
“The best DIY projects are those that solve multiple problems at once. This hack not only stores shoes but also provides valuable seating in tight spaces.” – Sarah Johnson, Interior Designer
3. Luxurious Leather Pull Upgrade
Replace the standard plastic pulls with handcrafted leather straps for an instant upgrade that adds warmth and sophistication to your shoe cabinet. This simple modification takes mere minutes but dramatically changes the overall appearance.
Pro Tip: Use vegetable-tanned leather for pulls as it develops a beautiful patina over time. Pre-punch holes to prevent leather tearing.
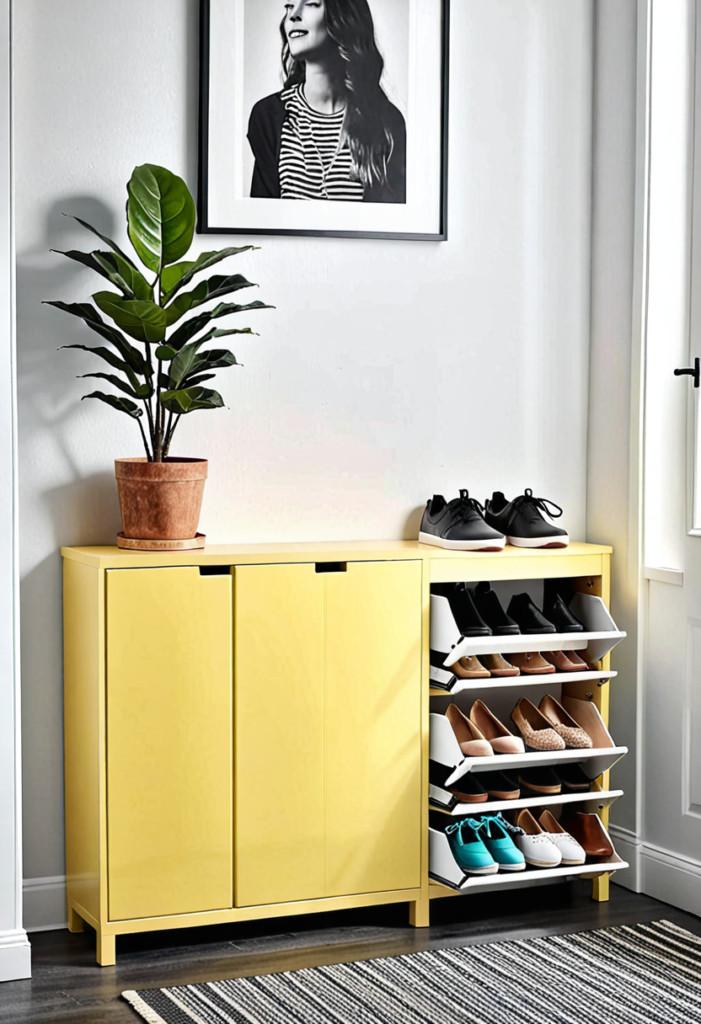
4. Custom Color Block Design
Give your HEMNES cabinet a contemporary twist with a colour-blocking technique that turns it into a modern art piece. This hack involves carefully taping off sections and applying different paint colours to create geometric patterns.
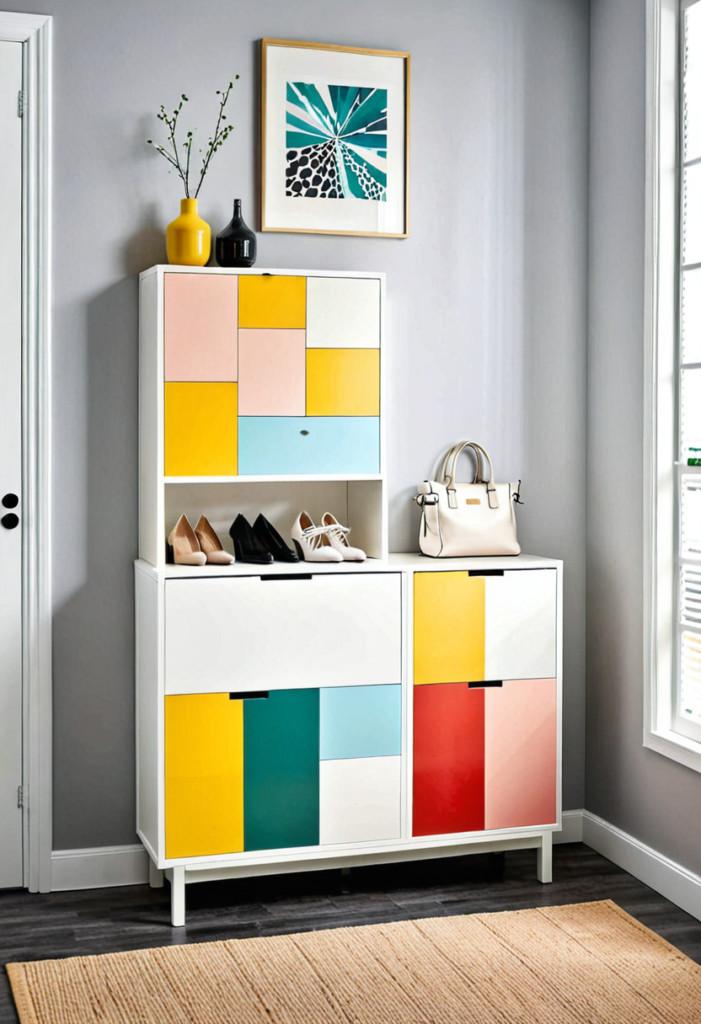
The secret to achieving crisp lines lies in proper preparation. Sand the surface lightly, use high-quality painter’s tape, and apply thin coats of paint for the best results.
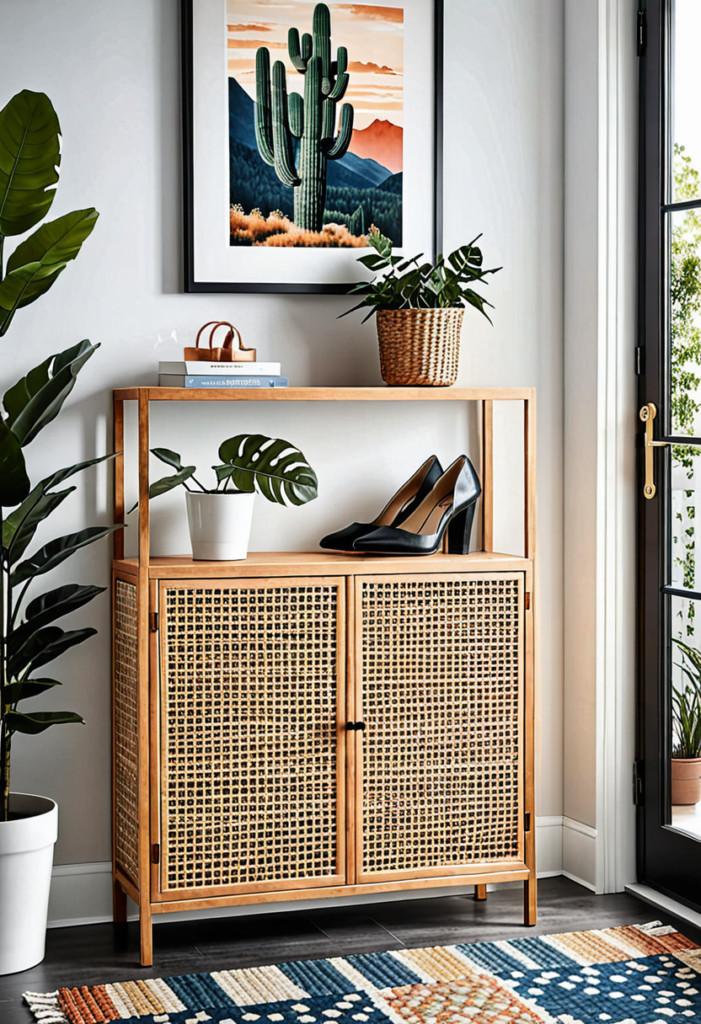
5. Rattan-Fronted Statement Piece
Transform your basic shoe cabinet into a bohemian masterpiece by replacing the solid fronts with rattan webbing. This modification allows for subtle ventilation while adding organic texture to your space.
| Rattan Installation Steps | Tools Required | Time |
|---|---|---|
| Remove cabinet fronts | Screwdriver | 15m |
| Cut rattan to size | Sharp scissors | 30m |
| Secure with frame | Wood glue | 1h |
| Reinstall doors | Drill | 15m |
6. Minimalist Floating Design
Create the illusion of floating storage by mounting TRONES cabinets in a staggered pattern and hiding the mounting brackets. This contemporary approach maximizes floor space while creating visual interest.
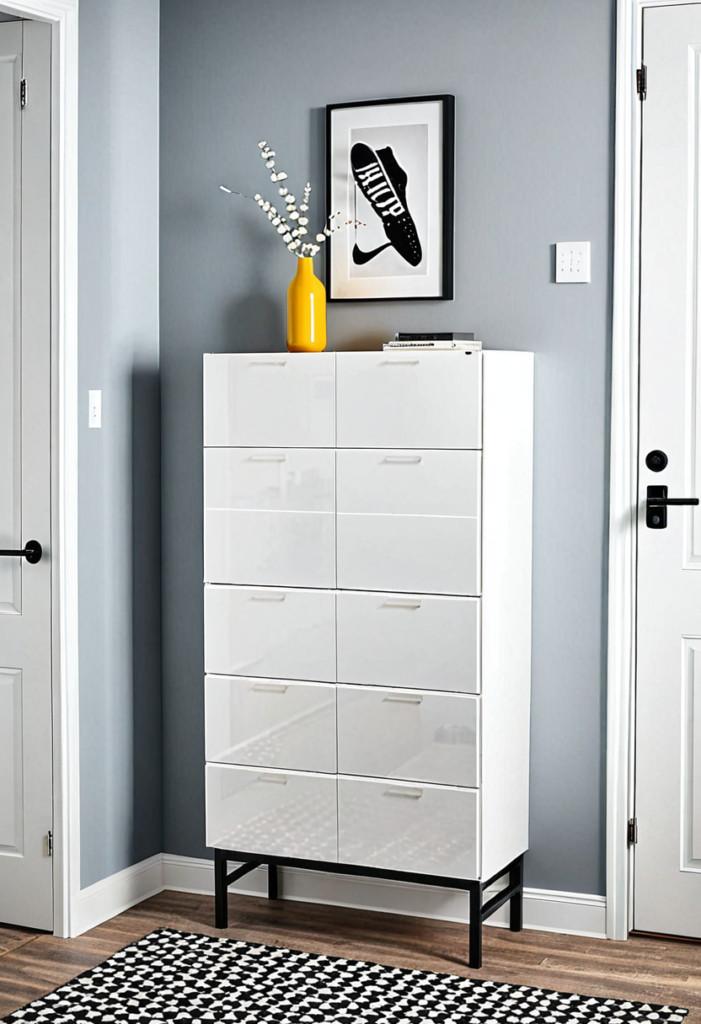
Pro Tip: Use a cardboard template to mark your wall holes perfectly the first time. Consider the weight capacity of your wall type and use appropriate anchors.
7. Wallpapered Wonder
Give your shoe cabinet an instant facelift by applying peel-and-stick wallpaper to the front panels. This reversible hack allows you to update your cabinet’s look seasonally or whenever you want a change.
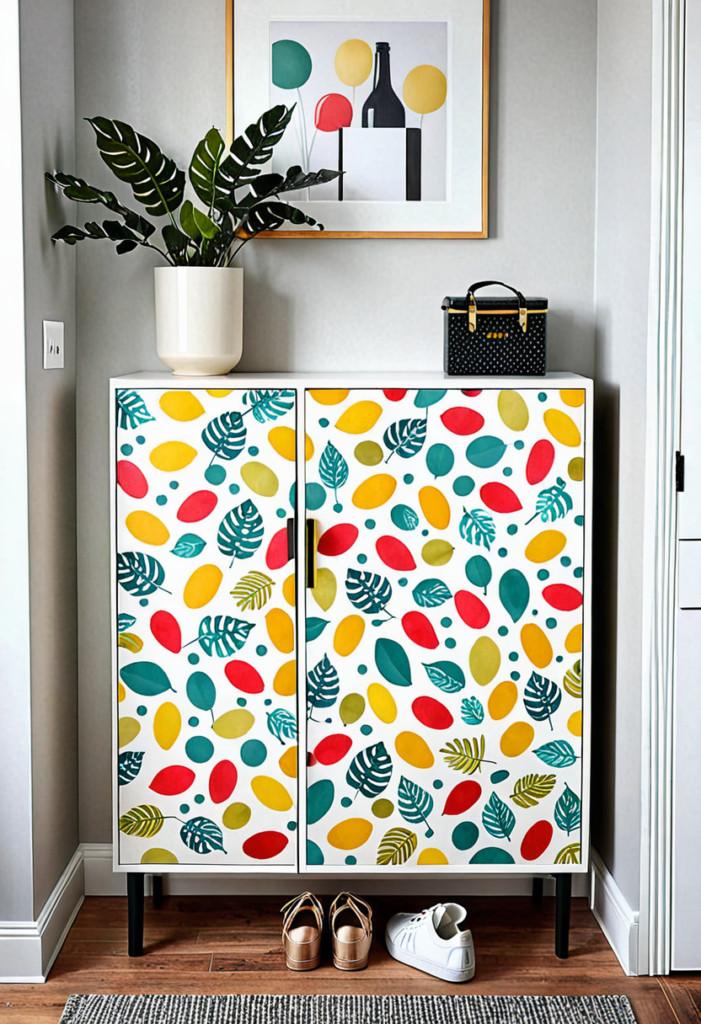
Essential steps for perfect wallpaper application:
- Clean surfaces thoroughly
- Measure and cut precisely
- Use a credit card to smooth bubbles
- Trim edges with a sharp utility knife
8. Built-in Look with Crown Molding
Transform a basic HEMNES cabinet into a custom built-in by adding crown moulding and baseboards. This hack creates the appearance of expensive millwork at a fraction of the cost.

“Adding architectural details like crown molding can elevate IKEA pieces from basic to bespoke. It’s all about the finishing touches.” – Mark Stevens, Custom Carpenter
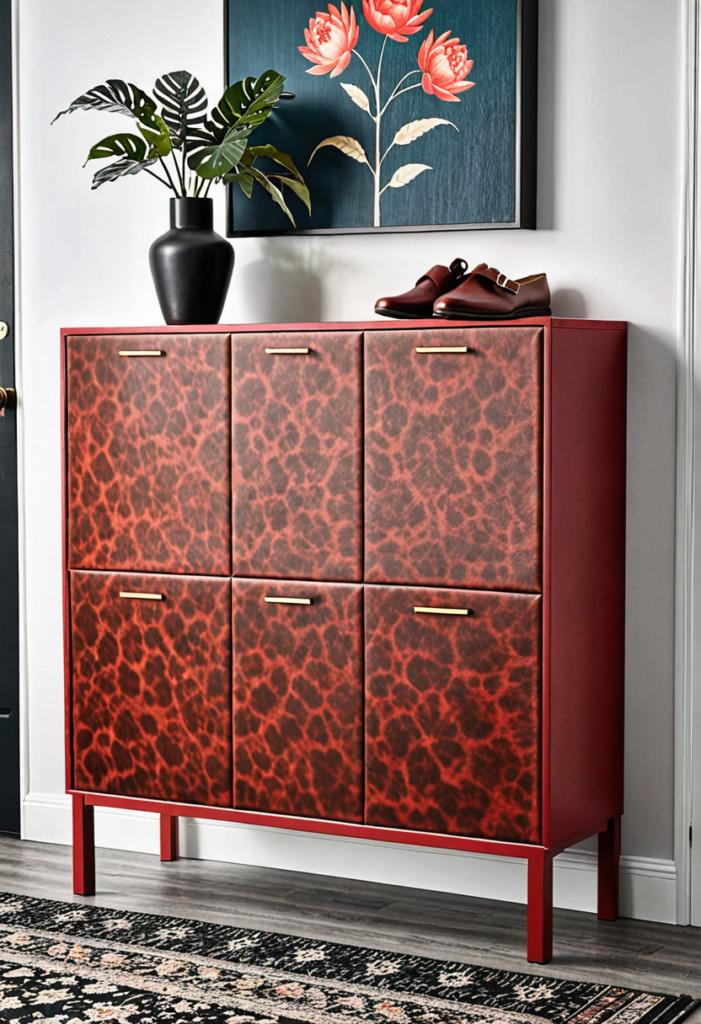
9. Mixed Material Magic
Combine different materials like wood, metal, and marble contact paper to create a high-end look. This hack involves adding a faux marble top and metal accents to the standard cabinet.
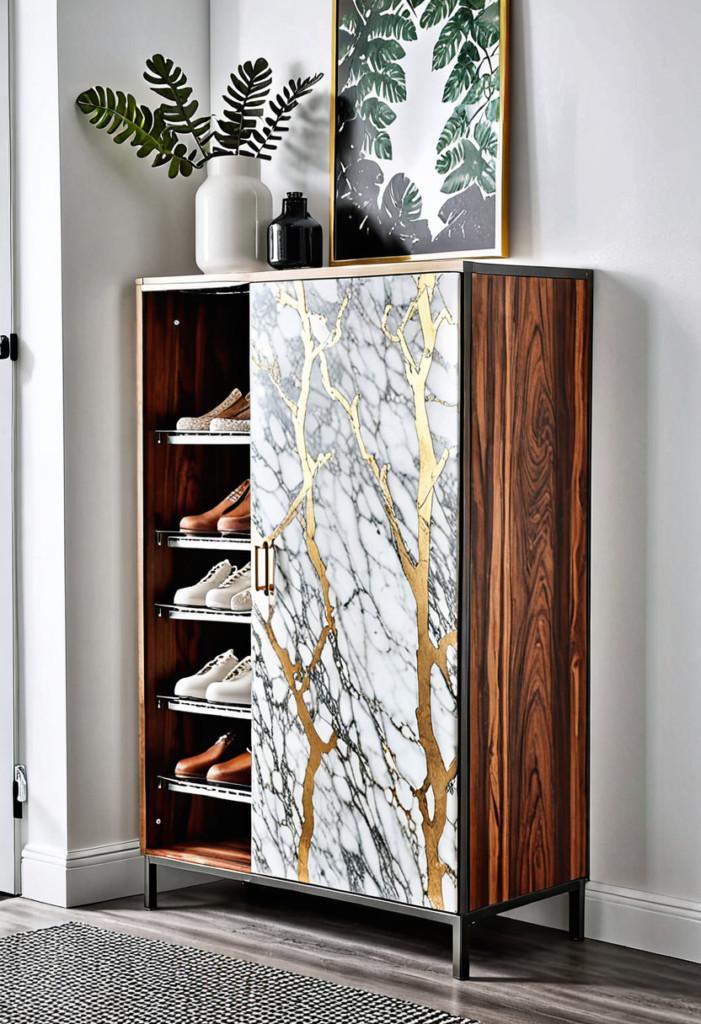
Pro Tip: When applying contact paper, use a heat gun on a low setting to help eliminate bubbles and achieve a more realistic look.
10. Vertical Garden Integration
Transform your shoe storage into a living wall by incorporating planters on top of TRONES cabinets. This unique hack adds natural elements to your entryway while maintaining functionality.
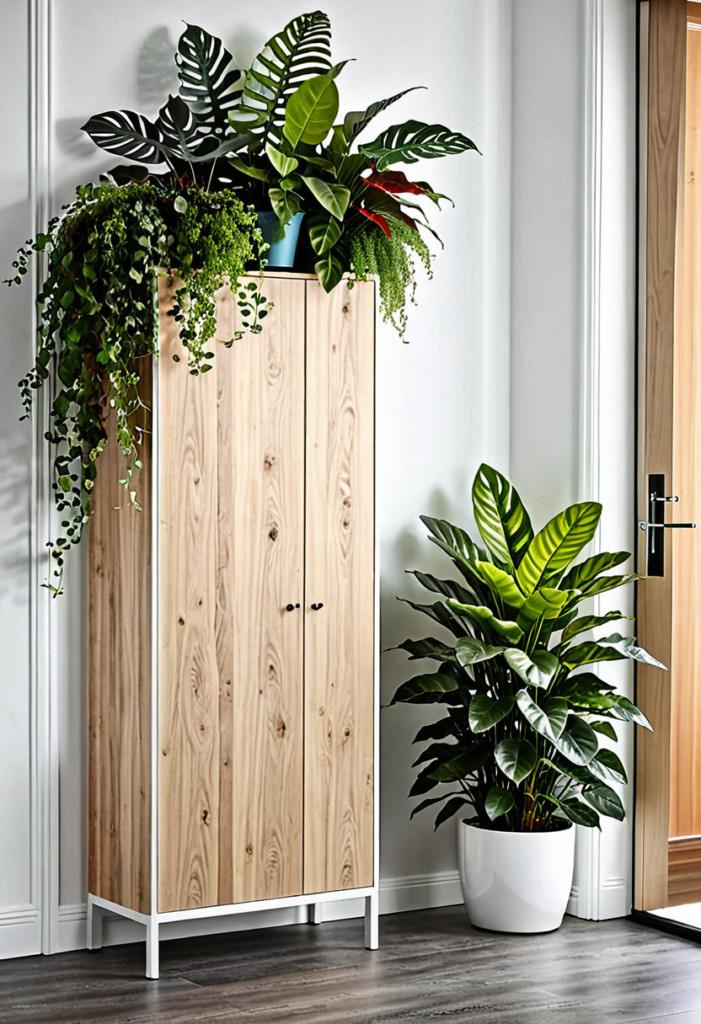
Recommended plants for this setup:
- Pothos
- Snake Plant
- ZZ Plant
- Spider Plant
11. Custom Hardware Upgrade
Replace standard pulls with vintage or designer hardware to give your cabinet instant character. This simple change can dramatically alter the piece’s overall style.
| Hardware Style | Estimated Cost | Visual Impact | Installation Time |
|---|---|---|---|
| Brass Pulls | $8-15 each | High | 10 minutes |
| Leather Loops | $12-20 each | High | 15 minutes |
| Crystal Knobs | $15-25 each | Very High | 5 minutes |
| Metal Handles | $10-18 each | Moderate | 10 minutes |
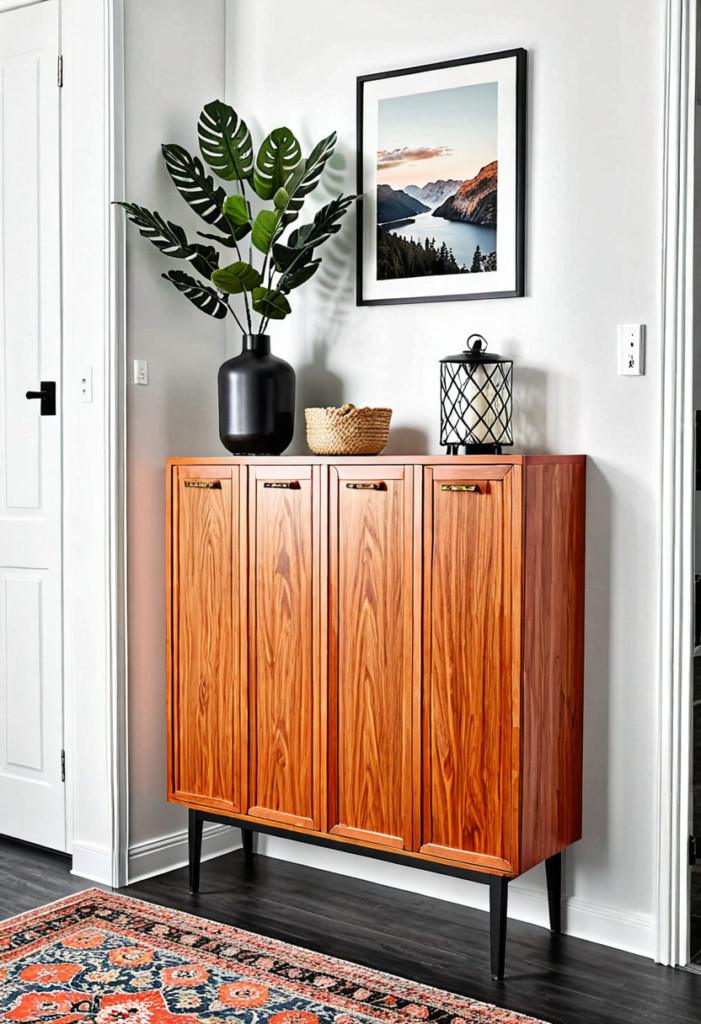
12. Double-Duty Display Shelf
Add a floating shelf above your shoe cabinet to create a curated display space. This hack maximizes vertical storage while providing a spot for decorative items or everyday essentials.

For best results, ensure your display shelf:
- Matches or complements cabinet finish
- Is properly anchored to wall studs
- Maintains proportional depth
- Includes proper lighting if desired
13. Hidden Charging Station
Incorporate a charging station into your shoe cabinet by drilling small holes for cables and adding a power strip inside. This clever hack keeps devices charged while hiding unsightly cords.
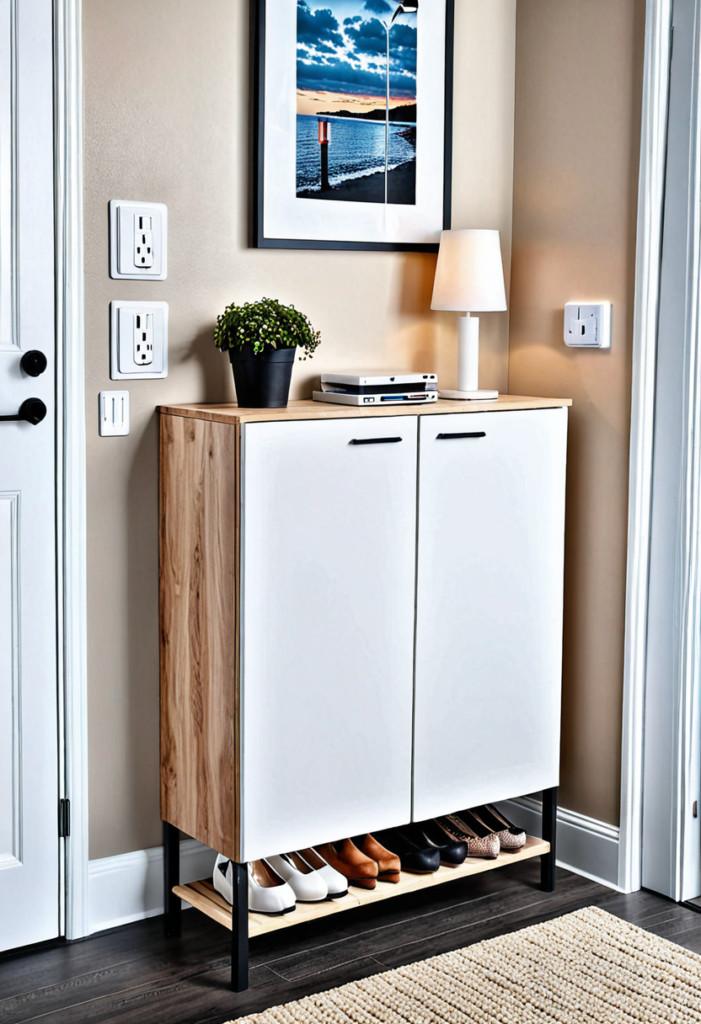
Pro Tip: Use a grommet to create a professional-looking cable passage and prevent wire damage. Consider adding a USB hub for charging multiple devices.
Final Thoughts
These IKEA shoe cabinet hacks prove that with some creativity and basic DIY skills, you can transform standard pieces into custom storage solutions that look high-end and function beautifully. Remember to always:
- Plan your hack thoroughly before starting
- Gather all materials and tools beforehand
- Take accurate measurements
- Work in a well-ventilated area when painting or using adhesives
- Document your process for future reference
Related Resources: