As the holiday season approaches, the excitement of decorating your home with festive cheer begins to build. One of the most innovative and space-saving ways to enhance your holiday decor is by creating a wall Christmas tree. These unique designs not only add a touch of elegance but also provide a creative solution for those with limited space. In this article, we will explore 13 of the best wall Christmas tree ideas to inspire your holiday decorating.
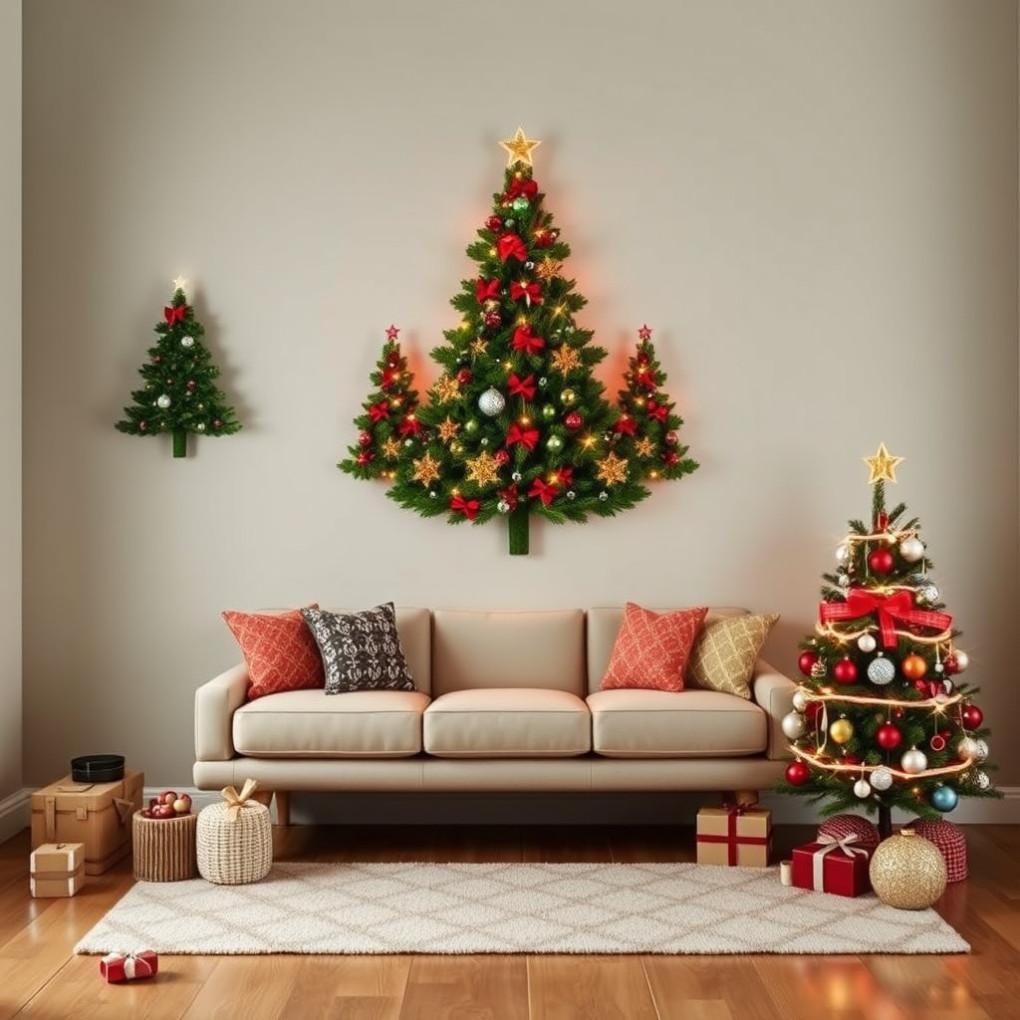
1. Lush Greenery Wall Tree
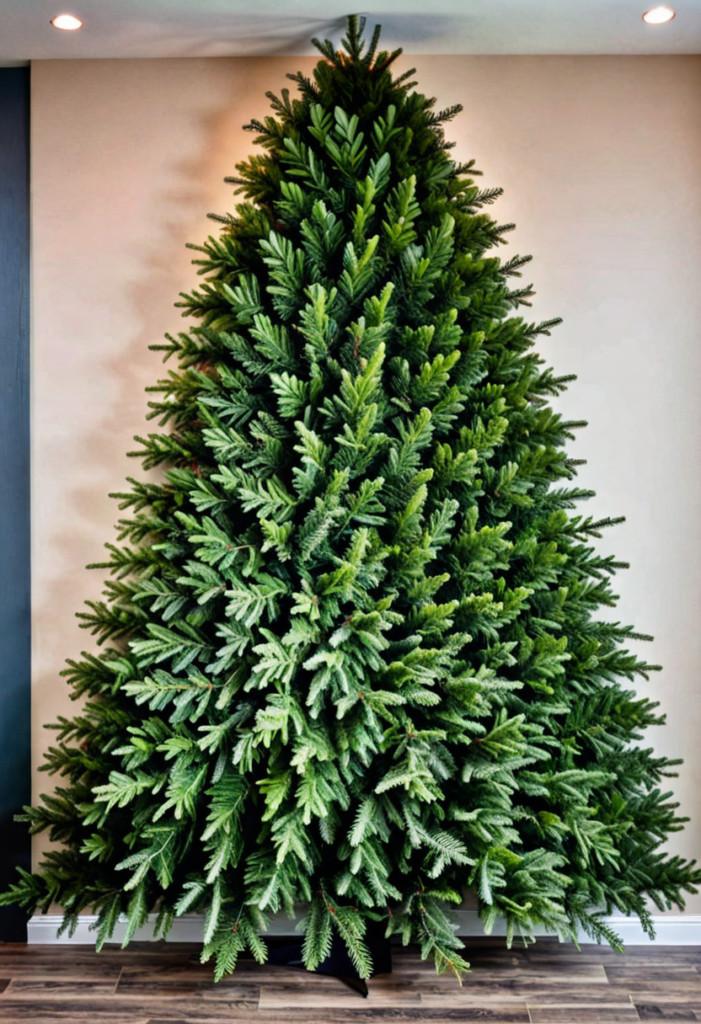
A lush greenery wall tree is a fantastic way to bring the outdoors inside. This design involves attaching branches, leaves, and artificial greenery to your wall, creating a natural and vibrant look. You can use a variety of plants, such as eucalyptus, pine, and ferns, to achieve a lush and full appearance.
Implementation
To create this wall tree, start by gathering a variety of greenery and branches. Use a strong adhesive, such as hot glue or Command strips, to attach the greenery to the wall. Arrange the branches in a triangular shape to mimic the traditional Christmas tree. Add ornaments and lights to complete the look.
Pro Tip: Consider using a mix of real and artificial greenery to ensure the tree stays fresh throughout the holiday season.
| Materials | Quantity |
|---|---|
| Greenery | 10-15 pieces |
| Branches | 5-7 pieces |
| Adhesive | 1 bottle |
| Ornaments | 20-30 |
| Lights | 1 strand |
2. Minimalist Geometric Tree
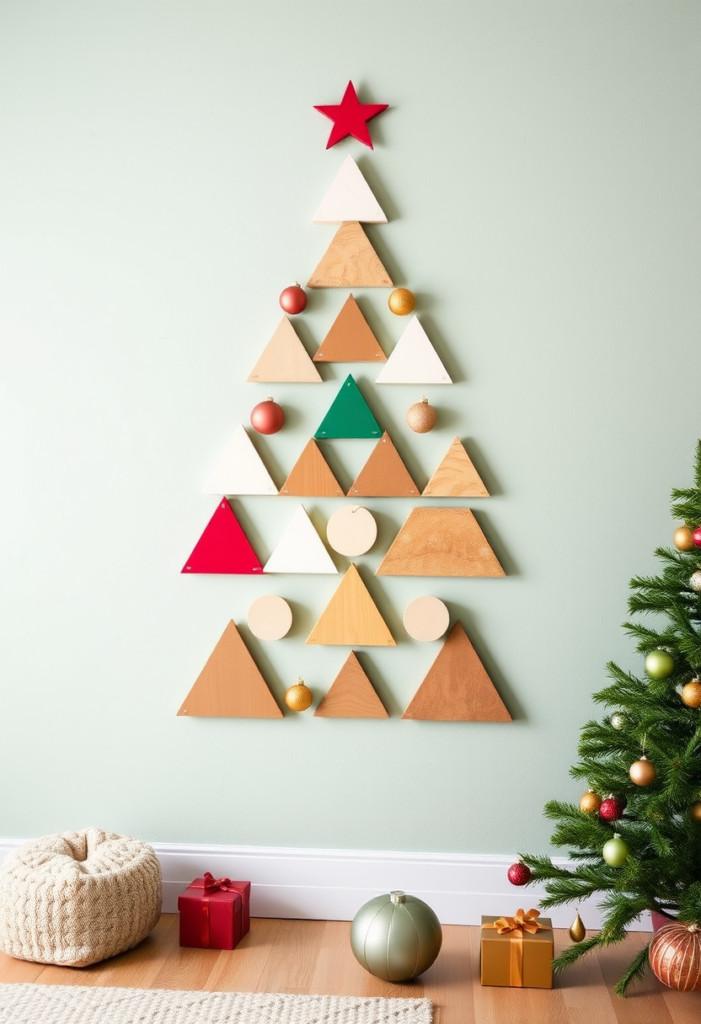
For a modern and minimalist approach, a geometric wall tree is a perfect choice. This design involves creating a triangular shape using geometric shapes, such as triangles or circles, and attaching them to the wall. The clean lines and simple shapes make it a stylish addition to any room.
Implementation
To create a minimalist geometric tree, start by cutting out shapes from wood, cardboard, or foam board. Paint the shapes in a colour that complements your decor. Use double-sided tape or Command strips to attach the shapes to the wall in a triangular formation. Add a few ornaments or small lights for a touch of holiday spirit.
Pro Tip: Use a ruler to ensure the shapes are evenly spaced and aligned for a professional look.
| Materials | Quantity |
|---|---|
| Wood/Cardboard | 10-15 pieces |
| Paint | 1 can |
| Double-sided tape | 1 roll |
| Ornaments | 10-15 |
| Lights | 1 strand |
3. Rustic Wood Plank Tree
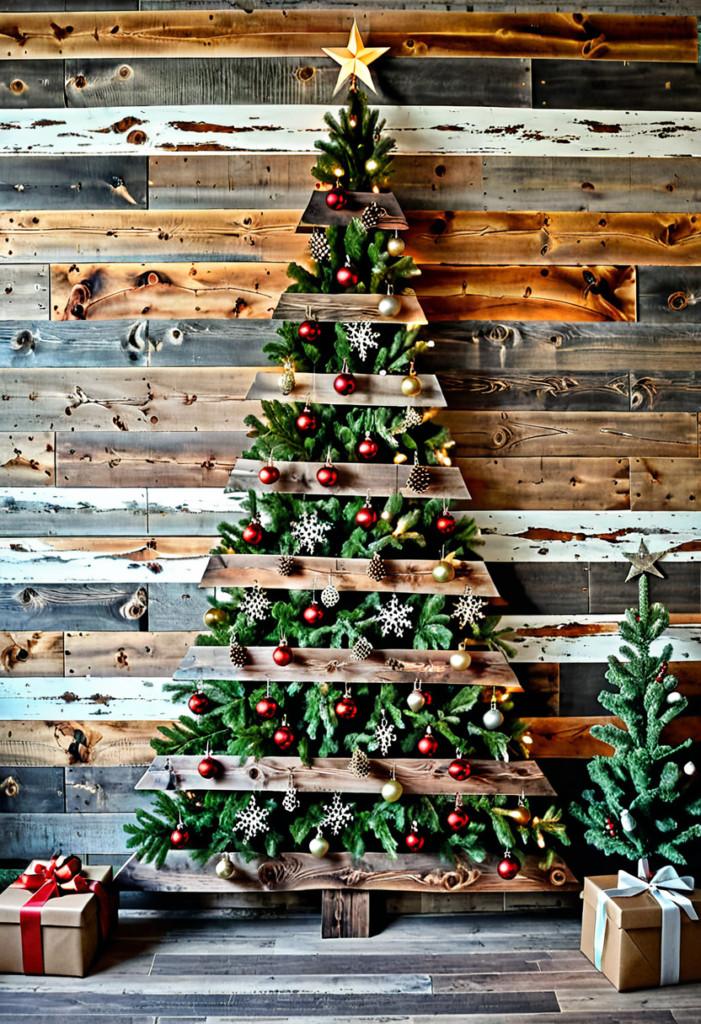
A rustic wood plank tree adds a cozy and warm feel to your holiday decor. This design involves attaching wood planks to the wall in a triangular shape, creating a natural and inviting look. You can use reclaimed wood or new wood planks to achieve the desired effect.
Implementation
To create a rustic wood plank tree, gather several wood planks and sand them to smooth out any rough edges. Use wood glue and nails to attach the planks to a backing board. Once the backing board is complete, use strong adhesive or screws to attach it to the wall. Decorate the tree with ornaments, lights, and a star or other topper.
Pro Tip: Consider staining or painting the wood planks to match your existing decor.
| Materials | Quantity |
|---|---|
| Wood Planks | 10-15 pieces |
| Wood Glue | 1 bottle |
| Nails | 1 pack |
| Backing Board | 1 |
| Adhesive/Screws | 1 |
| Ornaments | 20-30 |
| Lights | 1 strand |
4. Felt Christmas Tree
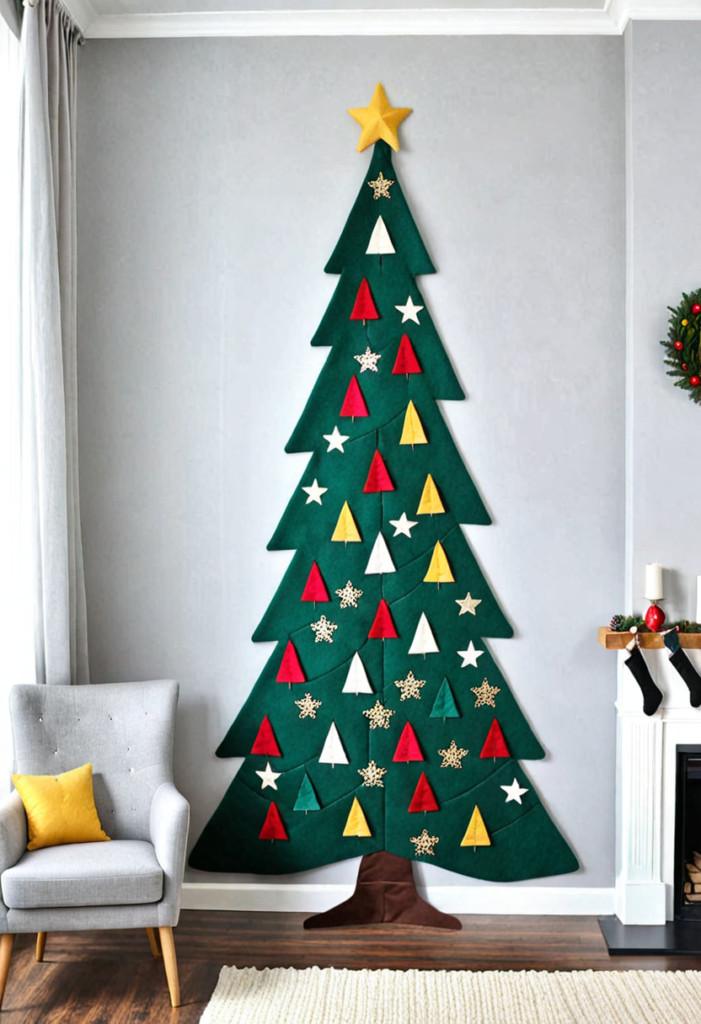
A felt Christmas tree is a charming and soft addition to any room. This design involves creating a triangular shape using felt and attaching it to the wall. The soft texture of the felt adds a cozy and inviting feel to your holiday decor.
Implementation
To create a felt Christmas tree, cut out a large triangular shape from felt. Use a strong adhesive, such as fabric glue or double-sided tape, to attach the felt to the wall. You can also cut out smaller felt shapes, such as stars or ornaments, and attach them to the tree. Add a few twinkling lights for a magical touch.
Pro Tip: Use a variety of colours and patterns of felt to create a more vibrant and playful look.
| Materials | Quantity |
|---|---|
| Felt | 1 yard |
| Fabric Glue | 1 bottle |
| Double-sided tape | 1 roll |
| Ornaments | 10-15 |
| Lights | 1 strand |
5. Lace and Linen Accents Tree
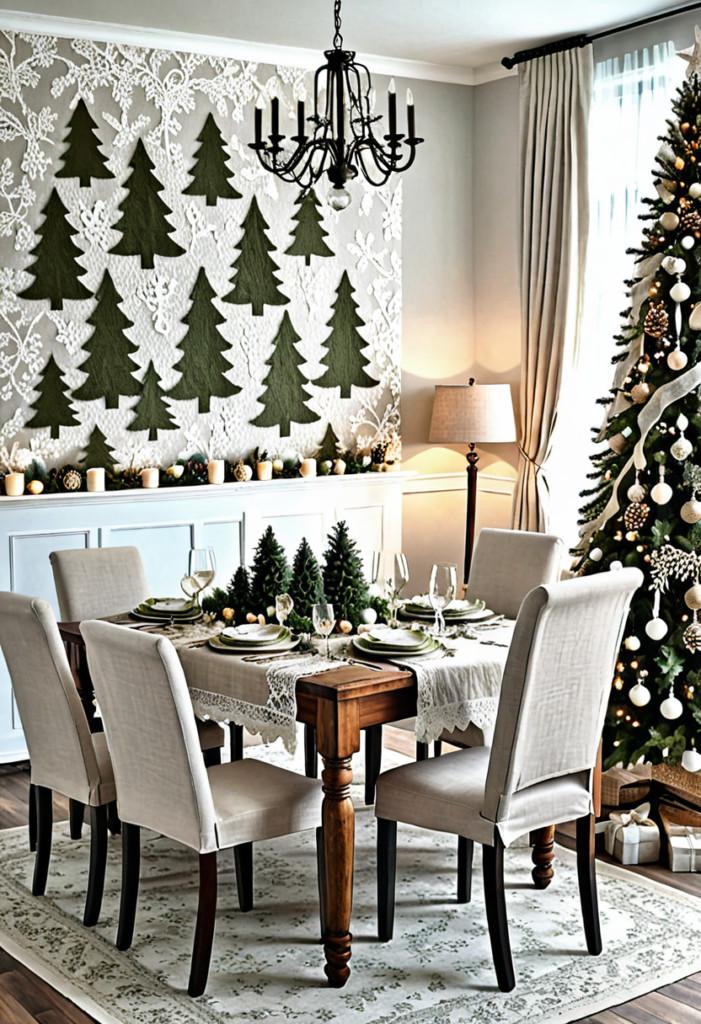
For a touch of elegance, a lace and linen accent tree is a beautiful choice. This design involves using lace and linen to create a delicate and sophisticated look. You can use lace table runners, linen napkins, or other fabric pieces to achieve the desired effect.
Implementation
To create a lace and linen accents tree, start by attaching a large piece of lace or linen to the wall in a triangular shape. Use a strong adhesive, such as fabric glue or double-sided tape, to secure the fabric. Add ornaments, lights, and other decorative elements to complete the look.
Pro Tip: Consider using a mix of lace and linen to add texture and depth to the tree.
| Materials | Quantity |
|---|---|
| Lace/Linen | 1 yard |
| Fabric Glue | 1 bottle |
| Double-sided tape | 1 roll |
| Ornaments | 10-15 |
| Lights | 1 strand |
6. Metallic Christmas Tree
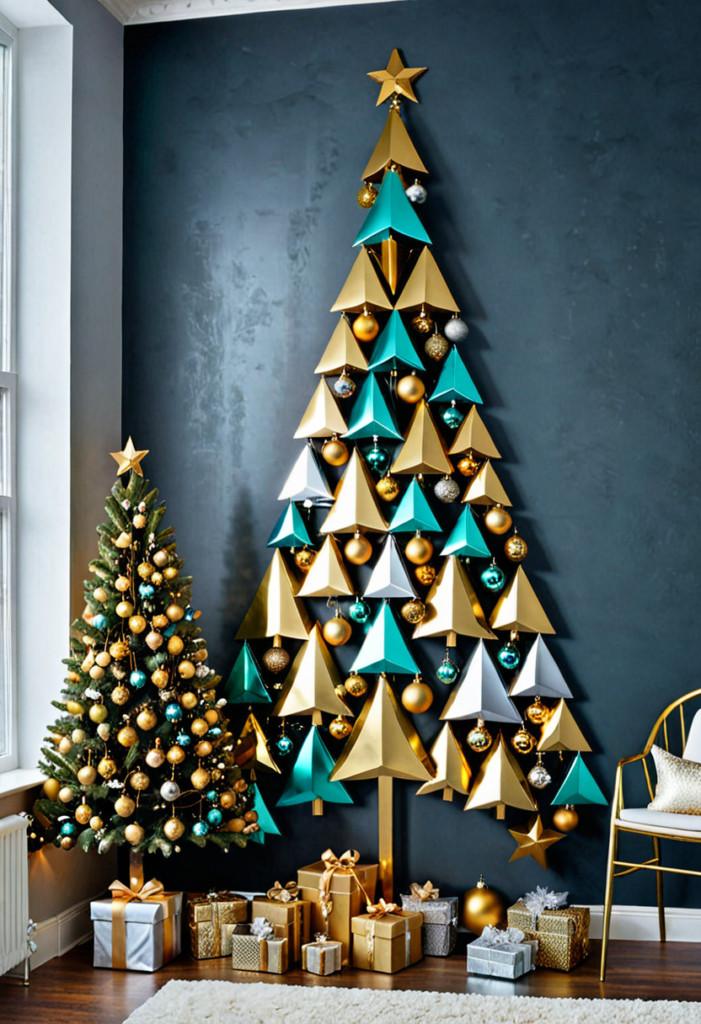
A metallic Christmas tree adds a touch of glamour and sophistication to your holiday decor. This design involves creating a triangular shape using metallic materials, such as aluminium or brass. The reflective surface of the metal creates a stunning and eye-catching look.
Implementation
To create a metallic Christmas tree, cut out a large triangular shape from metallic material. Use a strong adhesive, such as epoxy or double-sided tape, to attach the metal to the wall. Add ornaments, lights, and other decorative elements to complete the look.
Pro Tip: Consider using a variety of metallic finishes, such as gold, silver, and copper, to add depth and interest to the tree.
| Materials | Quantity |
|---|---|
| Metallic Material | 1 sheet |
| Epoxy/Double-sided tape | 1 |
| Ornaments | 10-15 |
| Lights | 1 strand |
7. Paper Christmas Tree
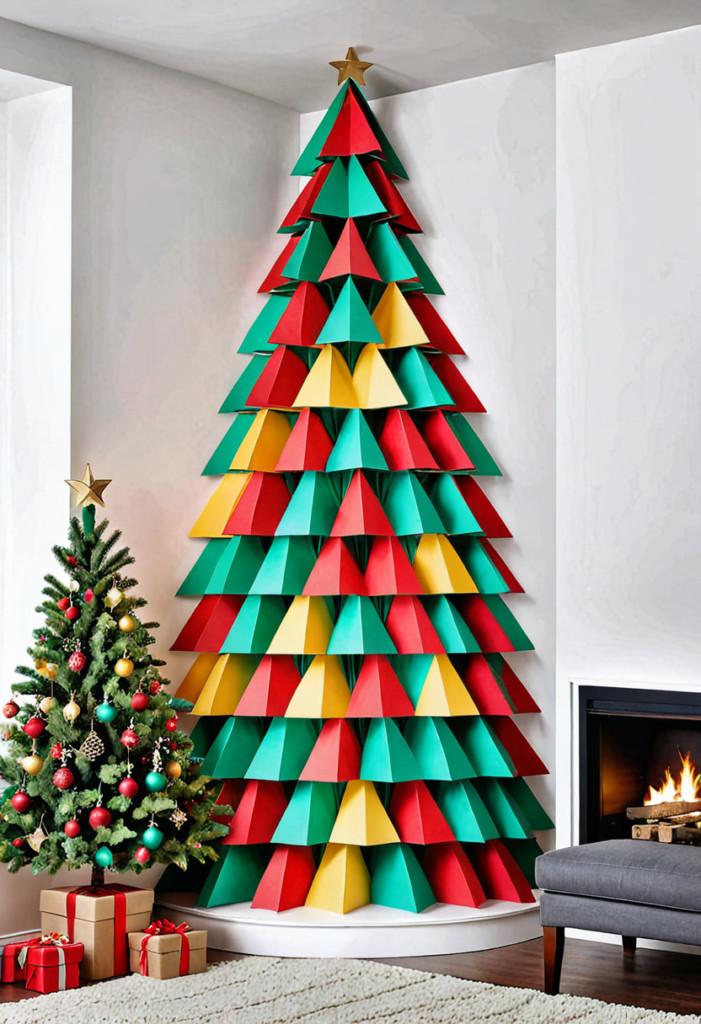
A paper Christmas tree is a creative and budget-friendly option. This design involves creating a triangular shape using paper, such as construction paper or cardstock. The simple and colourful look makes it a perfect addition to any room.
Implementation
To create a paper Christmas tree, cut out a large triangular shape from paper. Use a strong adhesive, such as glue or double-sided tape, to attach the paper to the wall. You can also cut out smaller paper shapes, such as stars or ornaments, and attach them to the tree. Add a few twinkling lights for a magical touch.
Pro Tip: Use a variety of colours and patterns of paper to create a more vibrant and playful look.
| Materials | Quantity |
|---|---|
| Paper | 1 yard |
| Glue/Double-sided tape | 1 |
| Ornaments | 10-15 |
| Lights | 1 strand |
8. Fabric Christmas Tree
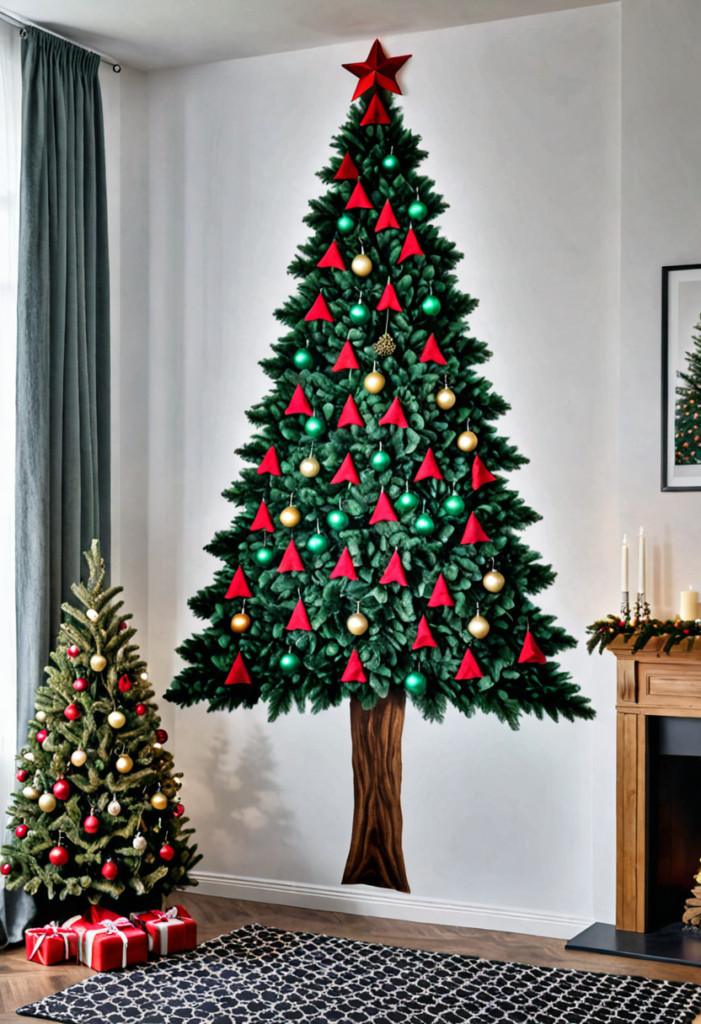
A fabric Christmas tree is a soft and cozy addition to any room. This design involves creating a triangular shape using fabric, such as cotton or velvet. The soft texture of the fabric adds a warm and inviting feel to your holiday decor.
Implementation
To create a fabric Christmas tree, cut out a large triangular shape from the fabric. Use a strong adhesive, such as fabric glue or double-sided tape, to attach the fabric to the wall. You can also cut out smaller fabric shapes, such as stars or ornaments, and attach them to the tree. Add a few twinkling lights for a magical touch.
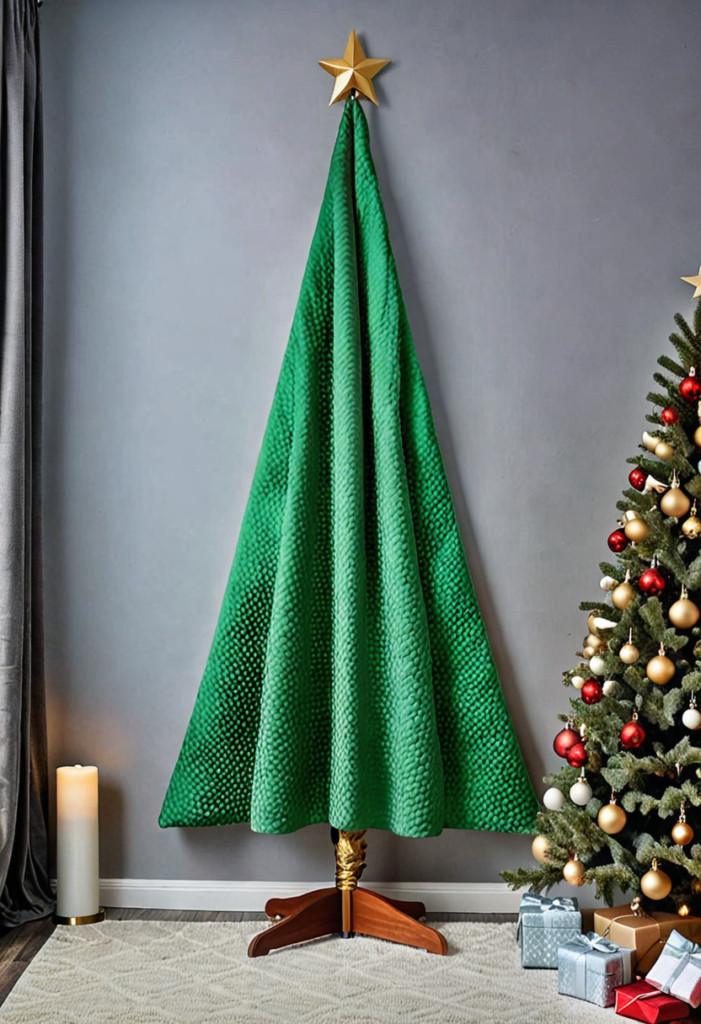
Pro Tip: Use a variety of colours and patterns of fabric to create a more vibrant and playful look.
| Materials | Quantity |
|---|---|
| Fabric | 1 yard |
| Fabric Glue | 1 bottle |
| Double-sided tape | 1 roll |
| Ornaments | 10-15 |
| Lights | 1 strand |
9. Ribbon Christmas Tree
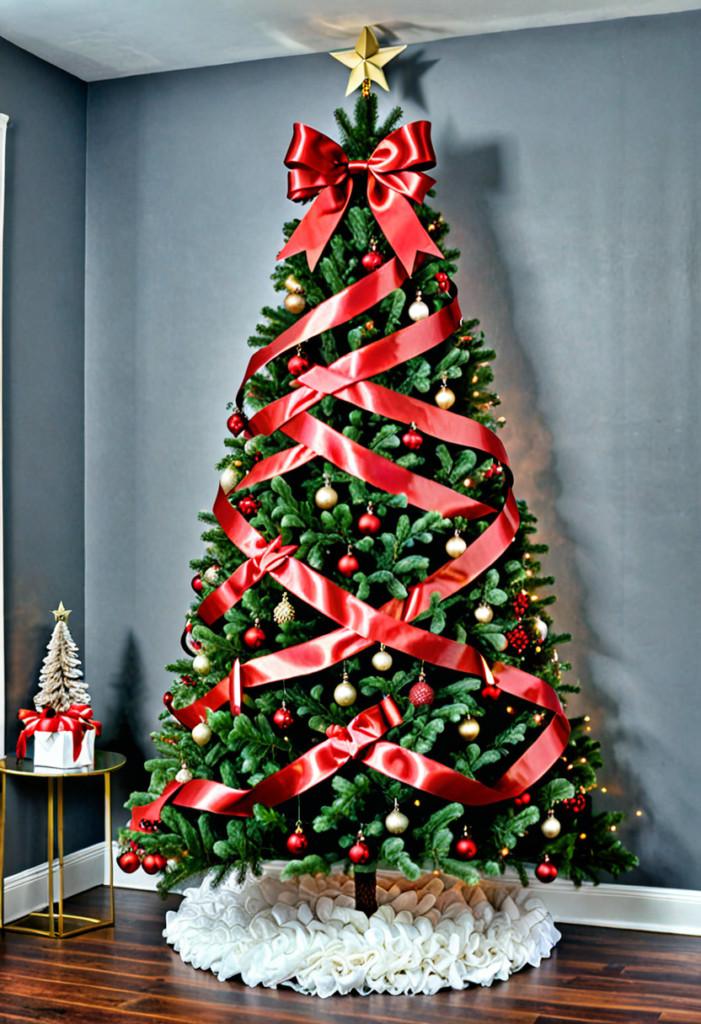
A ribbon Christmas tree is a beautiful and elegant addition to any room. This design involves creating a triangular shape using ribbons, such as satin or velvet. The soft and flowing texture of the ribbon adds a touch of luxury to your holiday decor.
Implementation
To create a ribbon Christmas tree, start by attaching a large piece of ribbon in a triangular shape to the wall. Use a strong adhesive, such as fabric glue or double-sided tape, to secure the ribbon. Add ornaments, lights, and other decorative elements to complete the look.
Pro Tip: Consider using a variety of colours and textures of ribbon to add depth and interest to the tree.
| Materials | Quantity |
|---|---|
| Ribbon | 1 yard |
| Fabric Glue | 1 bottle |
| Double-sided tape | 1 roll |
| Ornaments | 10-15 |
| Lights | 1 strand |
10. Framed Wrapping Paper Tree
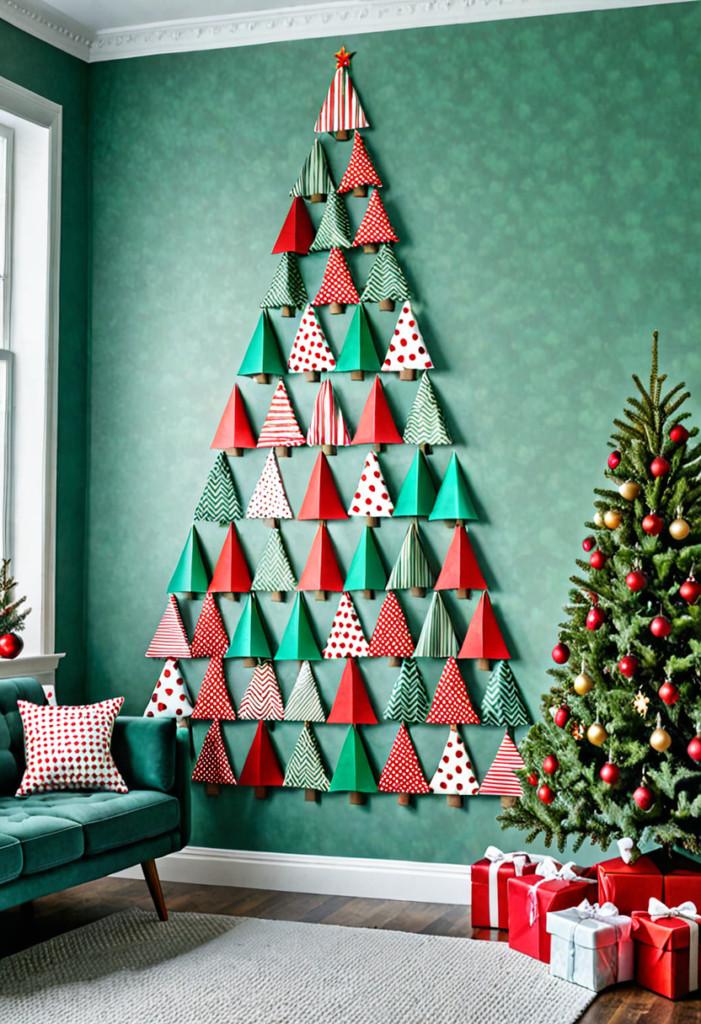
A framed wrapping paper tree is a creative and budget-friendly option. This design involves using framed wrapping paper to create a triangular shape on your wall. The colourful and festive look makes it a perfect addition to any room.
Implementation
To create a framed wrapping paper tree, choose a roll of wrapping paper that matches your chosen style. Cut out triangular shapes from the wrapping paper and frame them. Use a strong adhesive, such as glue or double-sided tape, to attach the framed paper to the wall. Cluster the frames together for more impact.
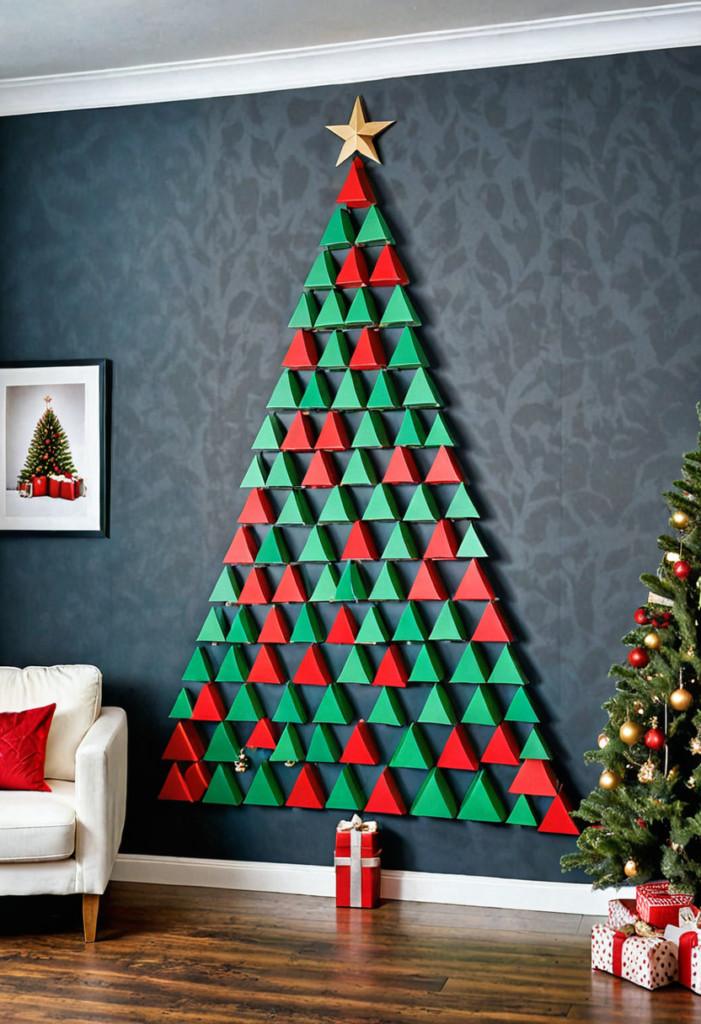
Pro Tip: Reuse existing frames and just leave the photo or picture behind the wrapping paper to be rediscovered in January.
| Materials | Quantity |
|---|---|
| Wrapping Paper | 1 roll |
| Frames | 10-15 |
| Glue/Double-sided tape | 1 |
| Ornaments | 10-15 |
| Lights | 1 strand |
11. Stenciled Christmas Tree
A stencilled Christmas tree is a creative and artistic addition to any room. This design involves stencilling a triangular shape on your wall using paint or chalk. The simple and clean look makes it a perfect addition to any room.

Implementation
To create a stenciled Christmas tree, choose a stencil in the shape of a triangle. Use a stencil brush and paint or chalk to apply the design to the wall. Add ornaments, lights, and other decorative elements to complete the look.
Pro Tip: Consider using a variety of colours and patterns to add depth and interest to the tree.
| Materials | Quantity |
|---|---|
| Stencil | 1 |
| Paint/Chalk | 1 can |
| Stencil Brush | 1 |
| Ornaments | 10-15 |
| Lights | 1 strand |
12. Magnetic Christmas Tree
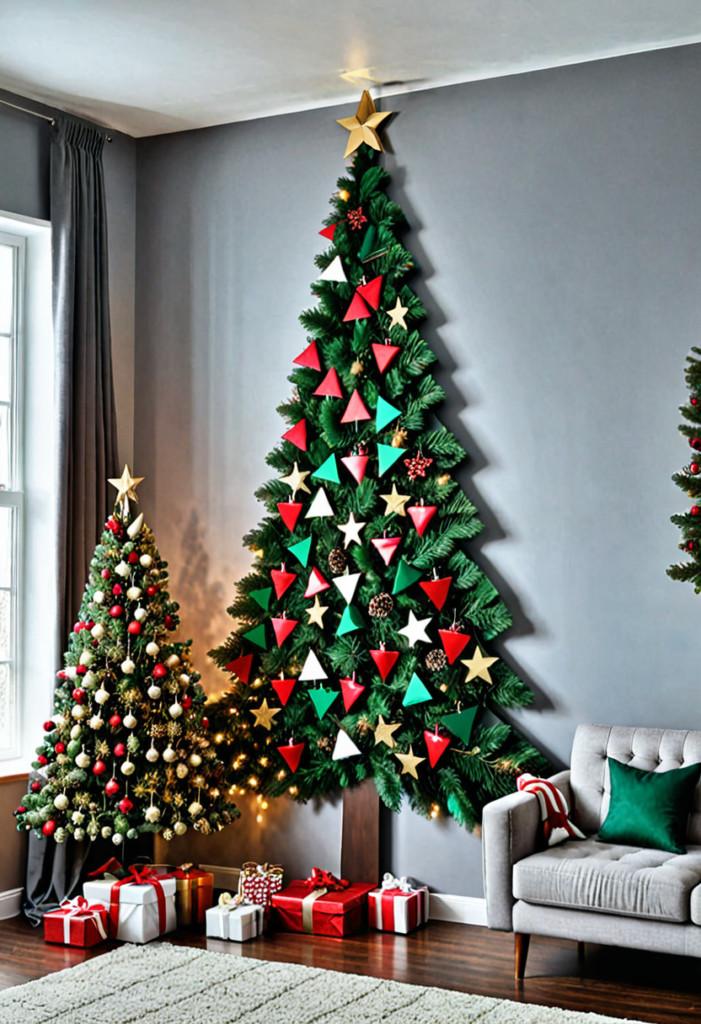
A magnetic Christmas tree is a fun and interactive addition to any room. This design involves creating a triangular shape using magnetic material, such as a magnetic whiteboard. The magnetic surface allows you to easily attach and rearrange ornaments and other decorative elements.
Implementation
To create a magnetic Christmas tree, choose a magnetic whiteboard or other magnetic material. Cut it into a triangular shape and attach it to the wall using strong adhesive or screws. Use magnetic ornaments and other decorative elements to complete the look.
Pro Tip: Consider using a variety of magnetic shapes and colours to add depth and interest to the tree.
| Materials | Quantity |
|---|---|
| Magnetic Material | 1 sheet |
| Adhesive/Screws | 1 |
| Magnetic Ornaments | 10-15 |
| Lights | 1 strand |
13. Rearranged Existing Décor Tree
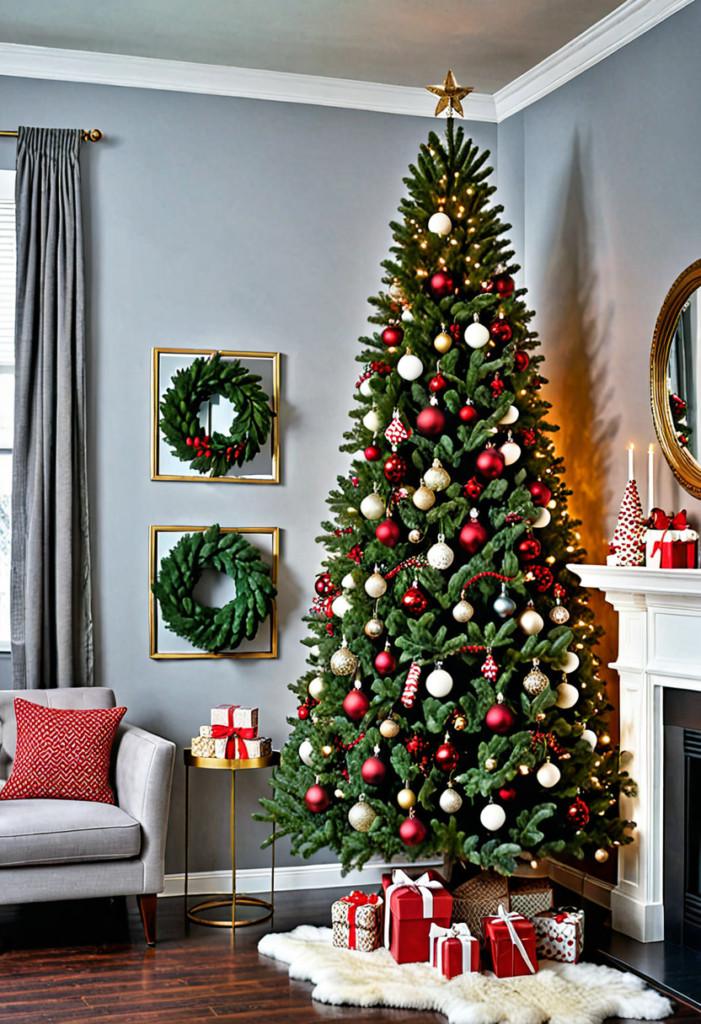
A rearranged existing décor tree is a creative and resourceful option. This design involves reimagining your existing non-Christmas decor to fit your festive theme. By grouping together items like vases, mirrors, or even books, you can create a unique and personalized Christmas tree.
Implementation
To create a rearranged existing décor tree, gather a variety of non-Christmas items, such as vases, mirrors, or books. Arrange them in a triangular shape on your wall or mantel. Add fairy lights, sprigs of greenery, or other holiday decorations to complete the look.
Pro Tip: Stacked books make perfect pedestals for mini trees or candles, making everyday items feel instantly Christmassy.
| Materials | Quantity |
|---|---|
| Non-Christmas Décor | 10-15 items |
| Fairy Lights | 1 strand |
| Greenery | 1 bunch |
| Ornaments | 10-15 |
Conclusion
Creating a wall Christmas tree is a fun and creative way to add holiday cheer to your home. Whether you choose a lush greenery wall tree, a minimalist geometric tree, or a rearranged existing décor tree, the options are endless. By following these 13 best wall Christmas tree ideas, you can elevate your holiday decor and create a magical and memorable holiday season.
Quote: “The best Christmas gifts are not found under the tree, but in the warmth of shared moments and the love in our hearts.” – Unknown
