Halloween is just around the corner, and what better way to celebrate than by creating your own spooky decorations? DIY Halloween decor not only saves money but also allows you to customize your haunted haven exactly how you want it. In this article, we’ll explore 15 easy-to-make, budget-friendly Halloween decorations that will transform your home into a spine-chilling spectacle. From eerie outdoor displays to creepy indoor accents, these projects are perfect for crafters of all skill levels.

1. Ghostly Mason Jar Lanterns
Transform ordinary mason jars into ethereal ghost lanterns to light up your Halloween night. These spectral illuminations are both charming and chilling, perfect for lining walkways or adorning your porch. With just a few simple materials, you can create a haunting glow that will captivate trick-or-treaters and party guests alike.
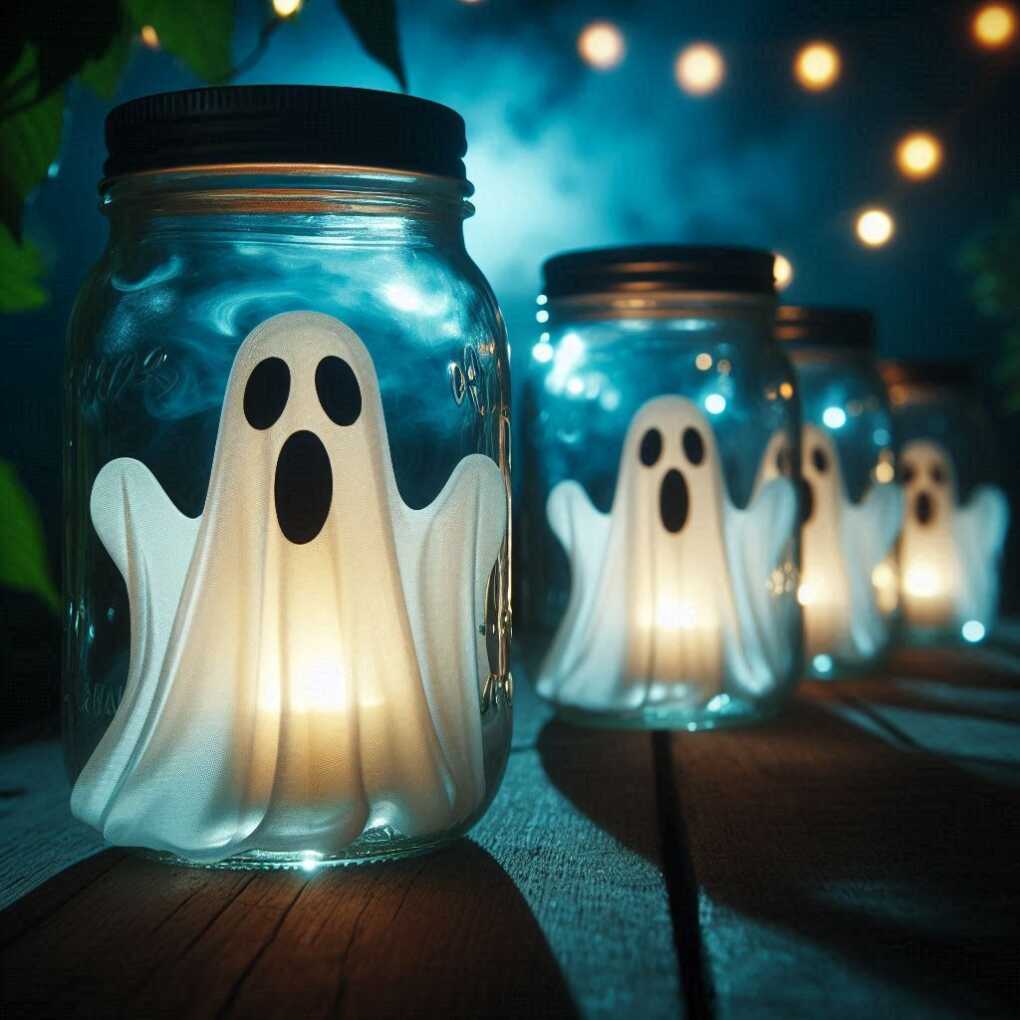
Materials needed:
- Clean mason jars
- White spray paint
- Black acrylic paint
- Small paintbrush
- Battery-operated tea lights
Instructions:
- Clean and dry the mason jars thoroughly.
- Spray paint the jars white and let them dry completely.
- Use black acrylic paint to create ghost faces on the jars.
- Place battery-operated tea lights inside for a spooky glow.
“These ghostly lanterns are so simple to make, yet they add such an eerie ambiance to any Halloween setting!” – Martha Stewart
2. Spooky Silhouette Windows
Create an ominous atmosphere with spooky silhouettes in your windows. This dramatic decoration will make passersby do a double-take and add an air of mystery to your home. The best part? It’s incredibly easy and inexpensive to achieve this spine-tingling effect.
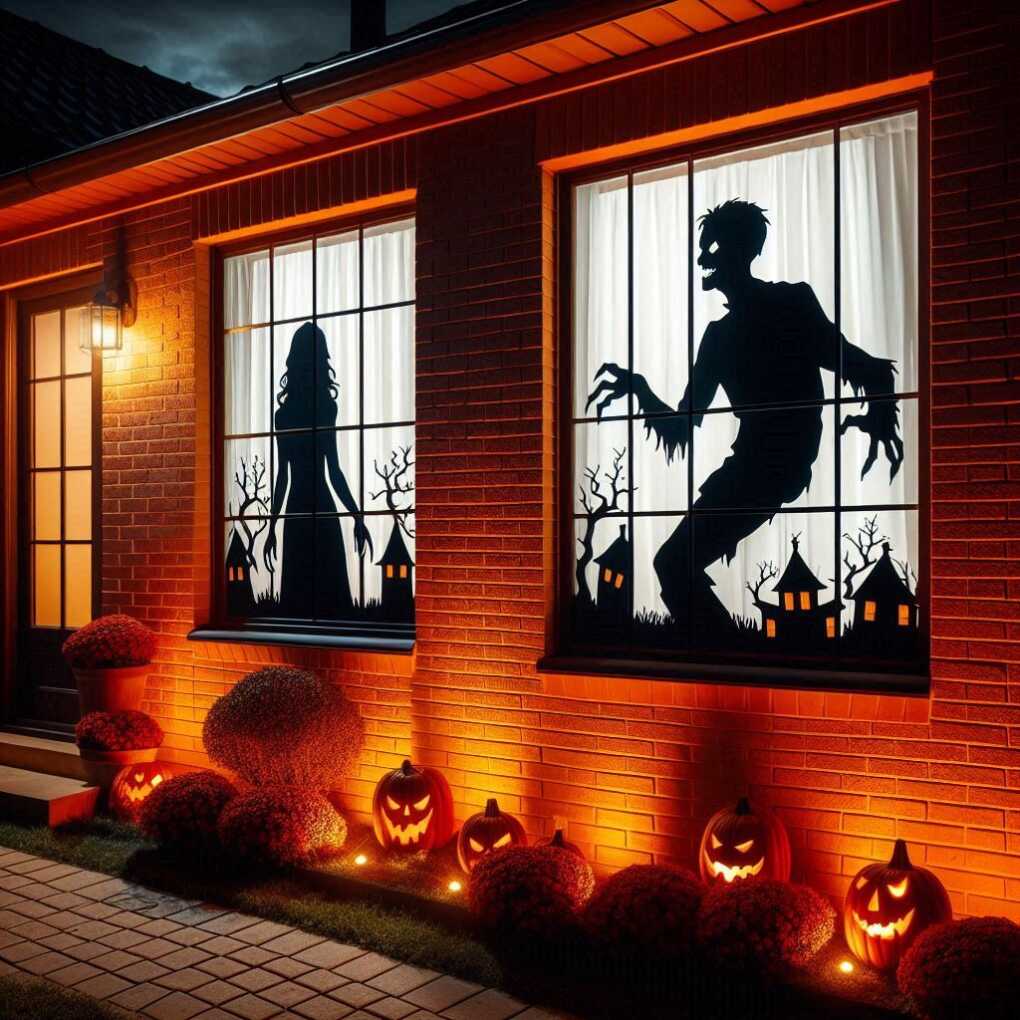
Materials needed:
- Black construction paper or cardstock
- Scissors
- Tape or removable adhesive
Instructions:
- Draw or print out silhouette shapes (e.g., witches, bats, ghosts) on black paper.
- Carefully cut out the shapes.
- Tape the silhouettes to your windows from the inside.
- Turn on lights inside for a dramatic effect at night.
3. Creepy Floating Candles
Bring a touch of Hogwarts to your Halloween decor with these magical floating candles. Suspended from the ceiling, these ethereal lights create an enchanting and slightly unnerving atmosphere. They’re perfect for entryways, living rooms, or anywhere you want to add a mystical touch.

Materials needed:
- Toilet paper or paper towel rolls
- Hot glue gun
- White or cream-colored paint
- Fishing line or clear thread
- Battery-operated tea lights
Instructions:
- Cut toilet paper rolls to varying lengths.
- Paint the rolls white or cream to resemble candles.
- Use hot glue to create drip effects on the “candles.”
- Attach fishing line to the top of each candle.
- Hang from the ceiling at different heights.
- Place battery-operated tea lights on top of each candle.
4. Eerie Eyeball Wreath
Greet visitors with a watchful eye – or rather, dozens of them – with this unsettling eyeball wreath. This unique decoration is sure to catch everyone’s attention and set the tone for a truly spooky Halloween experience.
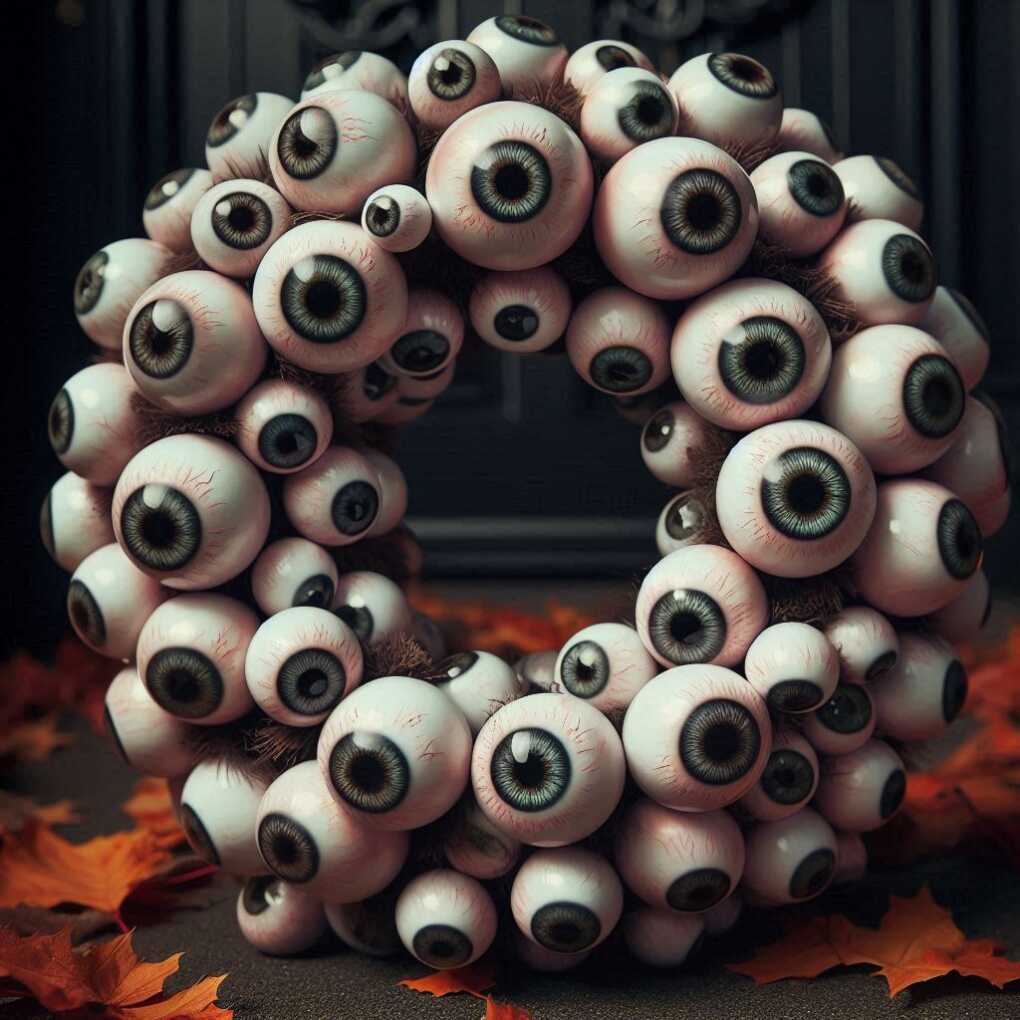
Materials needed:
- Foam wreath form
- Ping pong balls
- Acrylic paint (various colors)
- Hot glue gun
- Ribbon for hanging
Instructions:
- Paint eyeball designs on ping pong balls using acrylic paint.
- Once dry, hot glue the eyeballs to the foam wreath form.
- Continue adding eyeballs until the wreath is fully covered.
- Attach a ribbon for hanging.
5. Creepy Crawly Spider Infestation
Turn your home into an arachnophobe’s nightmare with this simple yet effective spider infestation decoration. This versatile idea can be scaled up or down depending on how many eight-legged friends you want to invite to your Halloween party.
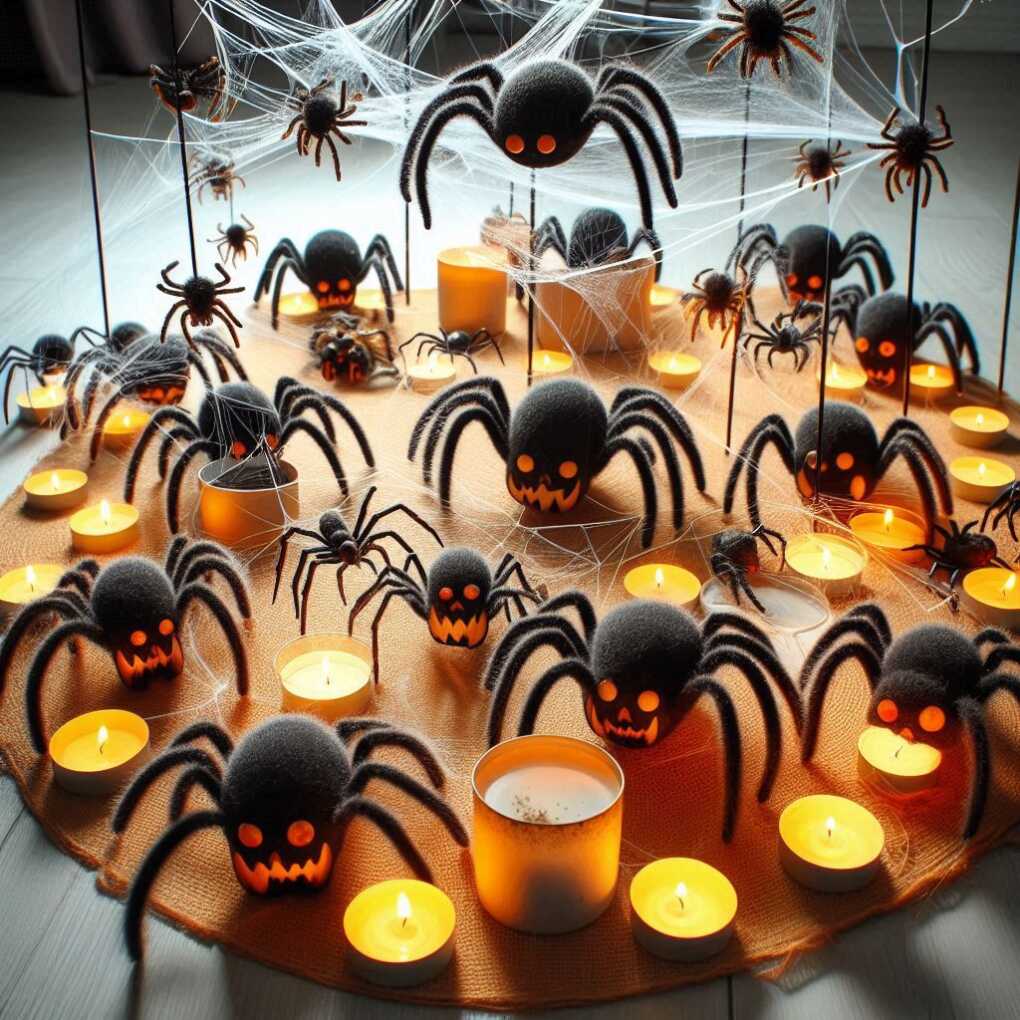
Materials needed:
- Black plastic spiders (various sizes)
- White cotton batting or spider webbing
- Removable adhesive or tape
Instructions:
- Stretch cotton batting or spider webbing across corners and furniture.
- Attach plastic spiders to walls, ceilings, and webbing using removable adhesive.
- Cluster spiders in some areas for a more dramatic effect.
6. Ghastly Glowing Eyes
Create an eerie sensation of being watched by placing pairs of glowing eyes throughout your yard or in dark corners of your home. This simple yet effective decoration is sure to send shivers down everyone’s spine.
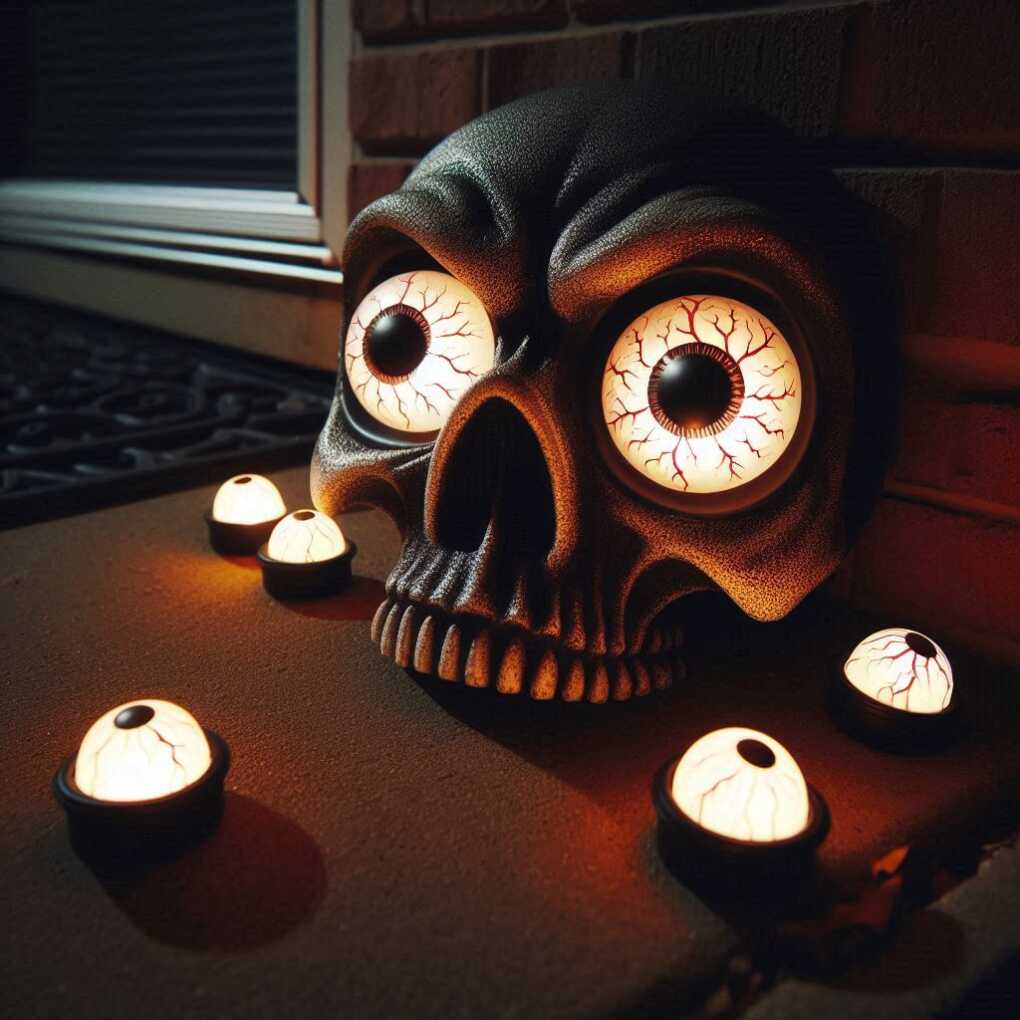
Materials needed:
- Toilet paper rolls
- Glow sticks
- Scissors
- Black construction paper
Instructions:
- Cut pairs of eye shapes on toilet paper rolls.
- Cover the rolls with black construction paper.
- Insert glow sticks into the rolls.
- Place in bushes, trees, or dark corners for a spooky effect.
7. Sinister Silhouette Paintings
Add a touch of gothic elegance to your walls with these striking silhouette paintings. These customizable artworks allow you to showcase classic Halloween motifs in a stylish and sophisticated way.
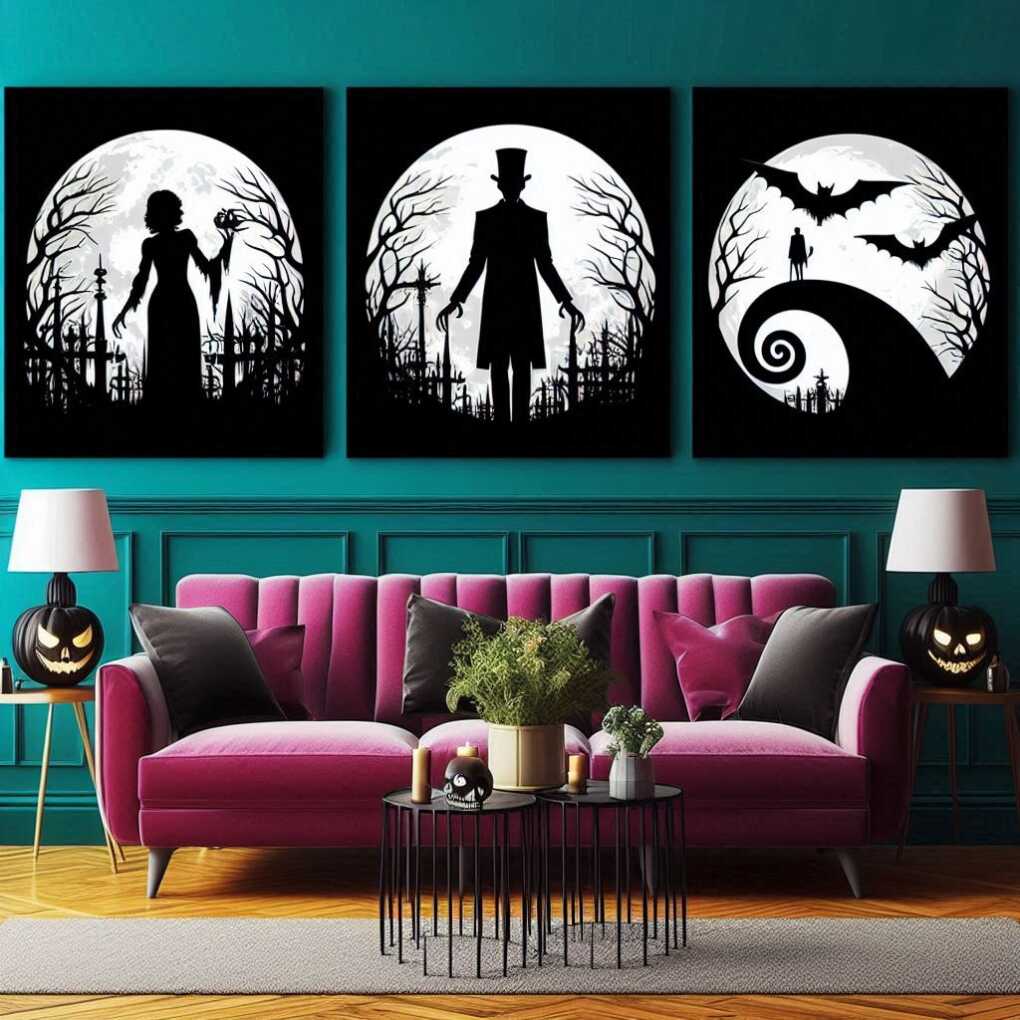
Materials needed:
- Canvas or thick paper
- Black acrylic paint
- Paintbrush
- Pencil
- Halloween-themed stencils (optional)
Instructions:
- Sketch or stencil Halloween-themed silhouettes on the canvas.
- Fill in the silhouettes with black acrylic paint.
- Let dry and hang on walls for a dramatic effect.
8. Bone-Chilling Skeleton Garland
Create a macabre yet whimsical decoration with this DIY skeleton garland. Perfect for mantels, doorways, or staircases, this festive chain of bones will add a playful touch of the underworld to your Halloween decor.
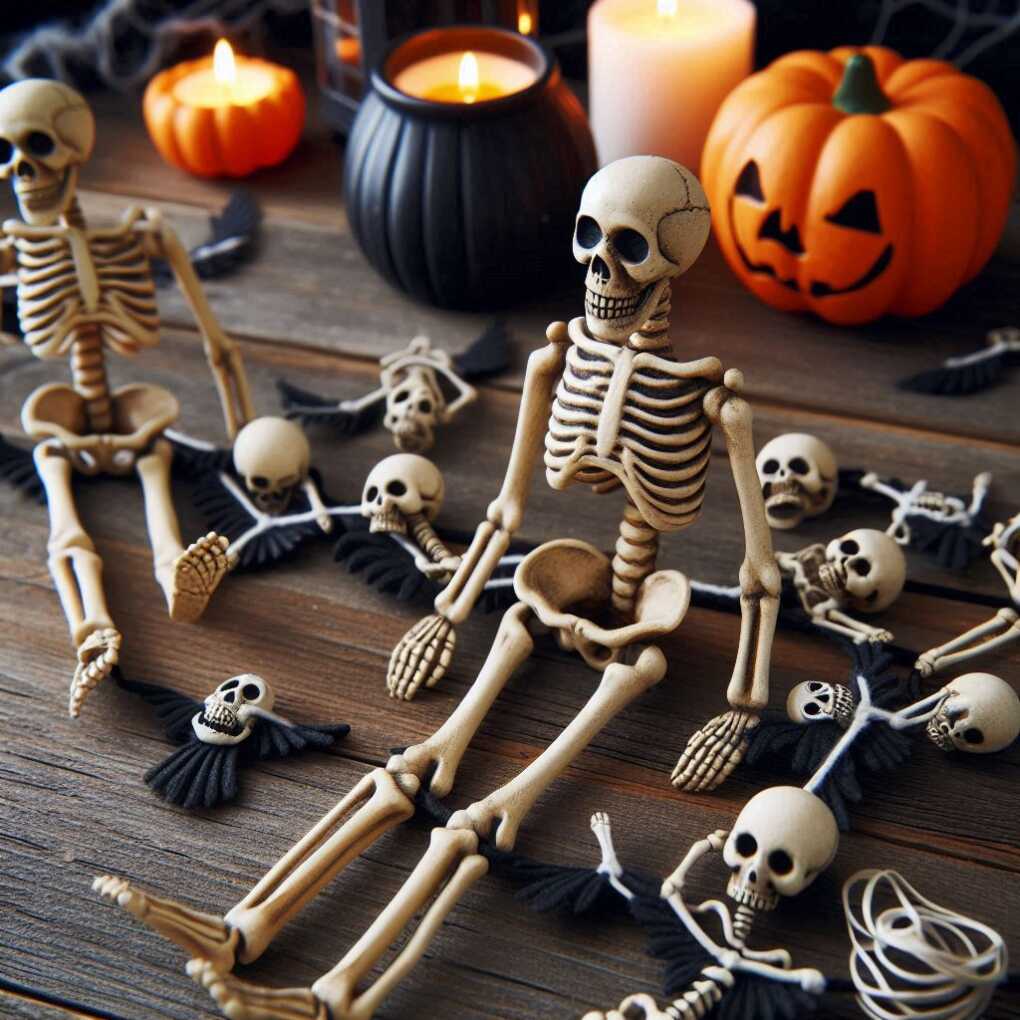
Materials needed:
- White felt or foam sheets
- Scissors
- Black marker
- String or ribbon
- Hot glue gun
Instructions:
- Cut bone shapes out of white felt or foam.
- Draw bone details with a black marker.
- Attach bones to string or ribbon using hot glue.
- Hang the garland in the desired location.
9. Witch’s Potion Bottle Display
Conjure up a witch’s brew of curiosities with this enchanting potion bottle display. These mystical containers will add an air of magic and mystery to any Halloween setting.
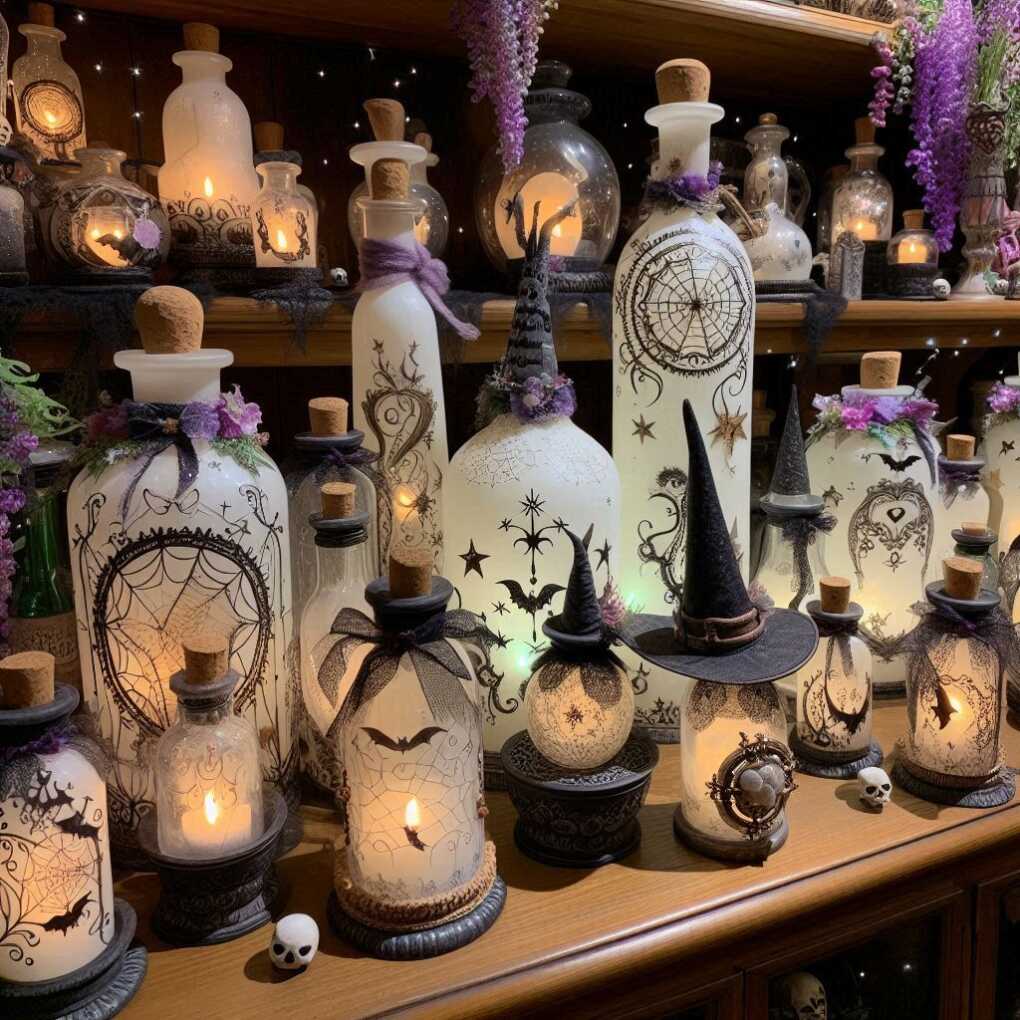
Materials needed:
- Assorted glass bottles
- Acrylic paint
- Small trinkets or fake insects
- Colored water or gel food coloring
- Labels and string
Instructions:
- Clean and dry glass bottles.
- Paint some bottles with acrylic paint for variety.
- Fill bottles with colored water or small trinkets.
- Create and attach spooky labels to the bottles.
- Display on a shelf or in a cabinet.
10. Terrifying Tissue Paper Ghosts
These billowing apparitions are a classic Halloween decoration that never goes out of style. Easy to make and eerily effective, these ghosts can be hung indoors or outdoors to create a haunting atmosphere.
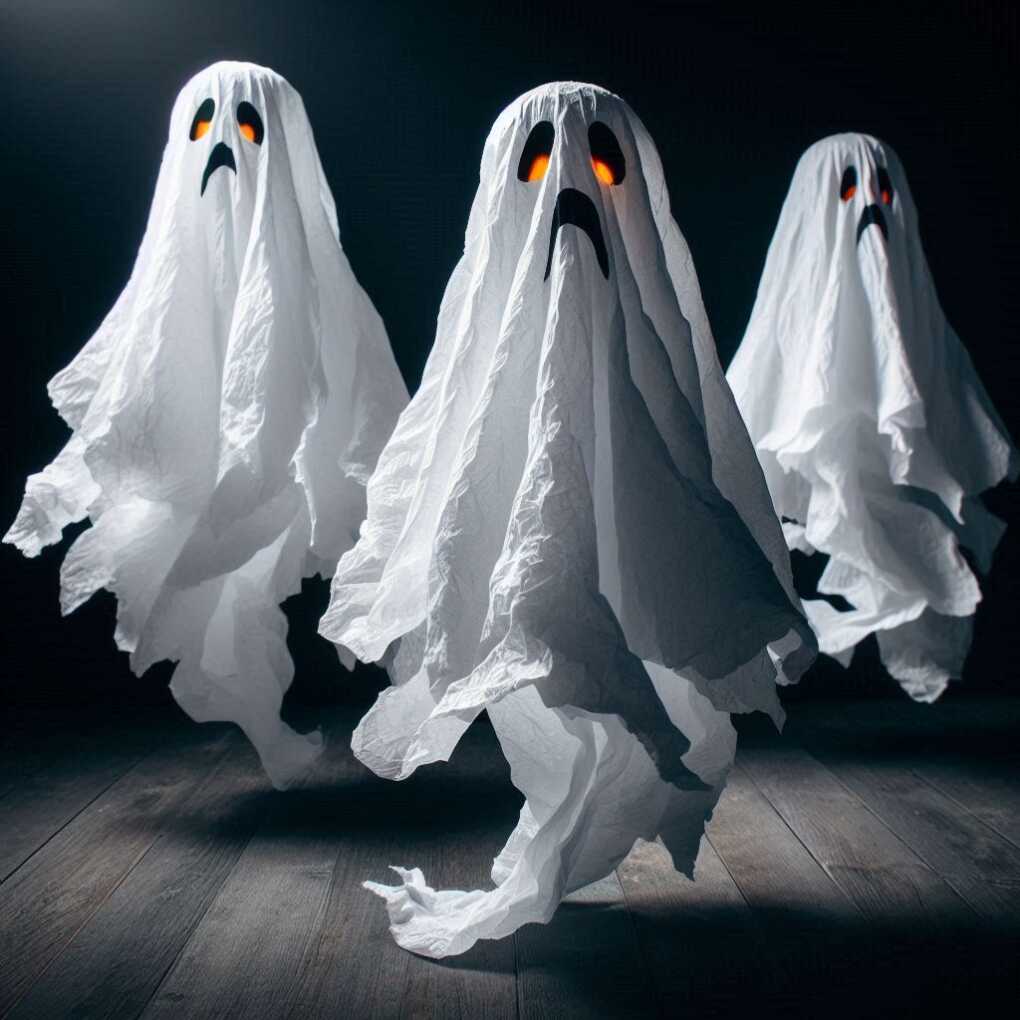
Materials needed:
- White tissue paper
- Balloons
- String
- Black marker
- Scissors
Instructions:
- Blow up balloons to desired ghost sizes.
- Drape layers of tissue paper over the balloons.
- Tie string around the “neck” of each ghost.
- Draw simple faces with a black marker.
- Pop the balloons and remove them.
- Hang ghosts from trees, porch, or ceiling.
11. Spellbinding Spell Book Props
Create a collection of mysterious spell books that look like they’ve been plucked straight from a witch’s library. These props add an authentic touch to any Halloween display and can be customized to fit your theme.
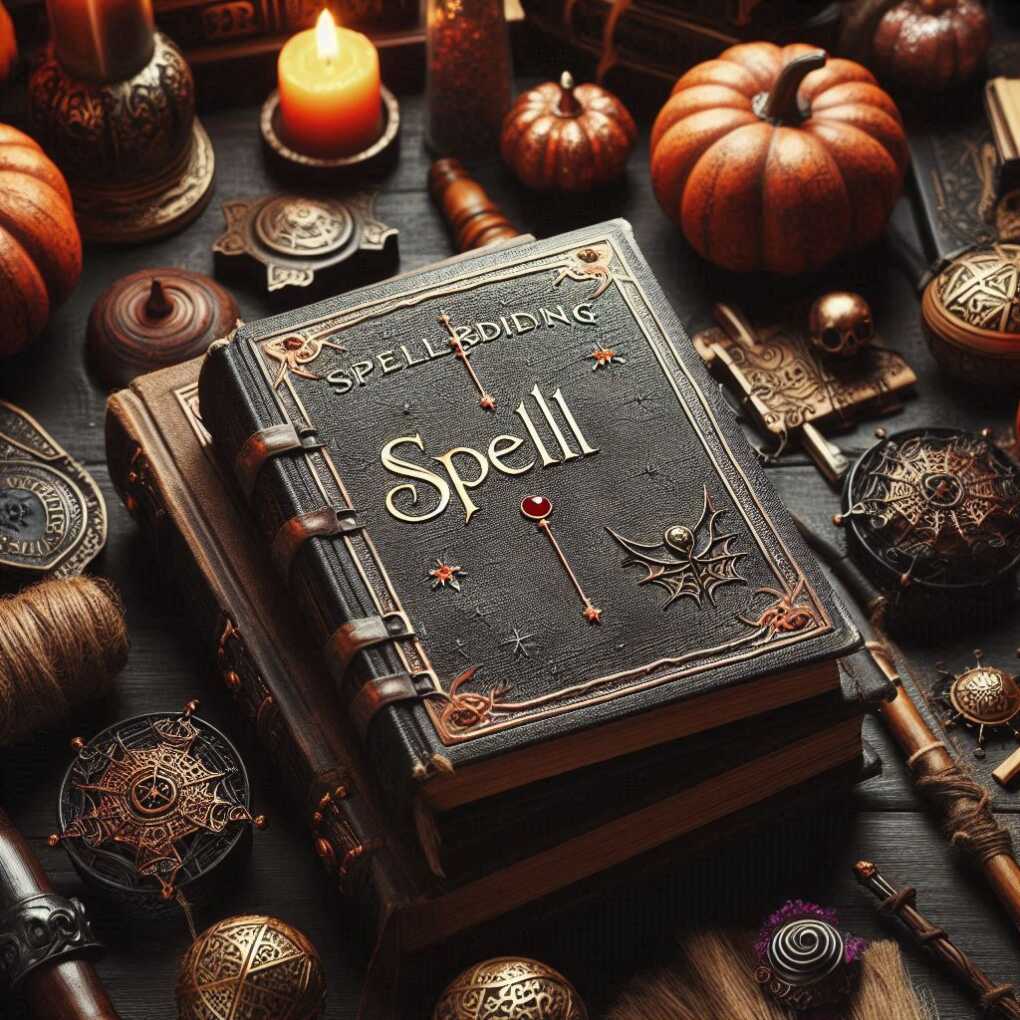
Materials needed:
- Old hardcover books
- Acrylic paint
- Hot glue gun
- Craft foam or air-dry clay
- Metallic markers or paint pens
Instructions:
- Paint book covers with dark colors.
- Create 3D embellishments with craft foam or clay.
- Add titles and details with metallic markers.
- Distress edges for an aged look.
12. Creepy Cardboard Coffins
Transform ordinary cardboard boxes into spine-chilling coffins. These versatile props can be used as decoration, treat boxes, or even as part of a haunted house experience.
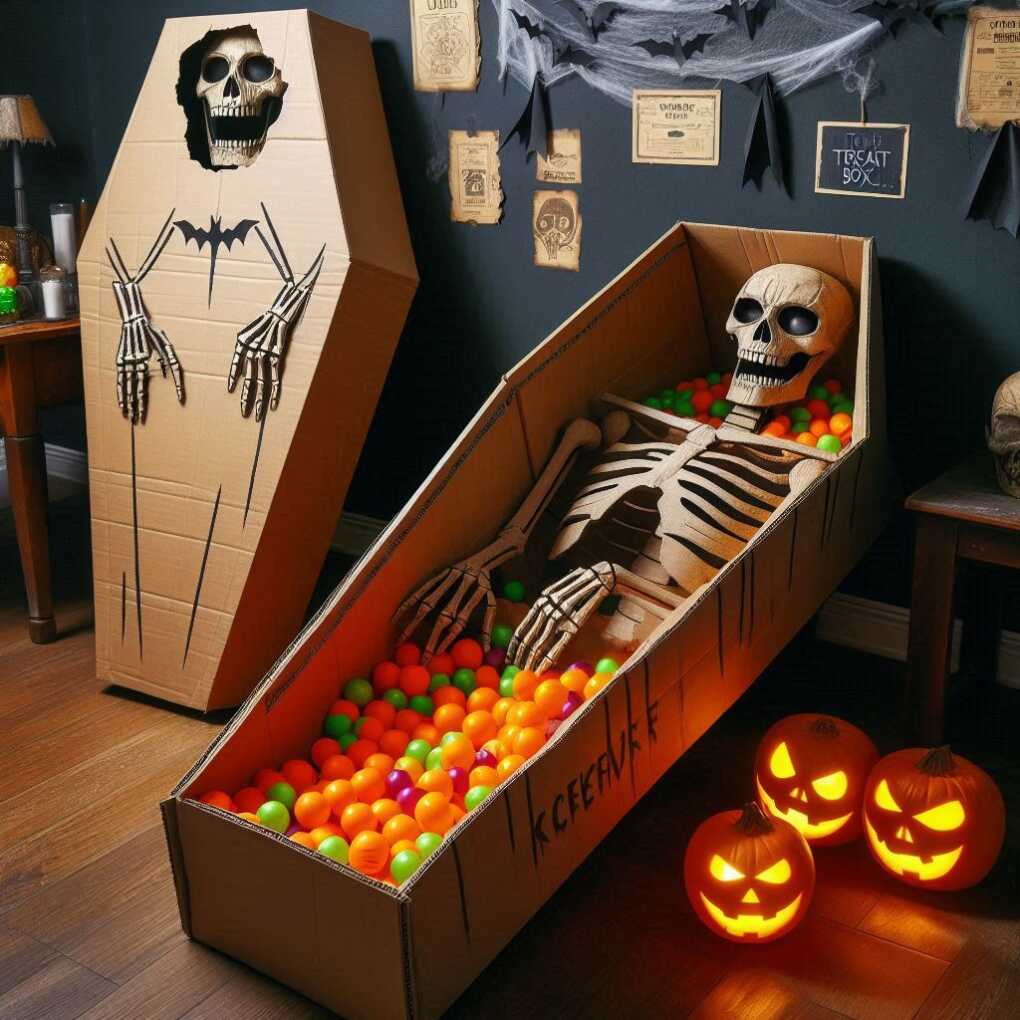
Materials needed:
- Large cardboard boxes
- Box cutter or scissors
- Black or gray paint
- Silver paint or marker
- Hot glue gun
Instructions:
- Cut cardboard boxes into coffin shapes.
- Paint the coffins black or gray.
- Add details like handles with silver paint.
- Use hot glue to secure any loose edges.
13. Menacing Mummy Door
Give your front door a bandaged makeover with this mummy-inspired decoration. This eye-catching entryway is sure to delight trick-or-treaters and set the tone for your Halloween festivities.
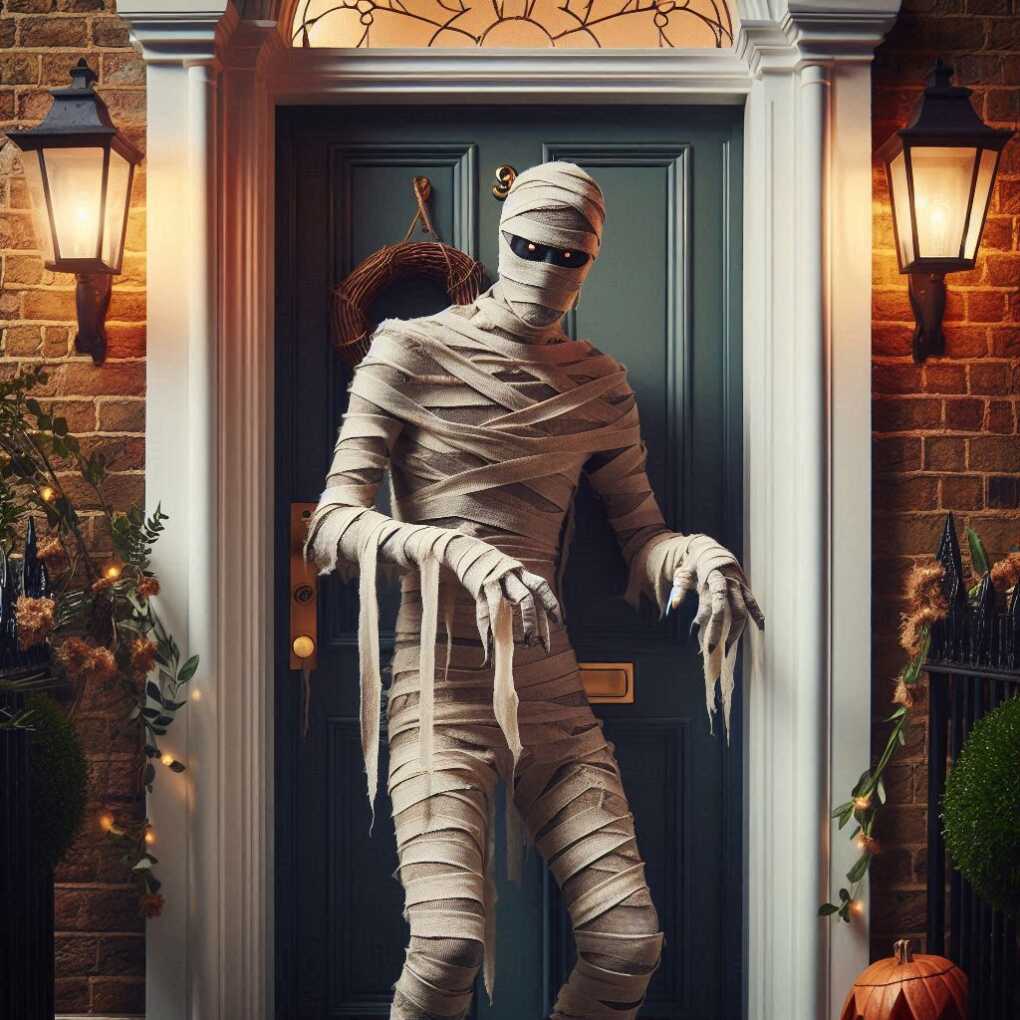
Materials needed:
- White crepe paper streamers
- Scissors
- Tape
- Large googly eyes
Instructions:
- Start at the top and wrap door with crepe paper streamers.
- Overlap strips for a mummy-like effect.
- Leave a space for large googly eyes.
- Secure edges with tape.
14. Haunted Portrait Gallery
Create a gallery of ghostly ancestors with this clever photo manipulation project. These eerie portraits will give visitors the feeling that they’re being watched by spirits from the past.

Materials needed:
- Printed black and white photos
- Frame
- White or glow-in-the-dark paint
- Small paintbrush
Instructions:
- Print old-fashioned portraits in black and white.
- Use white or glow-in-the-dark paint to alter the eyes and add spectral effects.
- Place in frames and hang in a group for maximum impact.
15. Devilish Doormat
Welcome guests with a wickedly fun doormat that sets the mood for your Halloween celebration. This simple DIY project adds a personal touch to your entryway and can be customized with your favourite spooky phrase.
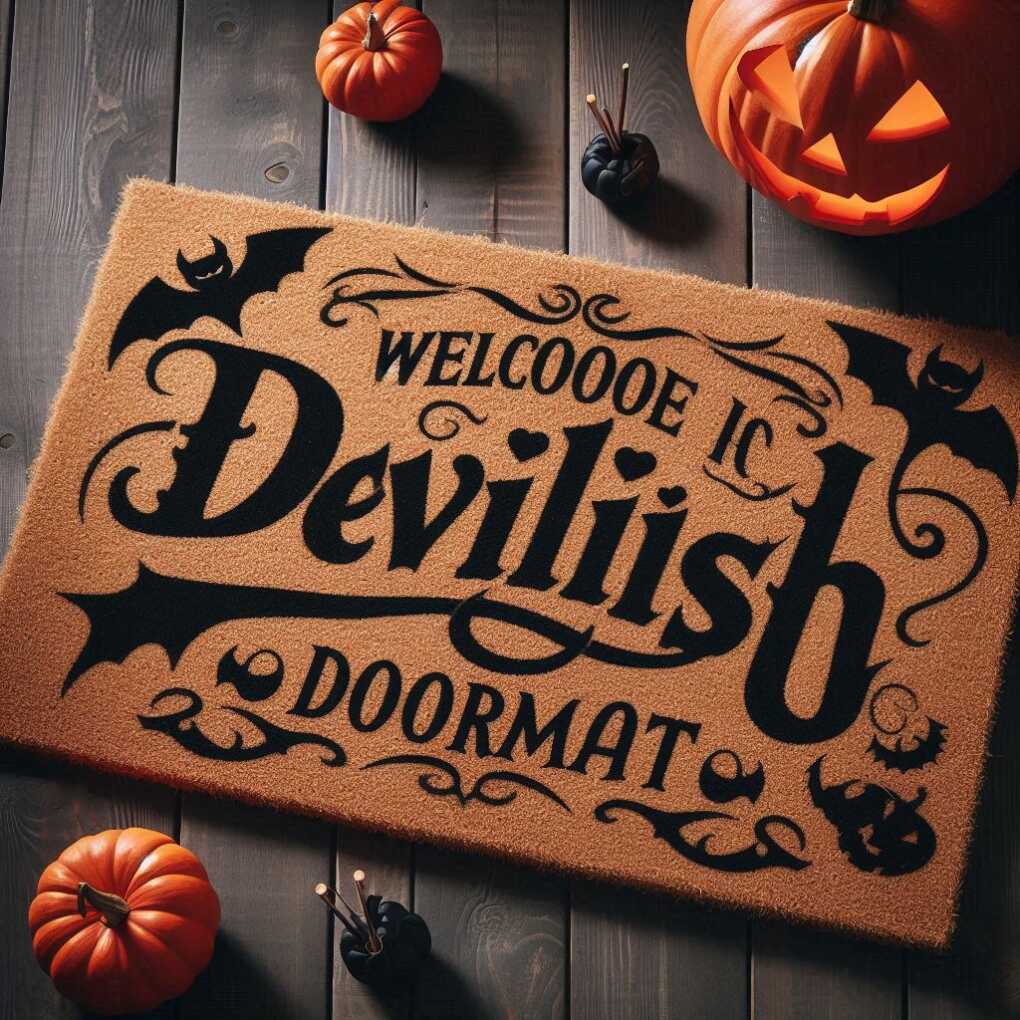
Materials needed:
- Plain coir doormat
- Black acrylic paint
- Stencil or freehand design
- Paintbrush
Instructions:
- Create or purchase a stencil with a Halloween message or design.
- Position the stencil on the doormat.
- Use black acrylic paint to fill in the design.
- Let dry completely before use.
These 15 DIY Halloween decorations offer a range of projects to suit various skill levels and preferences. From simple crafts to more involved creations, there’s something for everyone looking to add a personal touch to their Halloween decor. Remember to plan ahead and gather all necessary materials before starting your projects
By creating your own decorations, you not only save money but also infuse your Halloween celebration with personal creativity and style. So gather your crafting supplies, summon your inner spooky spirit, and get ready to transform your home into a hauntingly beautiful Halloween haven!
| Decoration | Difficulty Level | Time to Complete | Indoor/Outdoor |
|---|---|---|---|
| Ghostly Mason Jar Lanterns | Easy | 1-2 hours | Both |
| Spooky Silhouette Windows | Easy | 30 minutes – 1 hour | Indoor |
| Creepy Floating Candles | Medium | 2-3 hours | Indoor |
| Eerie Eyeball Wreath | Medium | 2-3 hours | Both |
| Creepy Crawly Spider Infestation | Easy | 30 minutes – 1 hour | Both |
| Ghastly Glowing Eyes | Easy | 1 hour | Both |
| Sinister Silhouette Paintings | Medium | 2-3 hours | Indoor |
| Bone-Chilling Skeleton Garland | Medium | 2-3 hours | Both |
| Witch’s Potion Bottle Display | Easy | 1-2 hours | Indoor |
| Terrifying Tissue Paper Ghosts | Easy | 1-2 hours | Both |
| Spellbinding Spell Book Props | Medium | 2-3 hours | Indoor |
| Creepy Cardboard Coffins | Medium | 2-3 hours | Both |
| Menacing Mummy Door | Easy | 1-2 hours | Outdoor |
| Haunted Portrait Gallery | Medium | 2-3 hours | Indoor |
| Devilish Doormat | Easy | 1 hour | Outdoor |
With this comprehensive guide to DIY Halloween decorations, you’re well-equipped to create a spooktacular atmosphere that will impress trick-or-treaters and party guests alike. Happy crafting, and have a frightfully fun Halloween!