As the crisp autumn air settles in and leaves begin to turn, Halloween enthusiasts everywhere start dreaming up their perfect pumpkin designs. Whether you’re a seasoned carver or a novice looking to create your first jack-o’-lantern, this comprehensive guide offers 31 exciting pumpkin carving ideas to inspire your Halloween decorations. From classic faces to intricate designs, we’ve got something for everyone to make this spooky season truly memorable.
The History of Pumpkin Carving
Pumpkin carving has been a beloved Halloween tradition for centuries. Originating from the Irish folktale of Stingy Jack, people began carving turnips and potatoes to ward off evil spirits. When Irish immigrants arrived in America, they discovered pumpkins were much easier to carve, and a new tradition was born. Today, pumpkin carving is a fun and festive activity enjoyed by millions around the world.
Now, let’s dive into our list of 31 Halloween pumpkin carving ideas, organized by skill level and style:
1. Classic Jack-o’-Lantern Face
The timeless grinning face is a Halloween staple. This design features triangle eyes, a nose, and a toothy smile. Perfect for beginners, it captures the essence of the holiday with its simplicity and charm.
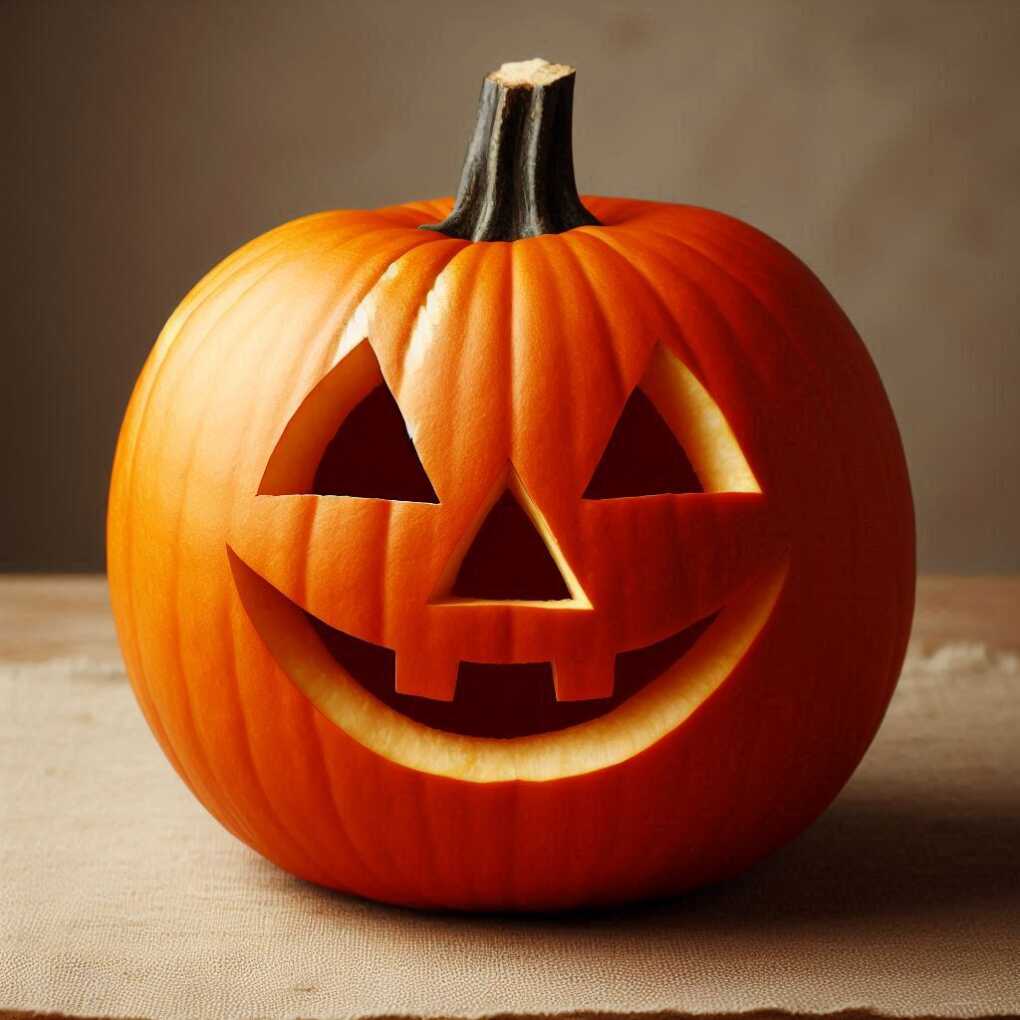
Pro Tip: To create perfectly triangular eyes, use the tip of your knife to make three small holes where you want the corners of the triangle, then connect them with straight cuts.
2. Haunted House Silhouette
Transform your pumpkin into a spooky abode by carving a haunted house silhouette. Include windows, a crooked chimney, and maybe even a witch flying across the moon for added eeriness.

Enhance Your Design: Add depth to your haunted house by carving some elements (like windows) all the way through, while only scraping the pumpkin’s surface for others (like the house outline). This creates a multi-dimensional effect when lit.
3. Friendly Ghost
Carve a cheerful ghost design to greet trick-or-treaters. Use varying depths to create a 3D effect, making the ghost appear to float out of the pumpkin.
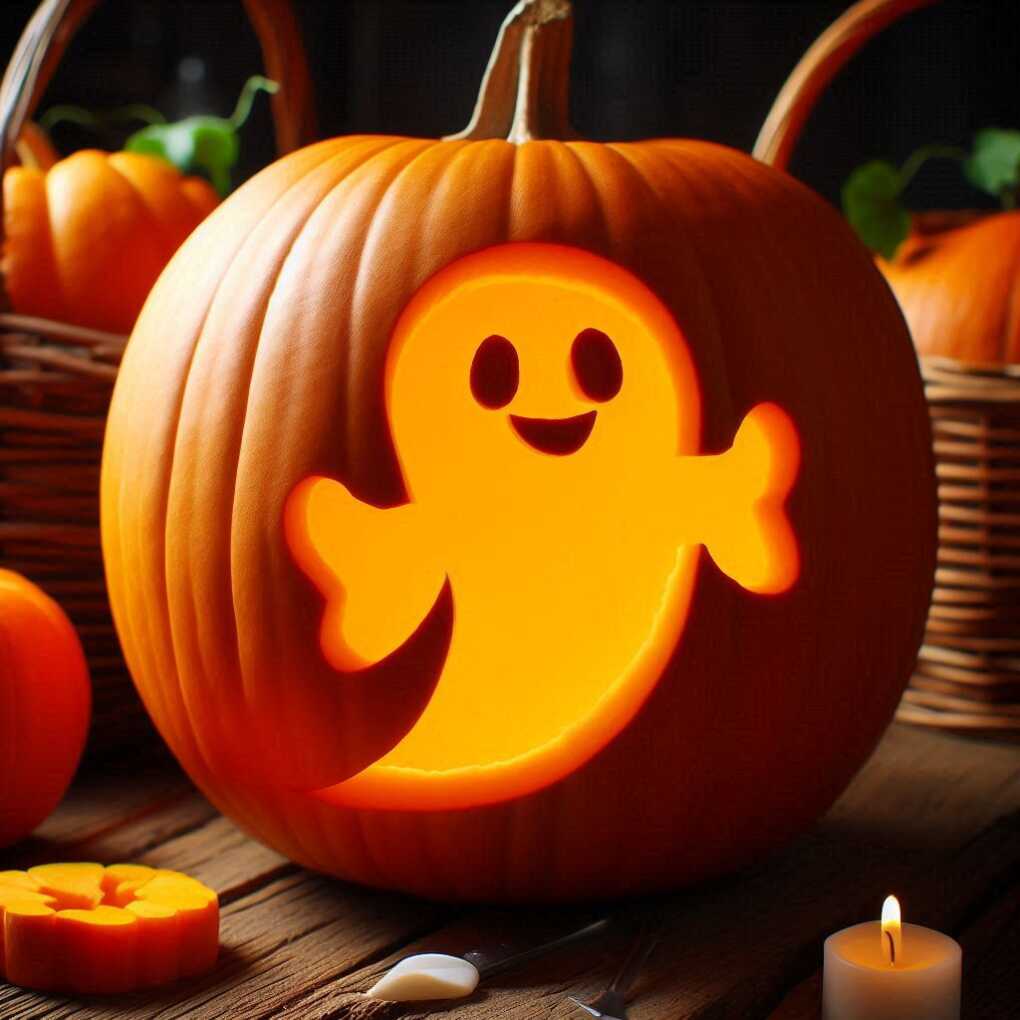
Ghost Variations:
- Casper the Friendly Ghost
- A group of ghost friends
- A ghost emerging from a tombstone
4. Intricate Lace Pattern
For the more advanced carvers, try a delicate lace pattern. This design requires patience and precision but results in a stunning, ethereal glow when lit from within.
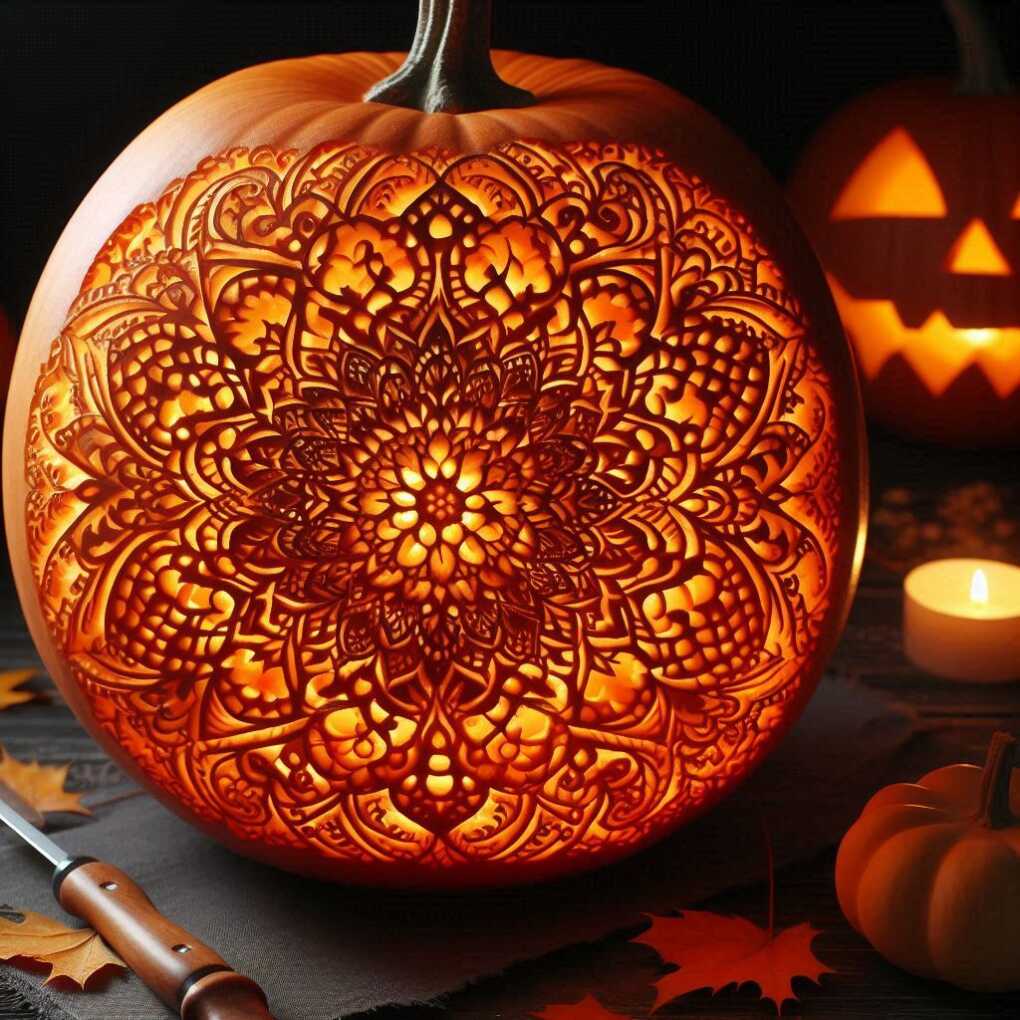
Pro Tip: Use a drill with various bit sizes to create perfect circles of different sizes, forming the basis of your lace pattern.
5. Spooky Cat
A Halloween cat with an arched back and glowing eyes is sure to cast a bewitching spell on your porch. Use negative space to create whiskers and fur texture.
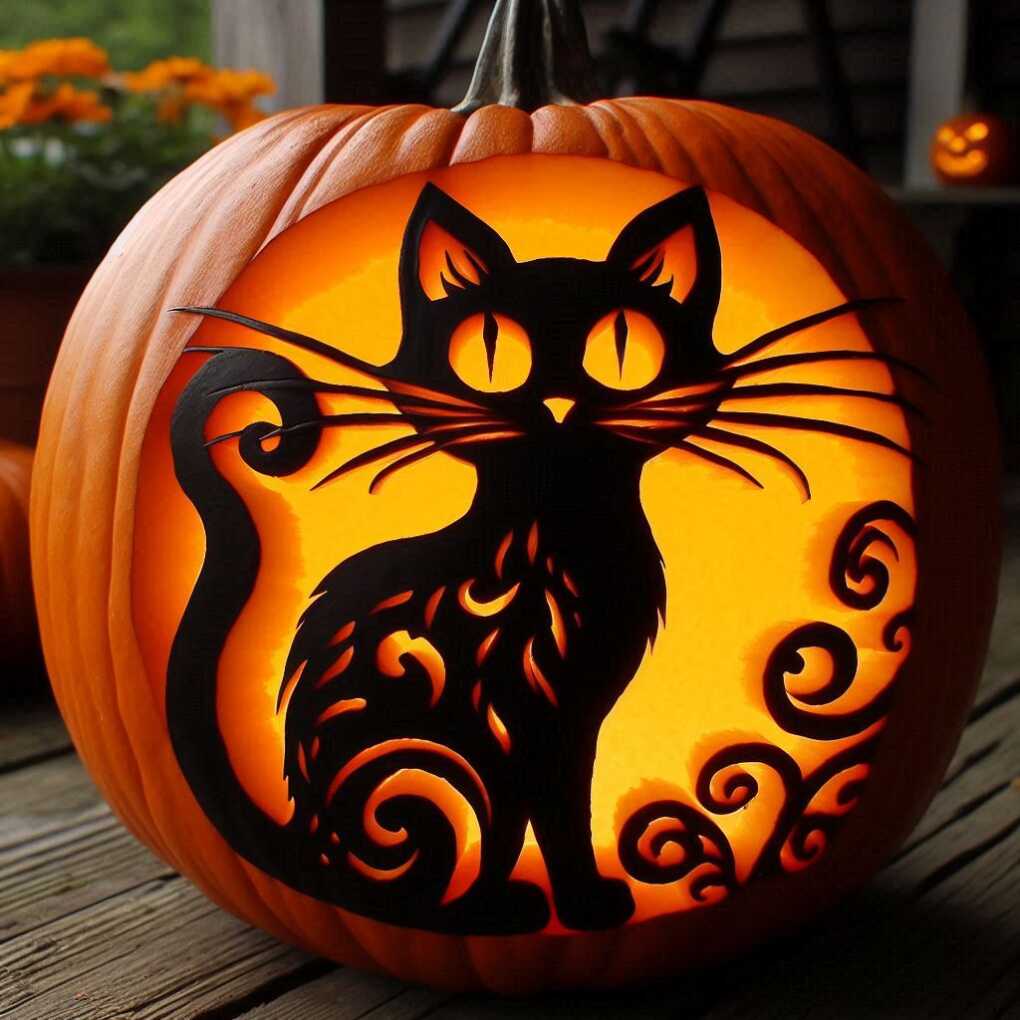
Add Some Feline Flair:
- Carve a moon behind the cat
- Include a witch’s hat on the cat’s head
- Create multiple cats in different poses
6. Vampire Fangs
Create a vampire-inspired pumpkin by focusing on a mouth with prominent fangs. Add drops of “blood” (red paint) for an extra frightful touch.
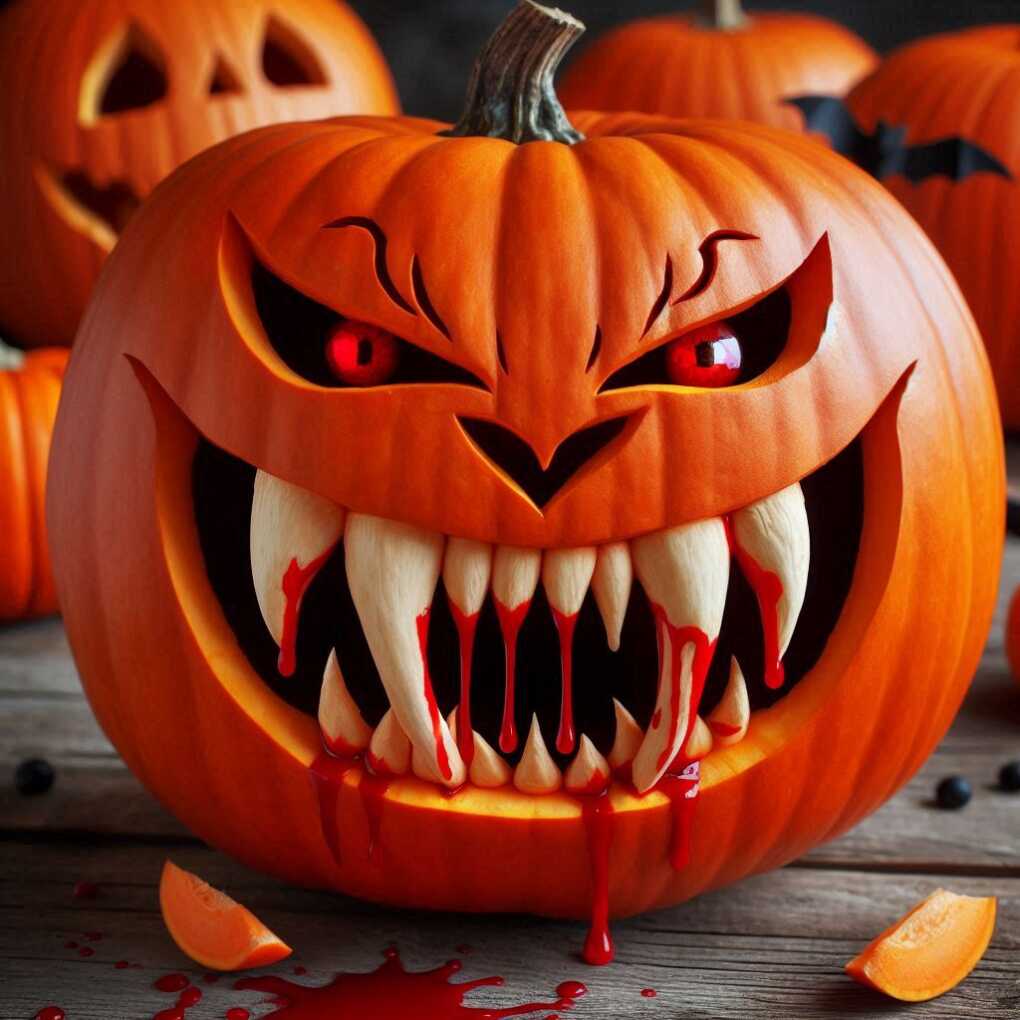
Vampire Accessories:
- Carve bat wings on either side of the pumpkin
- Add a high collar around the stem
- Include glowing red eyes above the fangs
7. Witch on a Broomstick
Carve the silhouette of a witch flying across your pumpkin. Include details like her pointed hat and billowing cape for a magical effect.
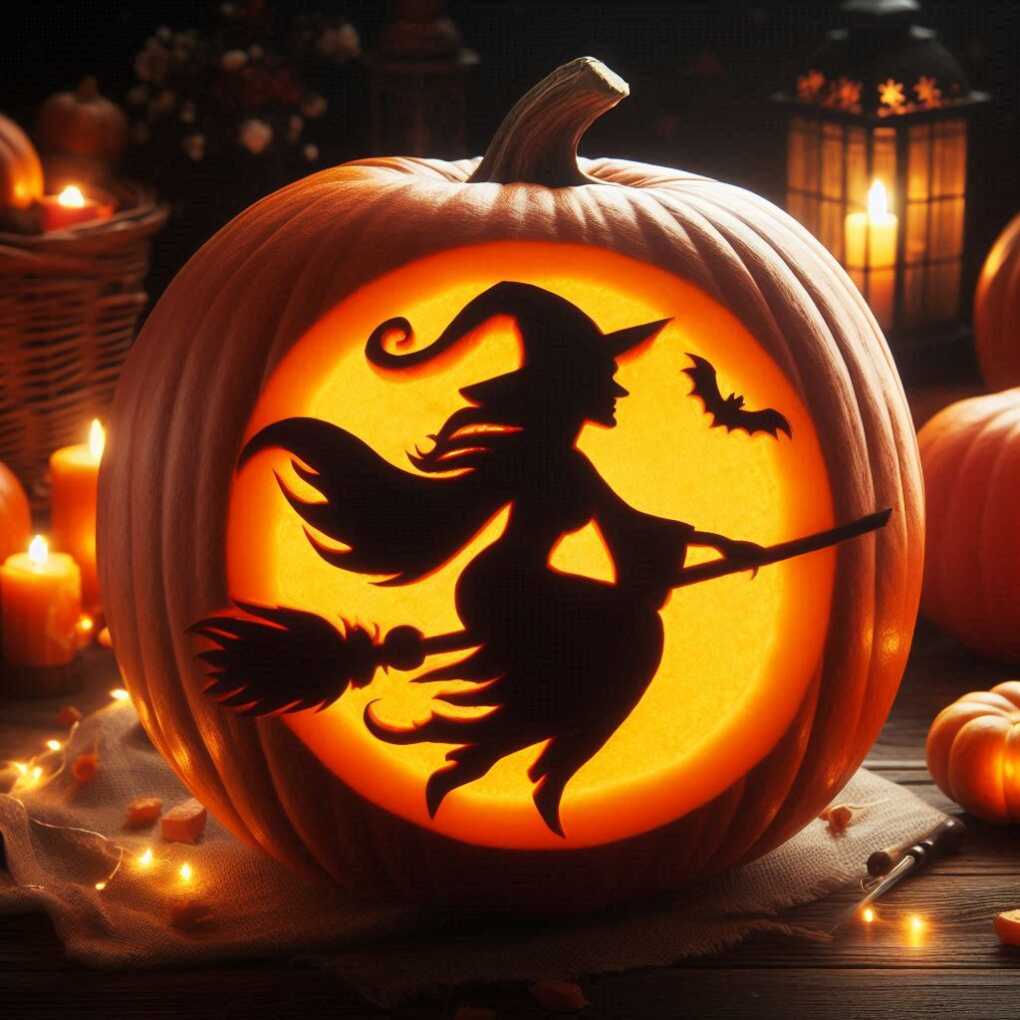
Pro Tip: Use a stencil for complex silhouettes like this. You can find free printable stencils online or create your own using tracing paper.
8. Creepy Crawly Spider
A large spider design with long, spindly legs can send shivers down visitors’ spines. Add a web pattern in the background for extra intricacy.
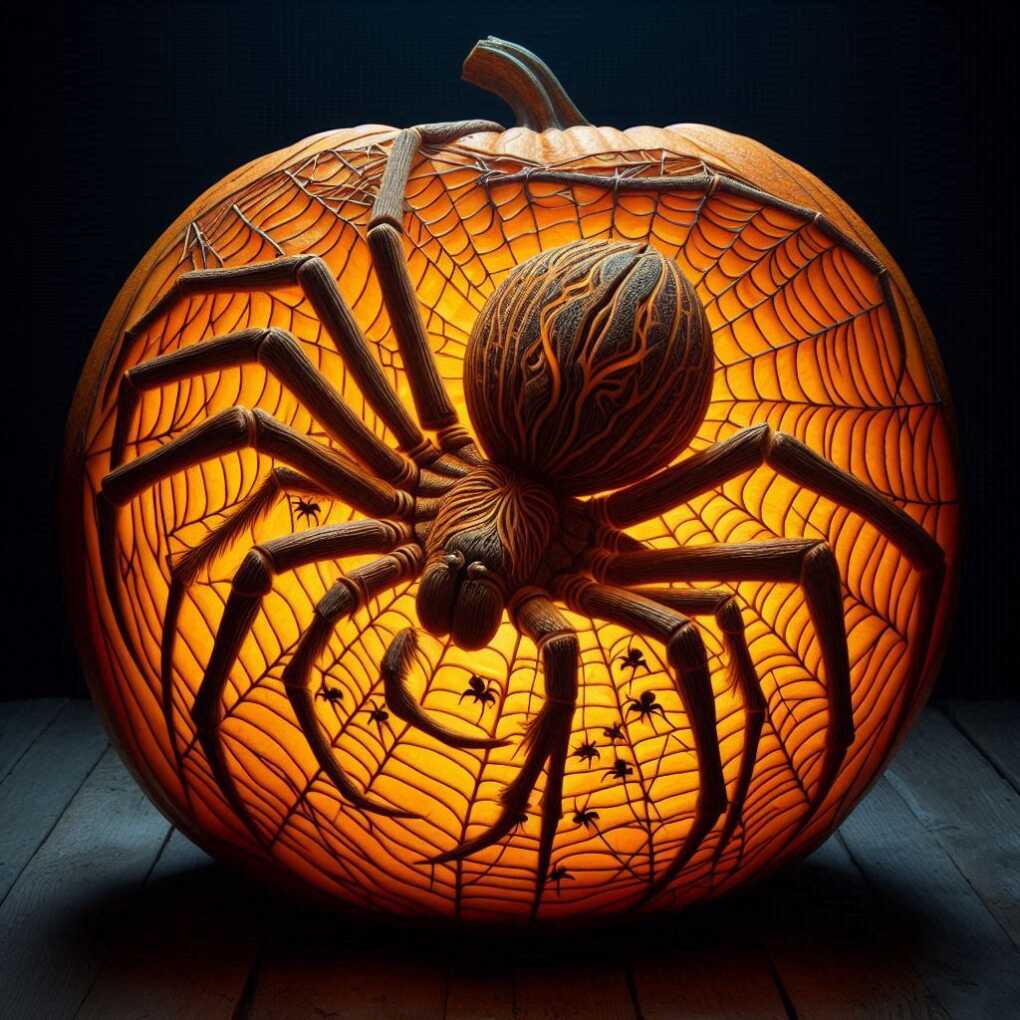
Spider Design Variations:
- Multiple small spiders scattered across the pumpkin
- A 3D spider using a second, smaller pumpkin for the body
- A spider catching prey in its web
9. Frankenstein’s Monster
Bring this classic monster to life on your pumpkin. Focus on the square head, bolts, and stitched features for an unmistakable look.
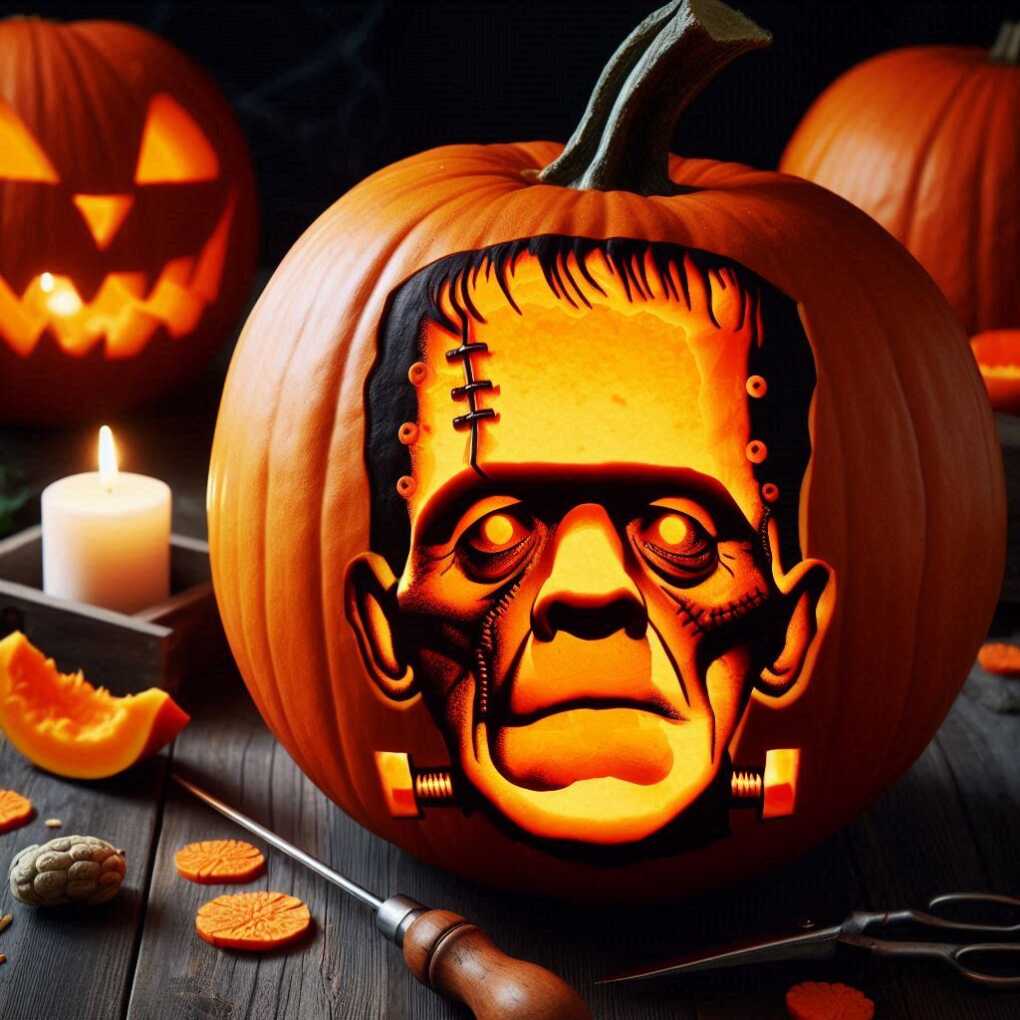
Frankenstein’s Family:
- Add the Bride of Frankenstein on a companion pumpkin
- Create a full-body version showing the monster’s stitched-together limbs
- Carve famous quotes from Mary Shelley’s novel around the face
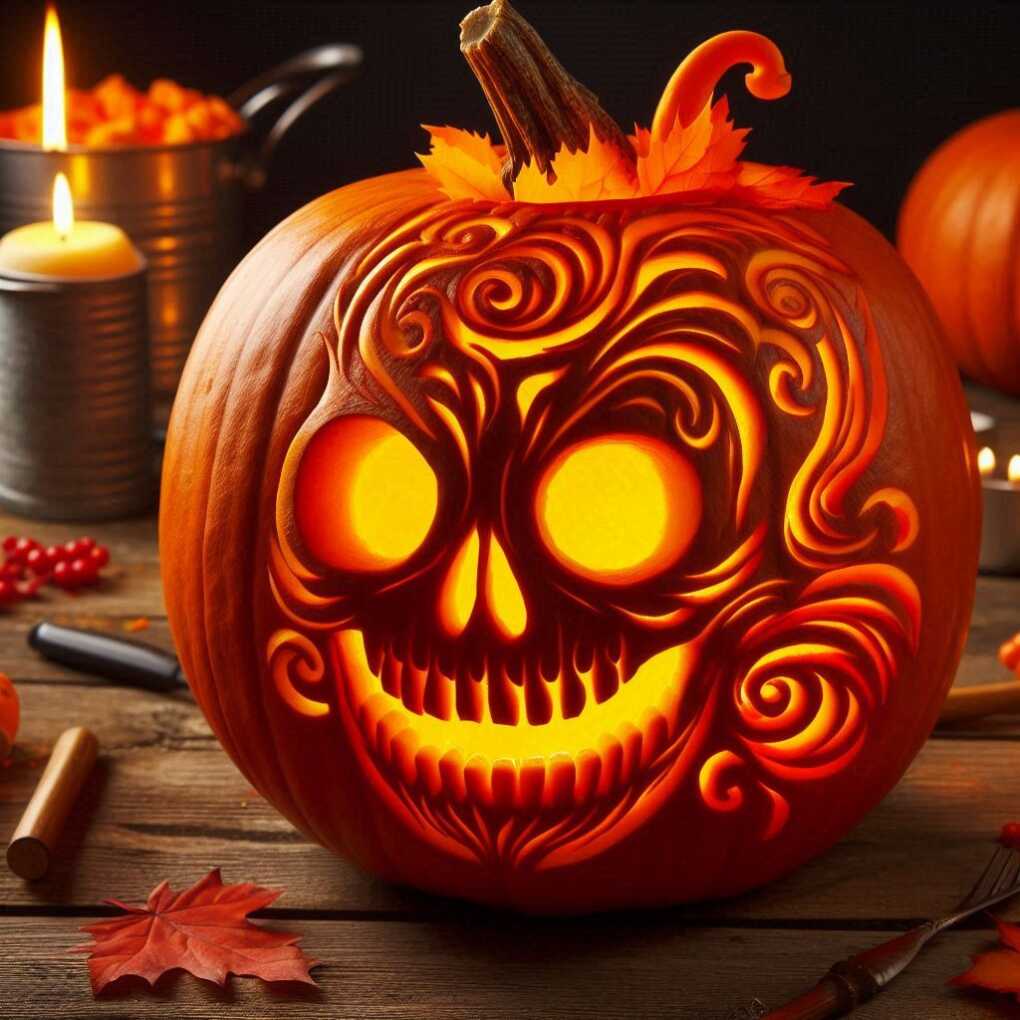
10. Grinning Skull
A skull design can range from simple to complex. Start with basic eye sockets and a nose, then add teeth and bone details as desired.
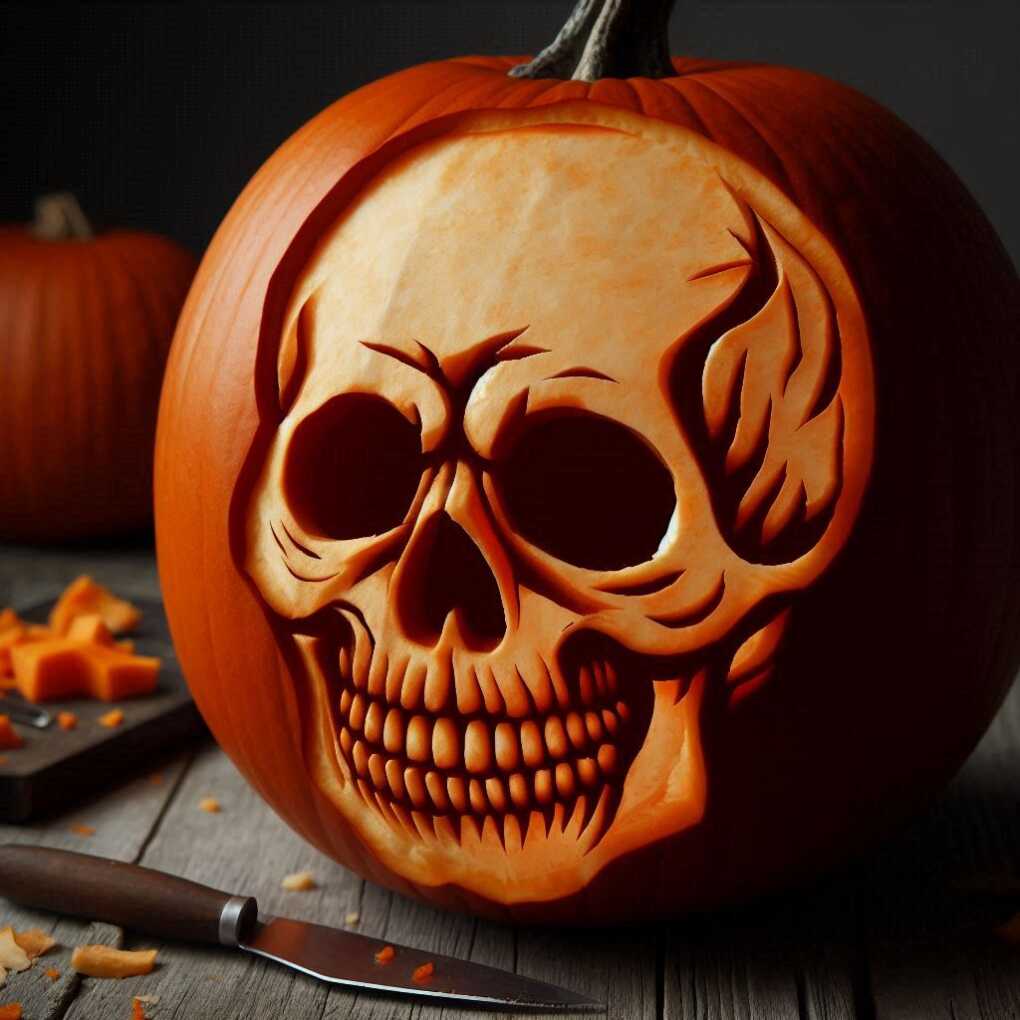
Pro Tip: For a more realistic skull, research anatomical drawings and pay attention to the shapes of the eye sockets, nasal cavity, and jawline.
11. Bats in Flight
Carve multiple bat silhouettes of varying sizes to create the illusion of a colony in flight across your pumpkin’s surface.
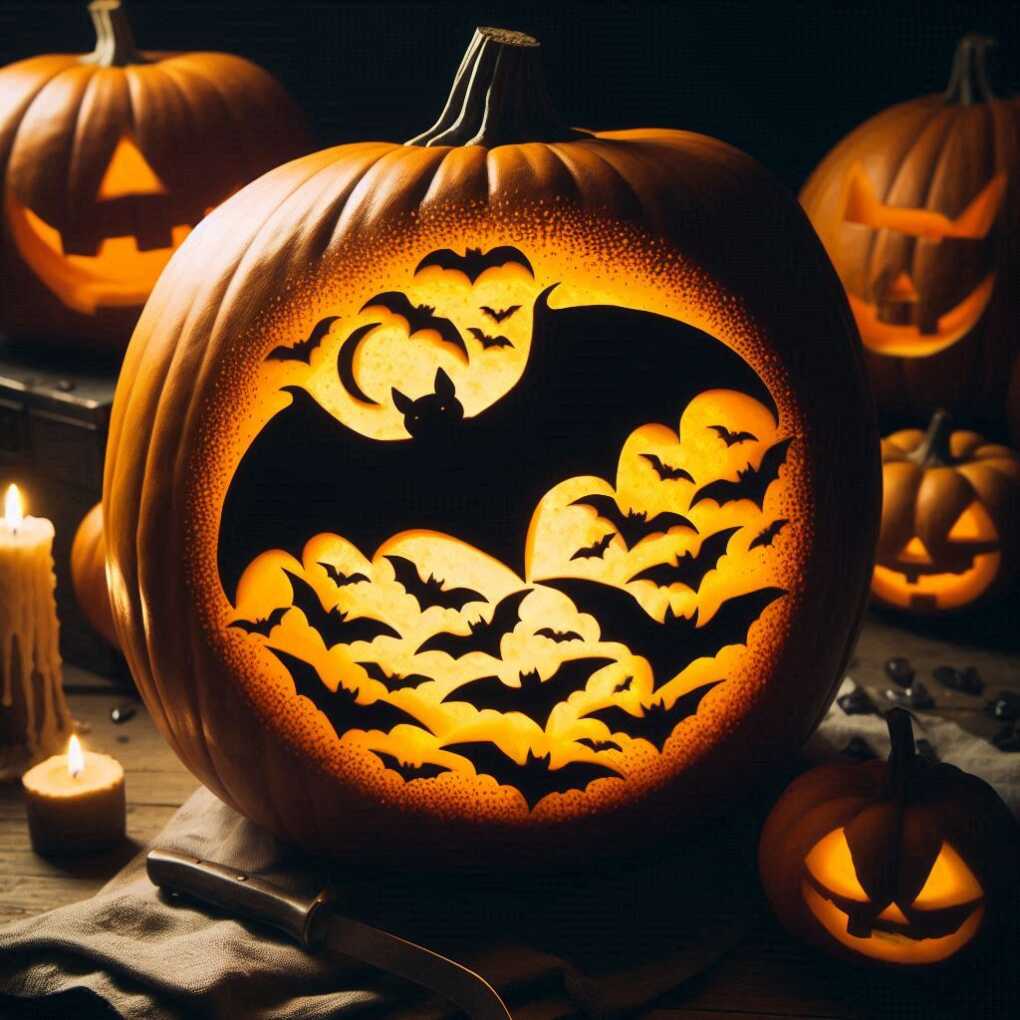
Bat Carving Techniques:
- Use a gradual size progression to create depth
- Experiment with different wing positions for a variety
- Add a moon or clouds in the background
12. Spellbook and Potion Bottles
For a witchy theme, carve the outlines of an open spellbook surrounded by potion bottles. Add swirling “smoke” for a magical touch.
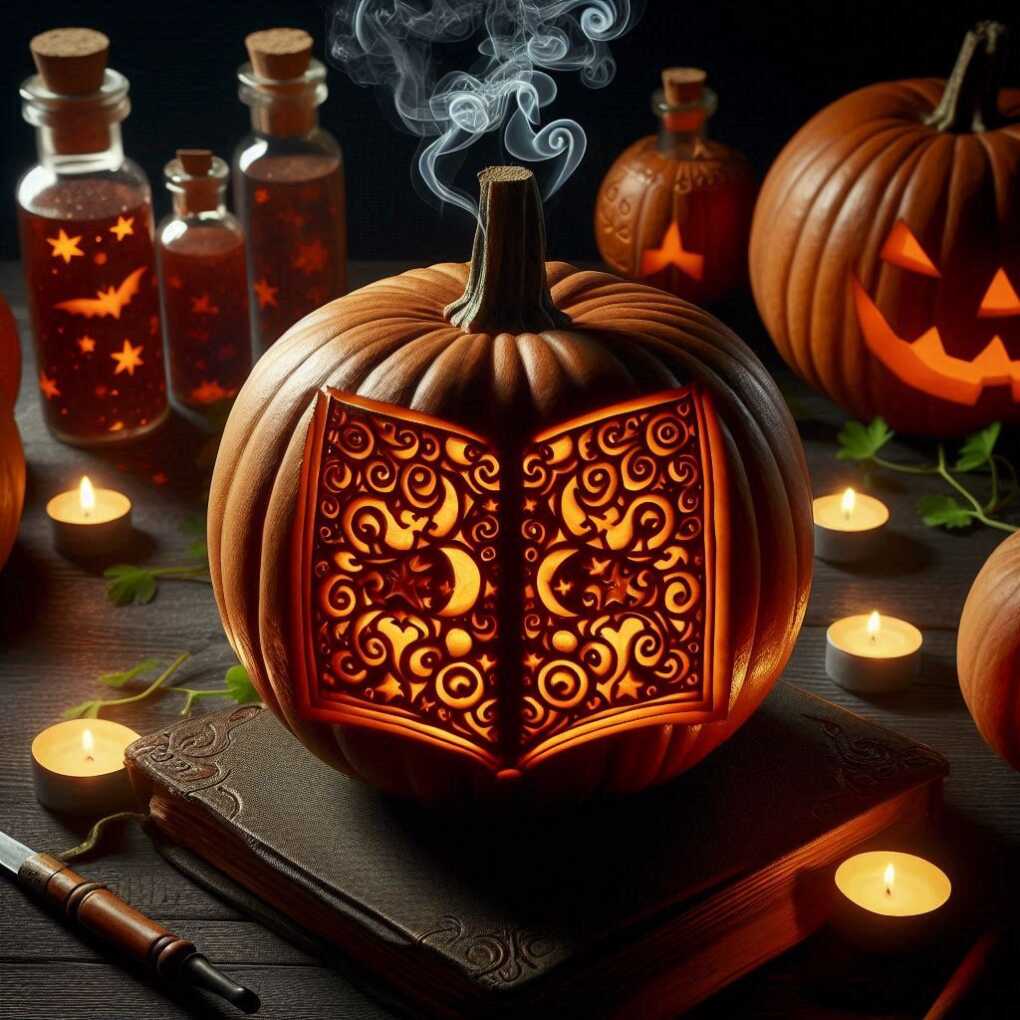
Magical Additions:
- Carve spell ingredients like eye of newt or dragon scales
- Include a witch’s wand or cauldron in the scene
- Add mystical symbols or runes to the spellbook pages
13. Howling Wolf
Capture the essence of a full moon night with a wolf howling at the sky. Use shading techniques to add depth to the fur.

Pro Tip: To create the illusion of fur, use a linoleum cutter or wood carving tool to make short, parallel marks in varying depths.
14. Graveyard Scene
Create a mini graveyard on your pumpkin with tombstones, bare trees, and perhaps a ghost or two peeking out from behind.
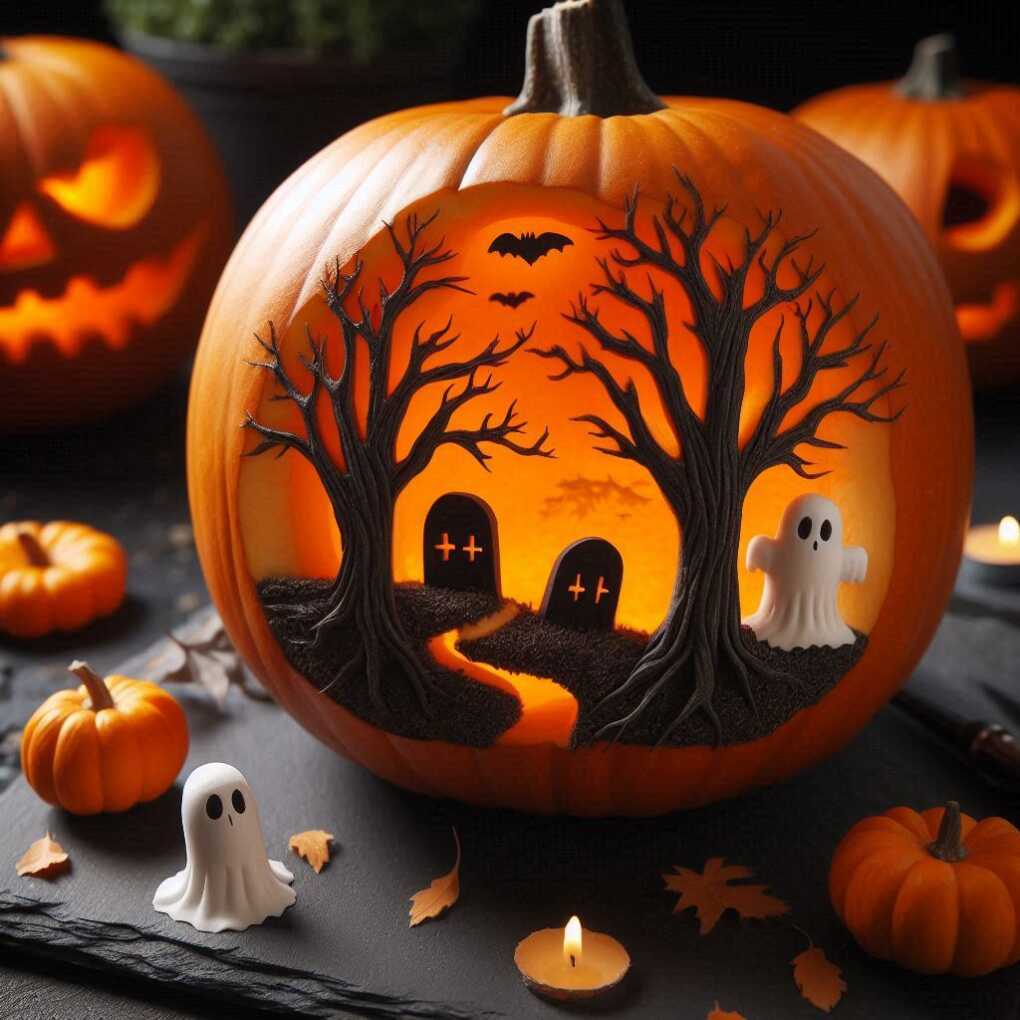
Graveyard Elements:
- Add a wrought iron fence in the foreground
- Carve creepy epitaphs on the tombstones
- Include a grim reaper figure looming over the scene
15. Jack Skellington
Fans of “The Nightmare Before Christmas” will love a Jack Skellington-inspired design. Focus on his round head and iconic stitched smile.
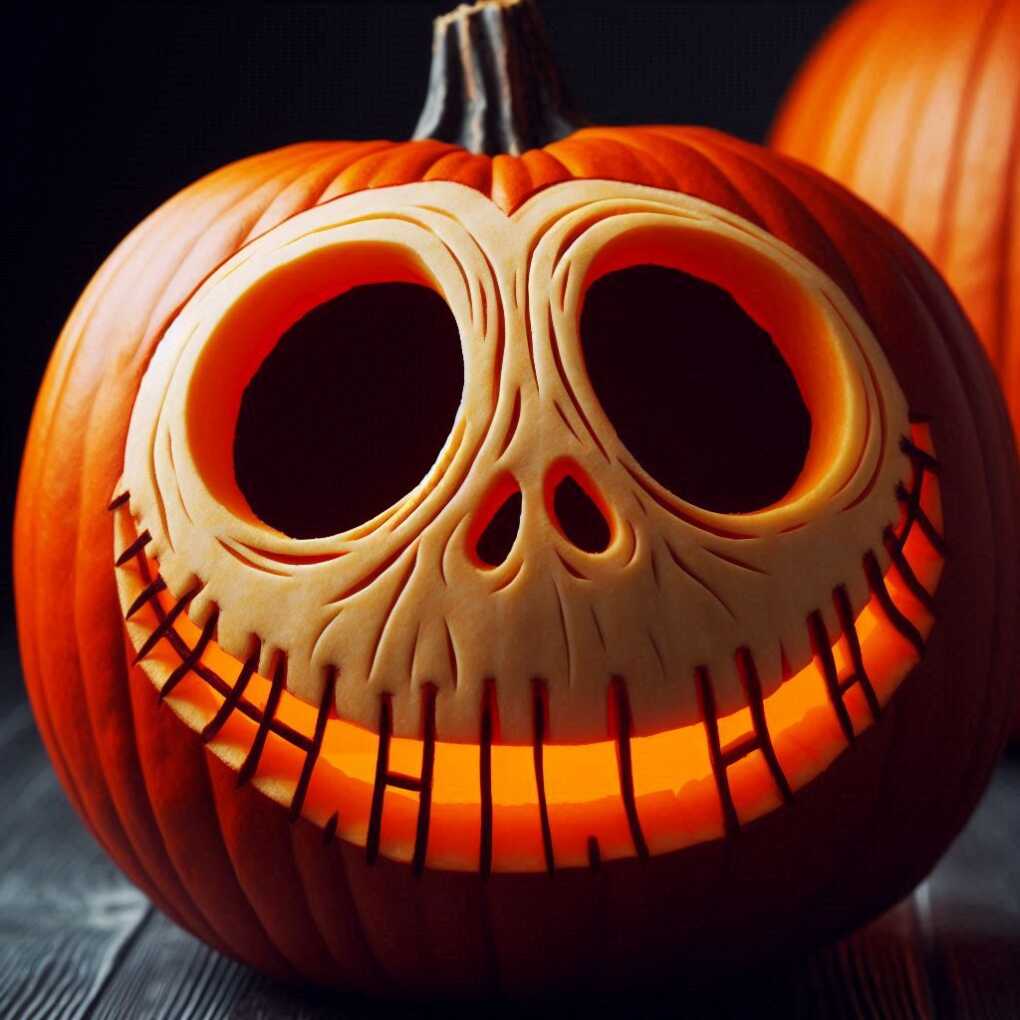
Nightmare Before Christmas Theme:
- Carve Sally on a companion pumpkin
- Include Zero the ghost dog flying around Jack
- Add the spiral hill as a background element
Here’s an expanded table comparing the difficulty levels of the first 15 pumpkin carving ideas:
| Design | Difficulty Level | Time Required | Tools Needed | Key Techniques |
|---|---|---|---|---|
| Classic Jack-o’-Lantern Face | Beginner | 30 minutes | Basic carving kit | Simple cuts, scooping |
| Haunted House Silhouette | Intermediate | 1-2 hours | Basic carving kit, small saw | Silhouette carving, depth variation |
| Friendly Ghost | Beginner | 45 minutes | Basic carving kit | Curves, simple shading |
| Intricate Lace Pattern | Advanced | 3-4 hours | Detail carving tools, drill | Precision cutting, layering |
| Spooky Cat | Intermediate | 1-2 hours | Basic carving kit, small saw | Negative space, texture creation |
| Vampire Fangs | Beginner | 30 minutes | Basic carving kit | Simple cuts, painting |
| Witch on a Broomstick | Intermediate | 1-2 hours | Basic carving kit, small saw | Silhouette carving, detail work |
| Creepy Crawly Spider | Intermediate | 1-2 hours | Basic carving kit, small saw | Web pattern, leg detailing |
| Frankenstein’s Monster | Intermediate | 1-2 hours | Basic carving kit, small saw | Geometric shapes, texture |
| Grinning Skull | Beginner to Advanced | 1-3 hours | Basic to advanced carving kit | Shading, anatomical accuracy |
| Bats in Flight | Intermediate | 1-2 hours | Basic carving kit, small saw | Repetitive shapes, size variation |
| Spellbook and Potion Bottles | Advanced | 2-3 hours | Detail carving tools | Intricate designs, perspective |
| Howling Wolf | Advanced | 2-3 hours | Detail carving tools | Fur texture, shading |
| Graveyard Scene | Advanced | 2-3 hours | Detail carving tools | Multiple elements, perspective |
| Jack Skellington | Intermediate | 1-2 hours | Basic carving kit, small saw | Character accuracy, expression |
16. Zombie Face
Create a decaying zombie face with sunken eyes and exposed teeth. Use varying carving depths to add texture to the rotting flesh.
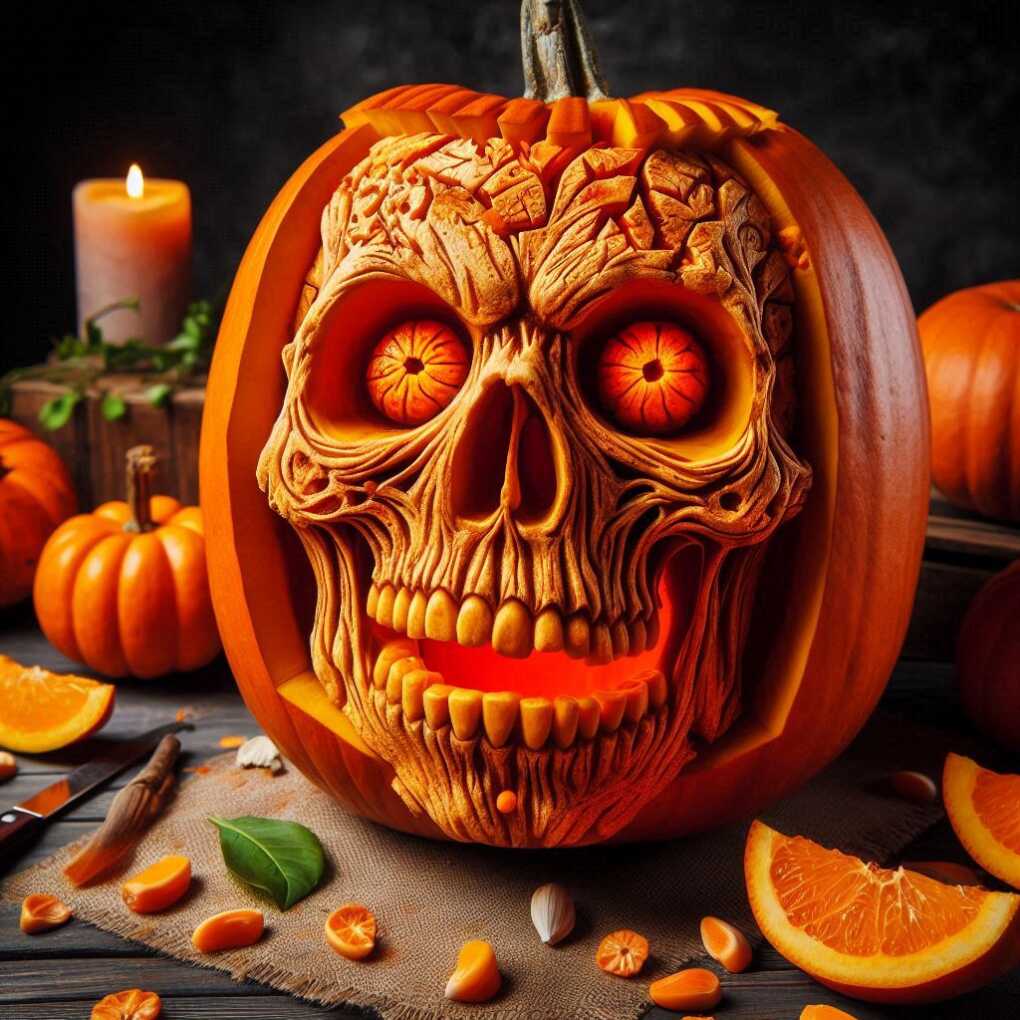
Zombie Details:
- Add exposed brain matter for extra gore
- Carve maggots or worms in the decaying flesh
- Include torn clothing or bandages around the face
Pro Tip: For a truly gruesome effect, mix green and brown food coloring with water and spray it on the carved areas to simulate decay.
17. Optical Illusion
Challenge yourself with an optical illusion design. Try a spiral pattern or interlocking shapes that seem to move when lit.
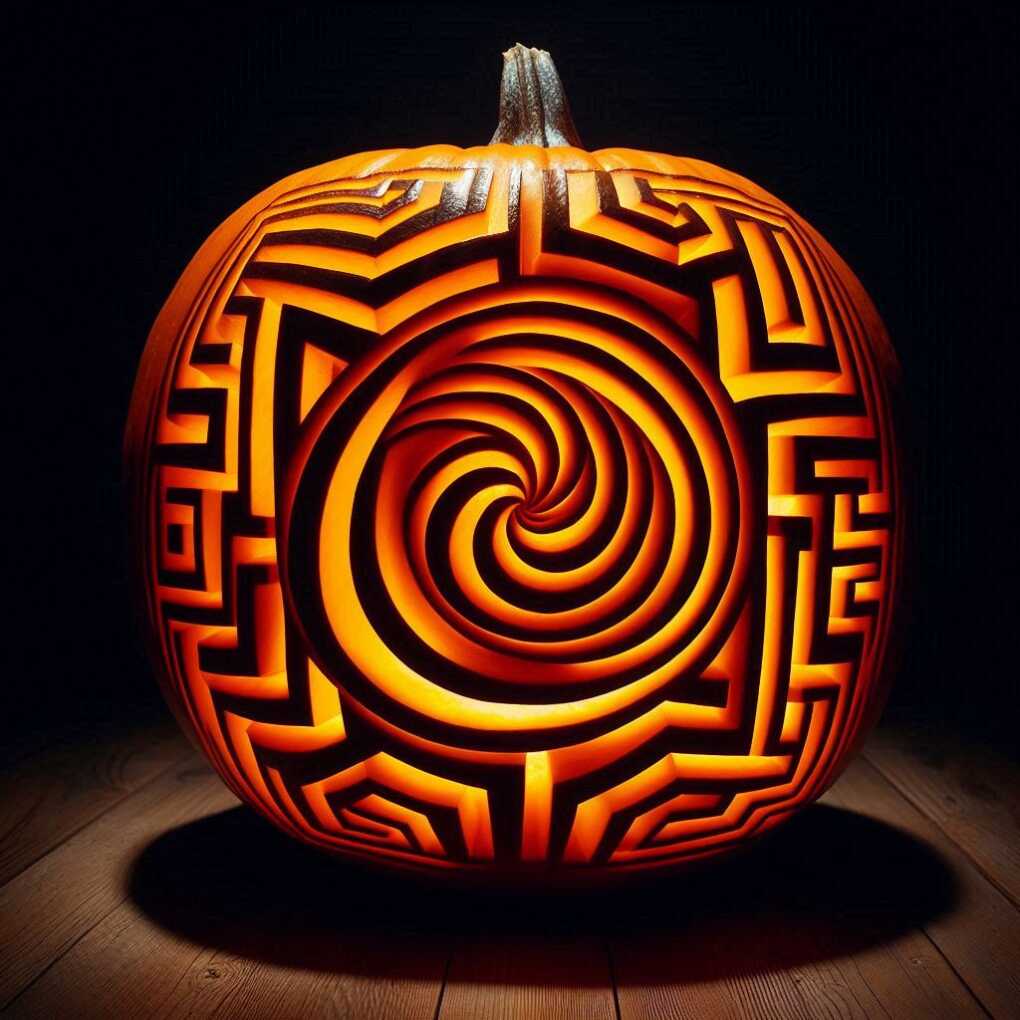
Popular Optical Illusions:
- Escher-inspired impossible shapes
- Rotating spiral
- Face/vase illusion
18. Movie Character
Carve your favourite horror movie villain or iconic Halloween character. Options include Freddy Krueger, Michael Myers, or Pennywise the Clown.
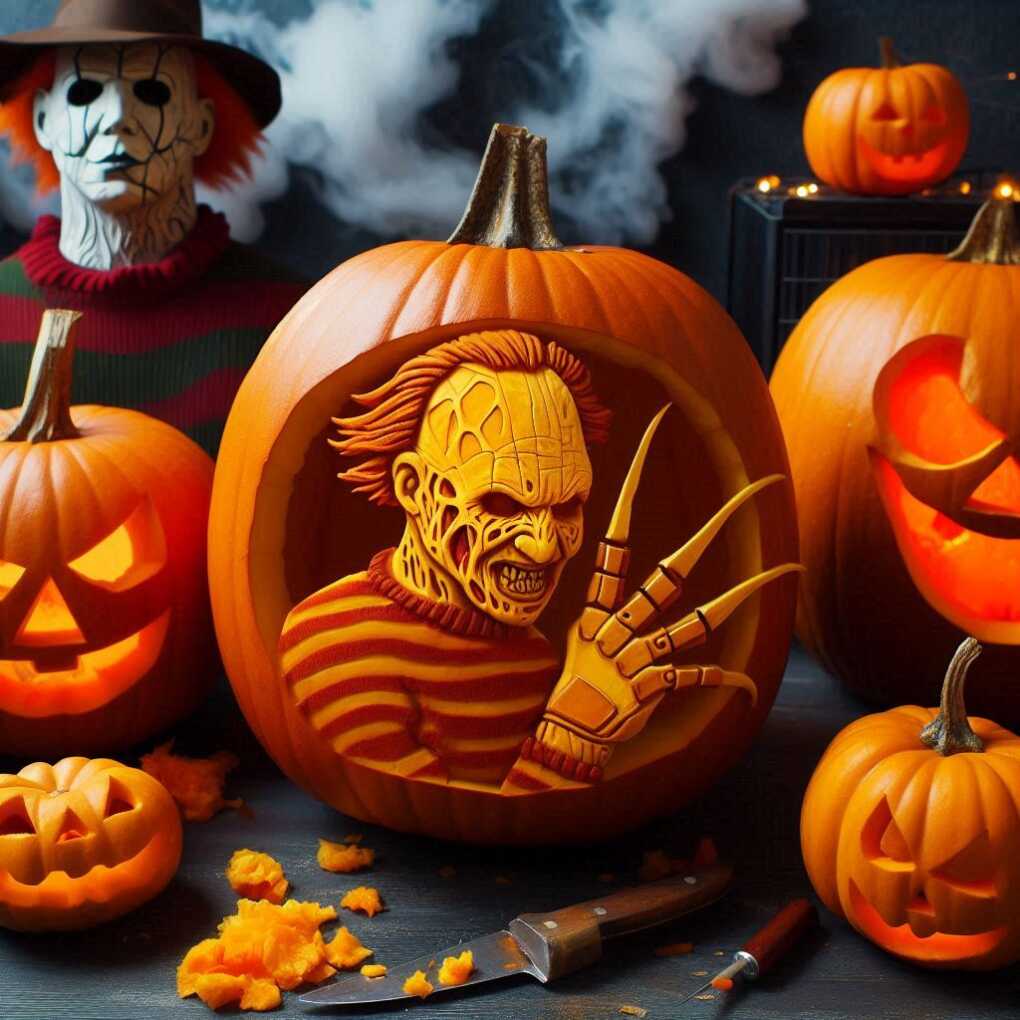
Horror Movie Scenes:
- The shower scene from “Psycho”
- The twins from “The Shining”
- The girl from “The Ring” emerging from the TV
19. Pumpkin Eating Pumpkin
For a humorous twist, carve a large pumpkin face “eating” a smaller pumpkin. Place the smaller pumpkin in the mouth of the larger one.

Variations:
- A chain of pumpkins eating each other
- A pumpkin monster devouring Halloween candy
- A pumpkin “vomiting” pumpkin seeds and pulp
20. Detailed Portrait
Advanced carvers can attempt a detailed portrait of a famous person or character. Use shading techniques to create a lifelike appearance.
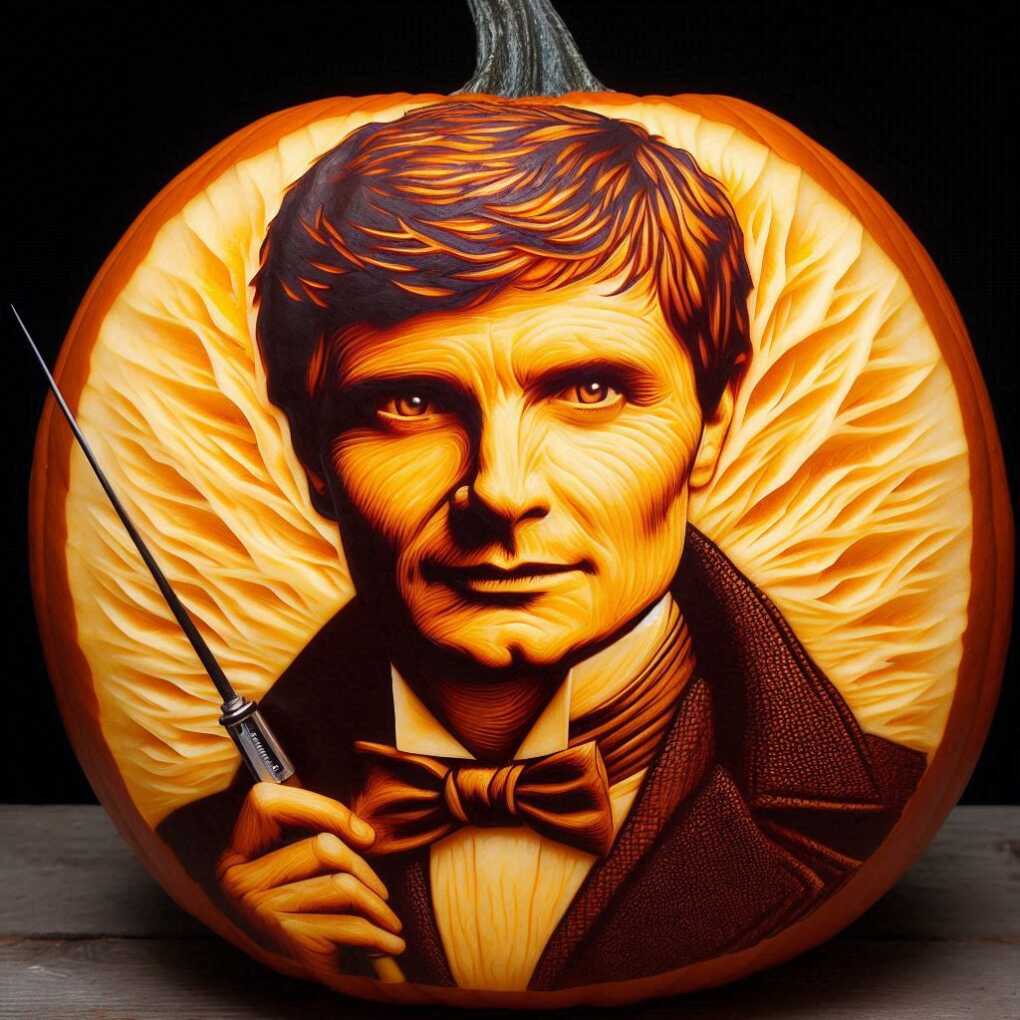
Pro Tip: Start with a high-contrast black and white photo of your subject. Use this as a template, carving deeper for darker areas and leaving more flesh for lighter areas.
21. Constellation Map
Carve tiny holes to represent stars and connect them with carved lines to depict constellations. This design looks magical when lit from within.
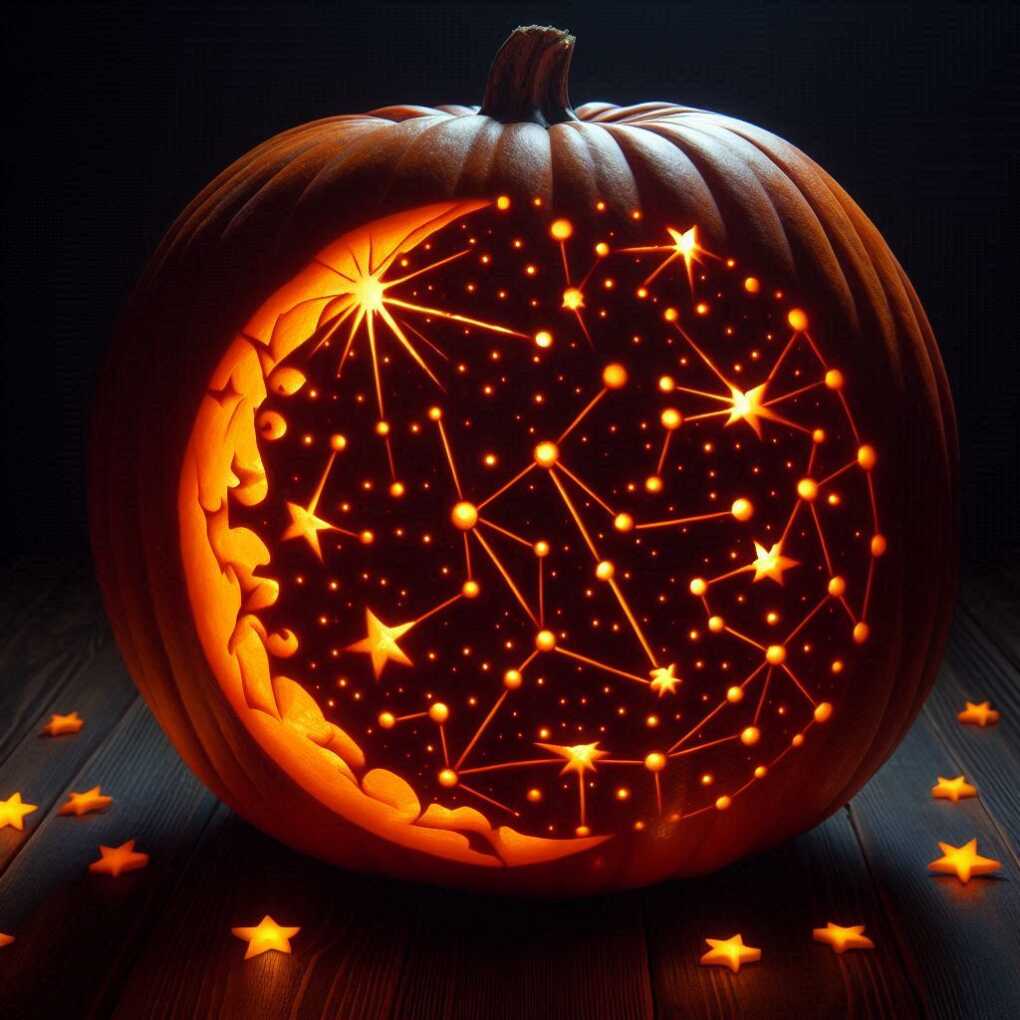
Astronomy Themes:
- Include planets and the moon
- Add the Milky Way as a background
- Carve the phases of the moon around the pumpkin’s circumference
22. Day of the Dead Skull
Inspired by Mexican sugar skulls, create an ornate Day of the Dead design with intricate patterns and floral motifs.
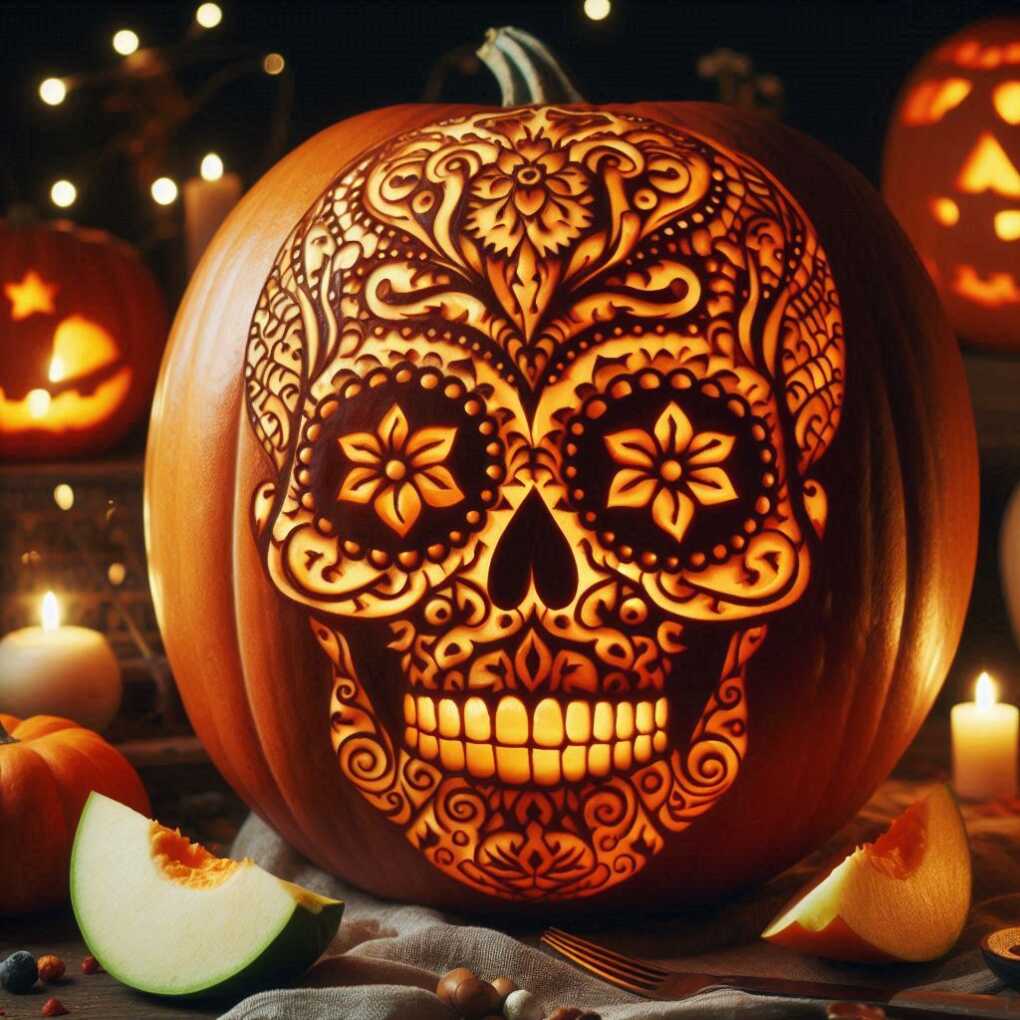
Cultural Elements:
- Incorporate marigolds, the traditional Día de los Muertos flower
- Add candles and ofrendas (offerings) around the skull
- Carve papel picado designs on the pumpkin’s sides
23. Creatures from the Deep
Carve tentacles emerging from your pumpkin as if a sea monster is trying to escape. Add suction cups and curling tentacle tips for detail.
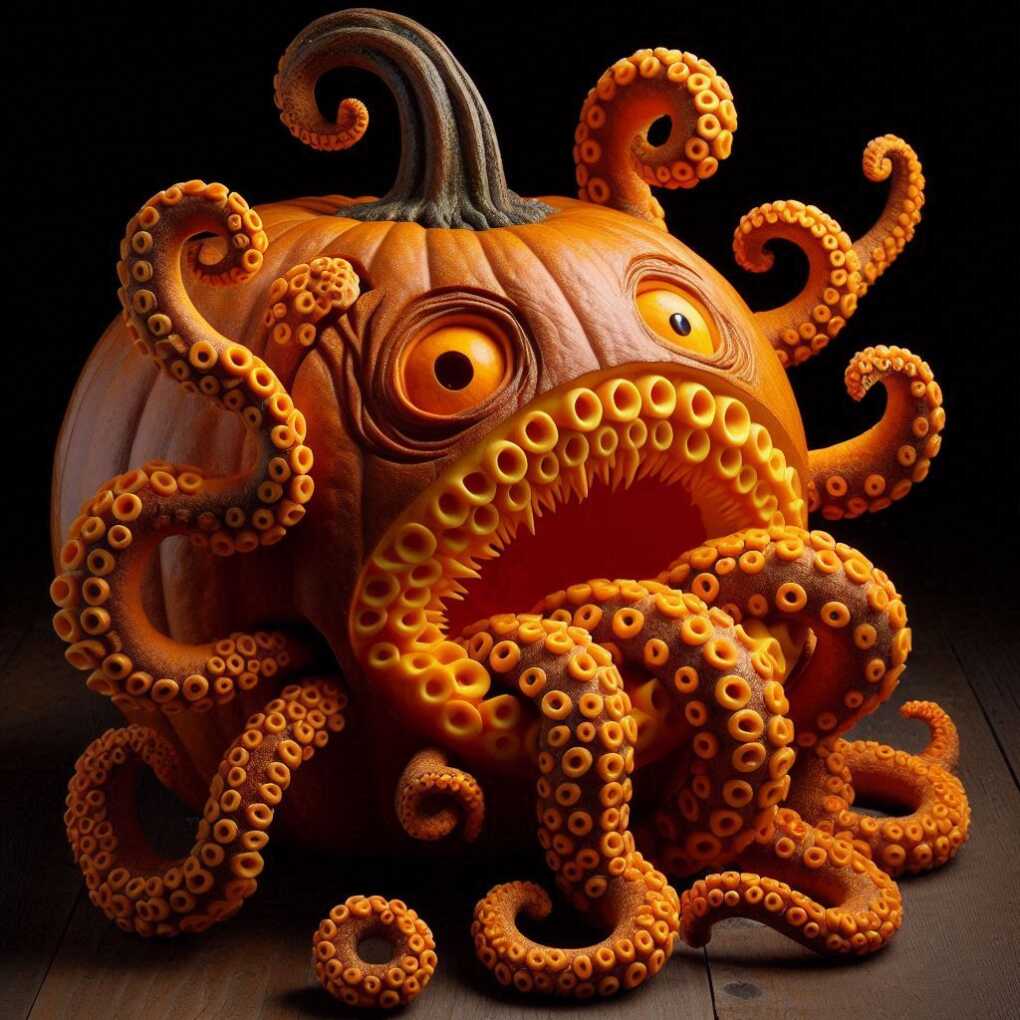
Sea Monster Variations:
- The Kraken wrapped around a ship
- Cthulhu with tentacle beard
- A giant squid attacking a submarine
24. Fairy Tale Scene
Bring a favourite fairy tale to life on your pumpkin. Ideas include Cinderella’s carriage or Rapunzel’s tower.
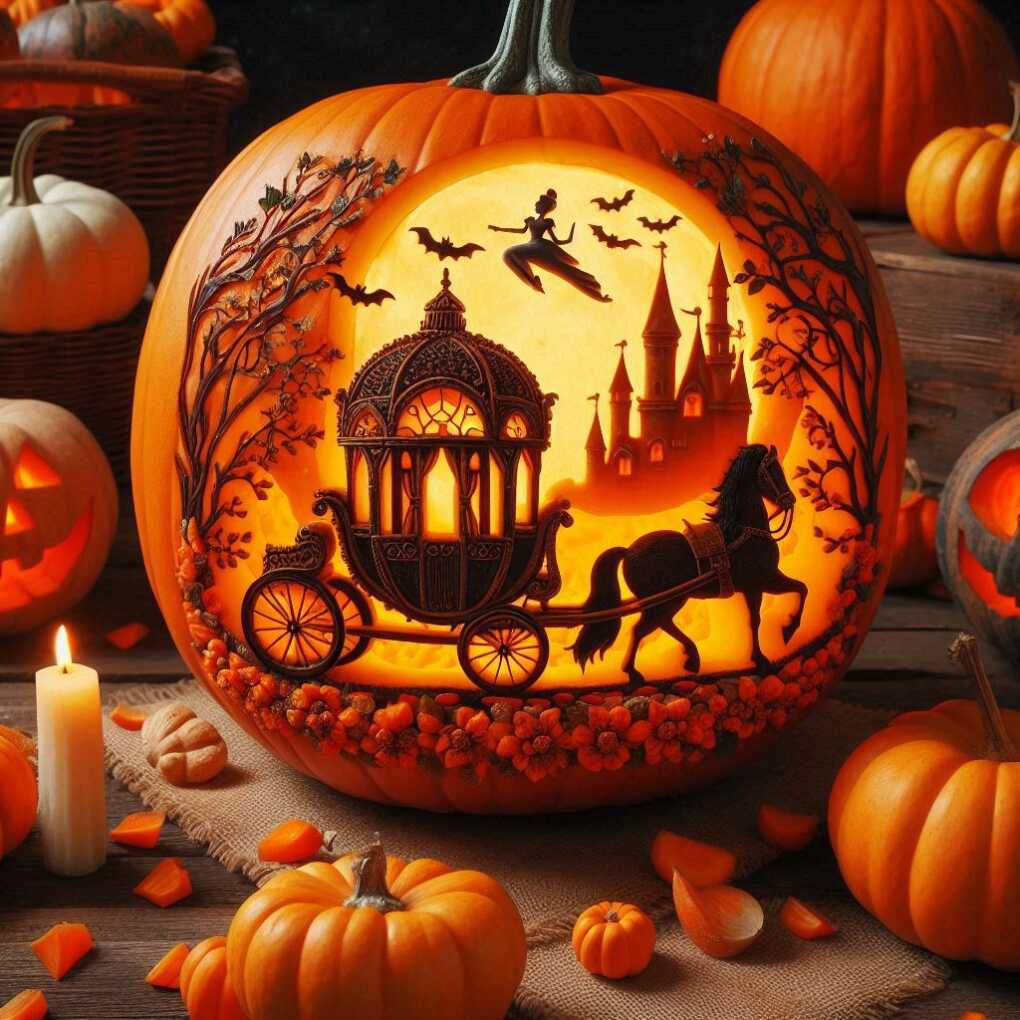
Fairy Tale Inspirations:
- The big bad wolf huffing and puffing
- Jack’s beanstalk growing up the pumpkin
- The witch’s gingerbread house from Hansel and Gretel
25. Geometric Pattern
Create a modern look with a geometric pattern. Use repeated shapes like triangles or hexagons for a striking effect.
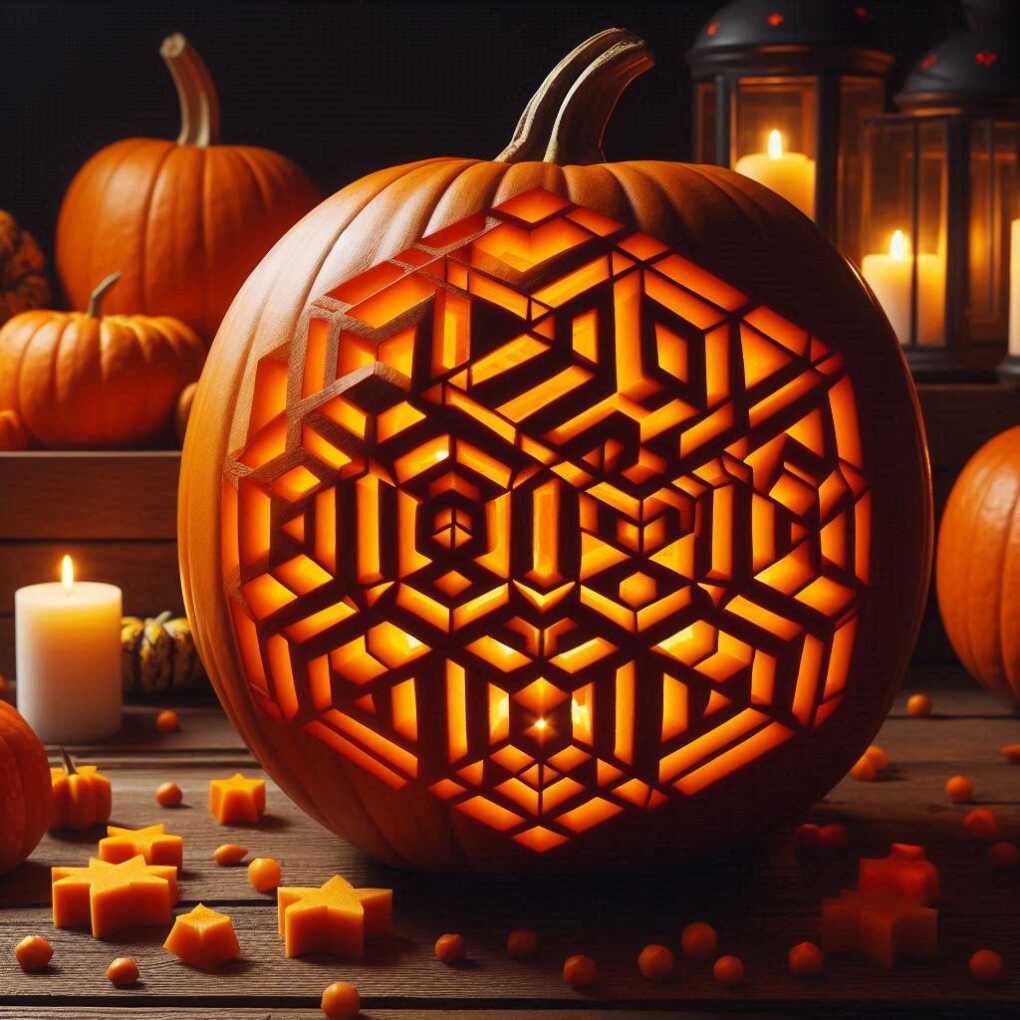
Pro Tip: Use a protractor and ruler to ensure your geometric shapes are precise and evenly spaced.
26. Words or Phrases
Carve a spooky message or your favourite Halloween quote into your pumpkin. Choose a font that’s easy to read when illuminated.
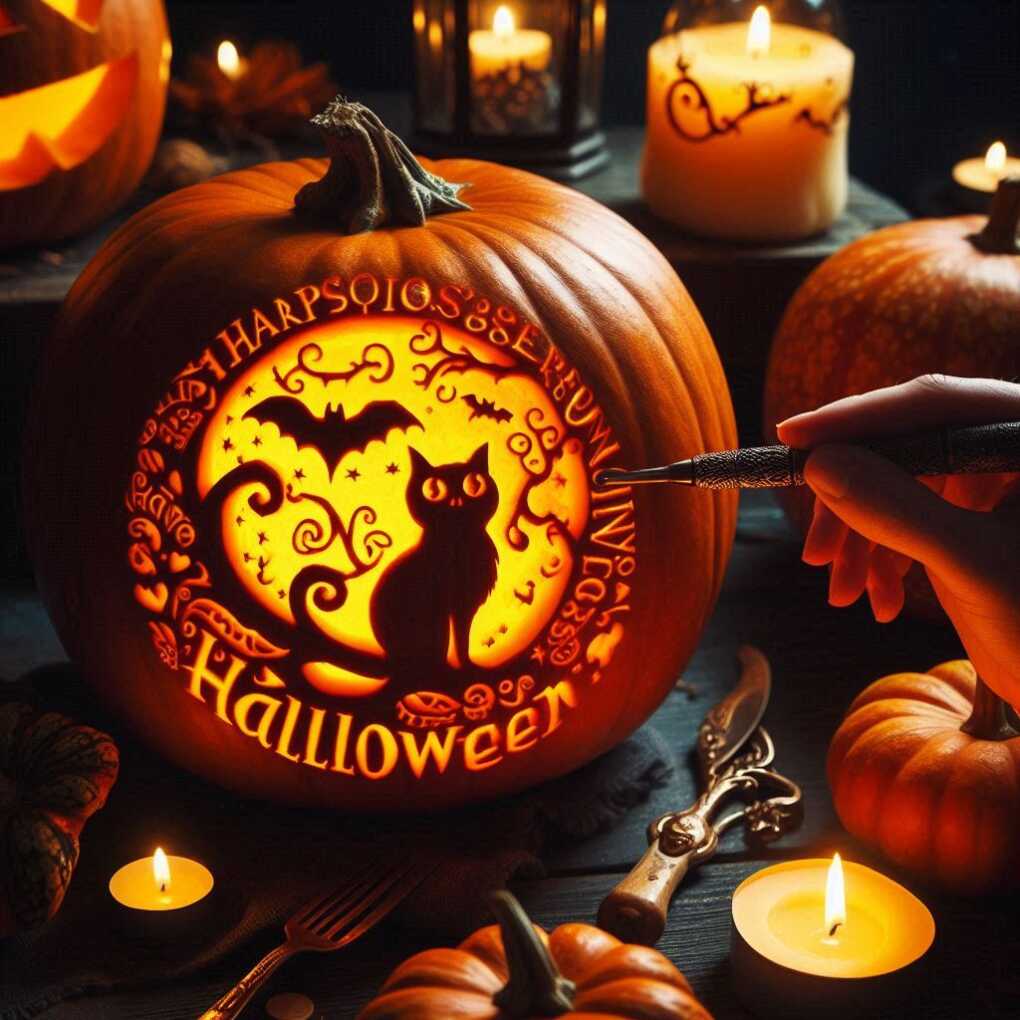
Halloween Quotes:
- “Double, double toil and trouble”
- “It’s alive!”
- “Be afraid. Be very afraid.”
27. Floral Design
For a non-traditional approach, carve a beautiful floral pattern. This design can transition from Halloween to general fall decor.

Seasonal Flowers:
- Chrysanthemums
- Sunflowers
- Autumn leaves interspersed with flowers
28. Stacked Pumpkins
Create a totem pole effect by stacking smaller pumpkins on top of each other, each with its own unique face or design.
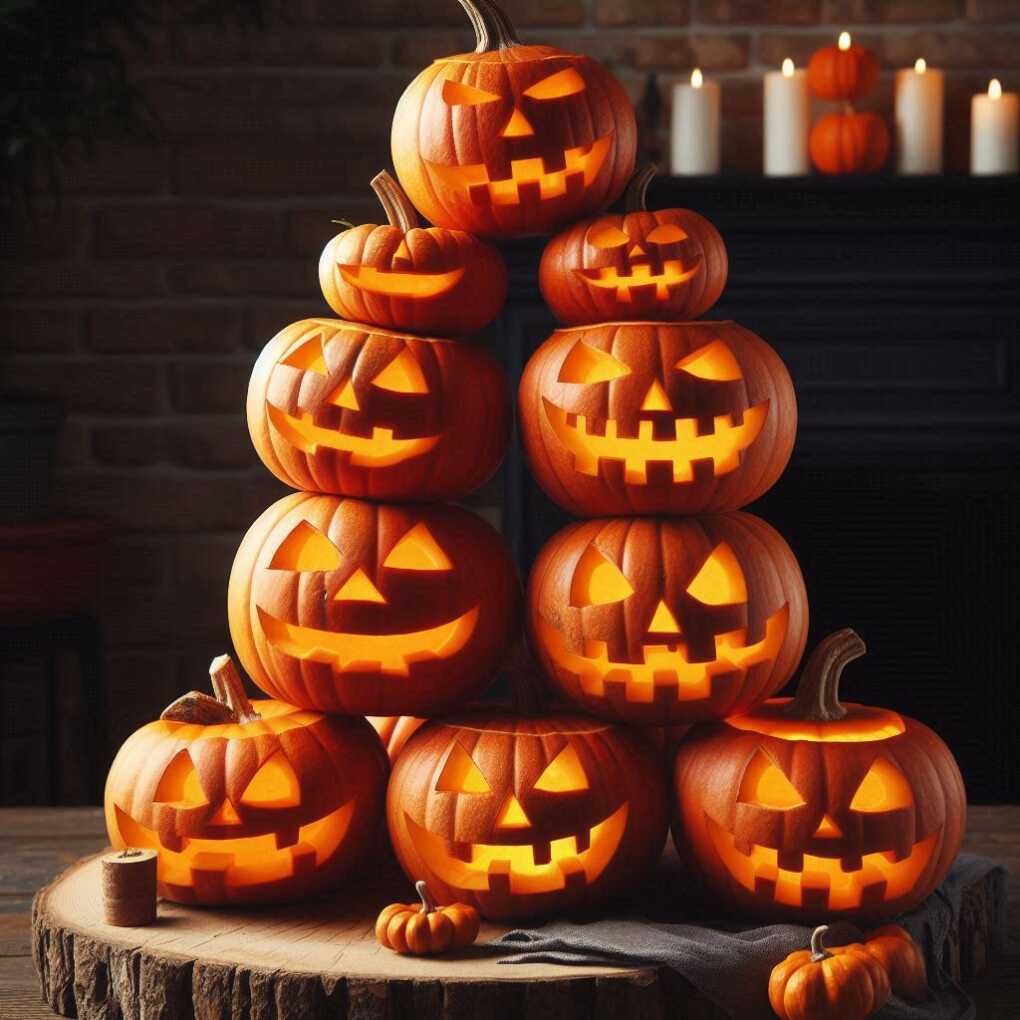
Stacking Ideas:
- A snowman-style stack with three pumpkins of decreasing size
- A tower of jack-o’-lantern faces showing different emotions
- A stack representing the four seasons, with the bottom pumpkin carved for fall
29. Silhouette Scene
Carve a detailed silhouette scene, such as trick-or-treaters walking down a street or a witch’s cottage in the woods.
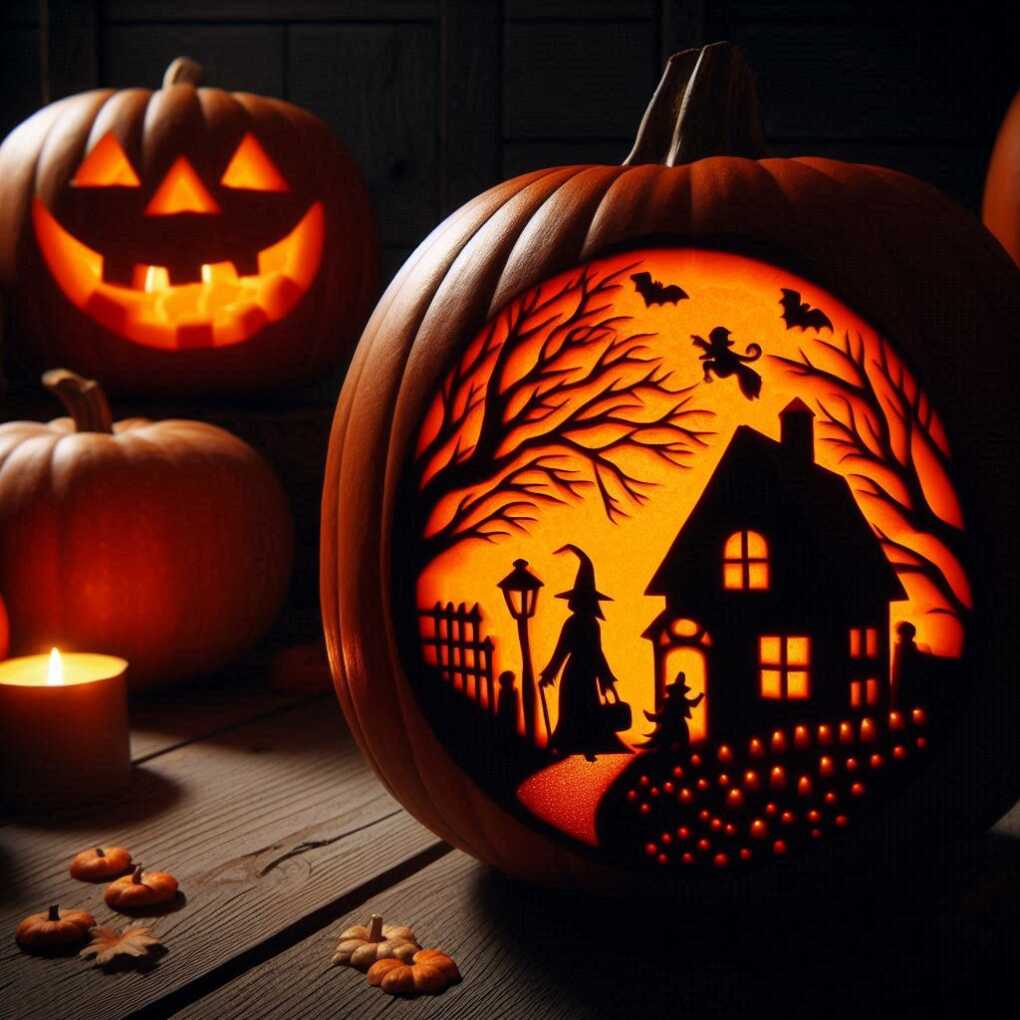
Pro Tip: For complex silhouette scenes, create your design on paper first. Then, transfer it to your pumpkin using carbon paper or by poking holes along the lines of your paper design.
30. Steampunk-Inspired
Incorporate gears, cogs, and mechanical elements into your design for a unique steampunk-themed pumpkin.
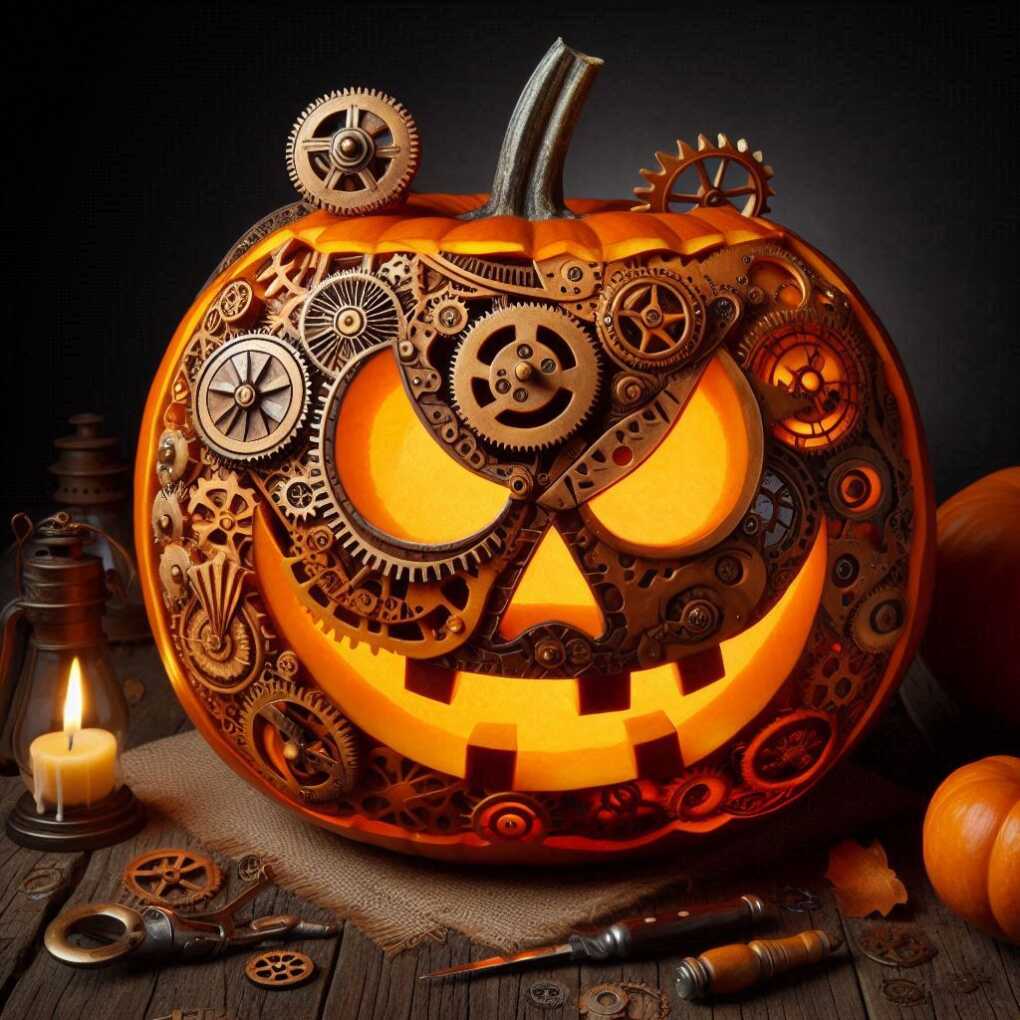
Steampunk Elements:
- Clockwork mechanisms
- Pipes and valves
- Goggles and top hats
31. Glow-in-the-Dark Accents
Enhance any design by painting certain areas with glow-in-the-dark paint. This adds an extra layer of spookiness when the lights go out.
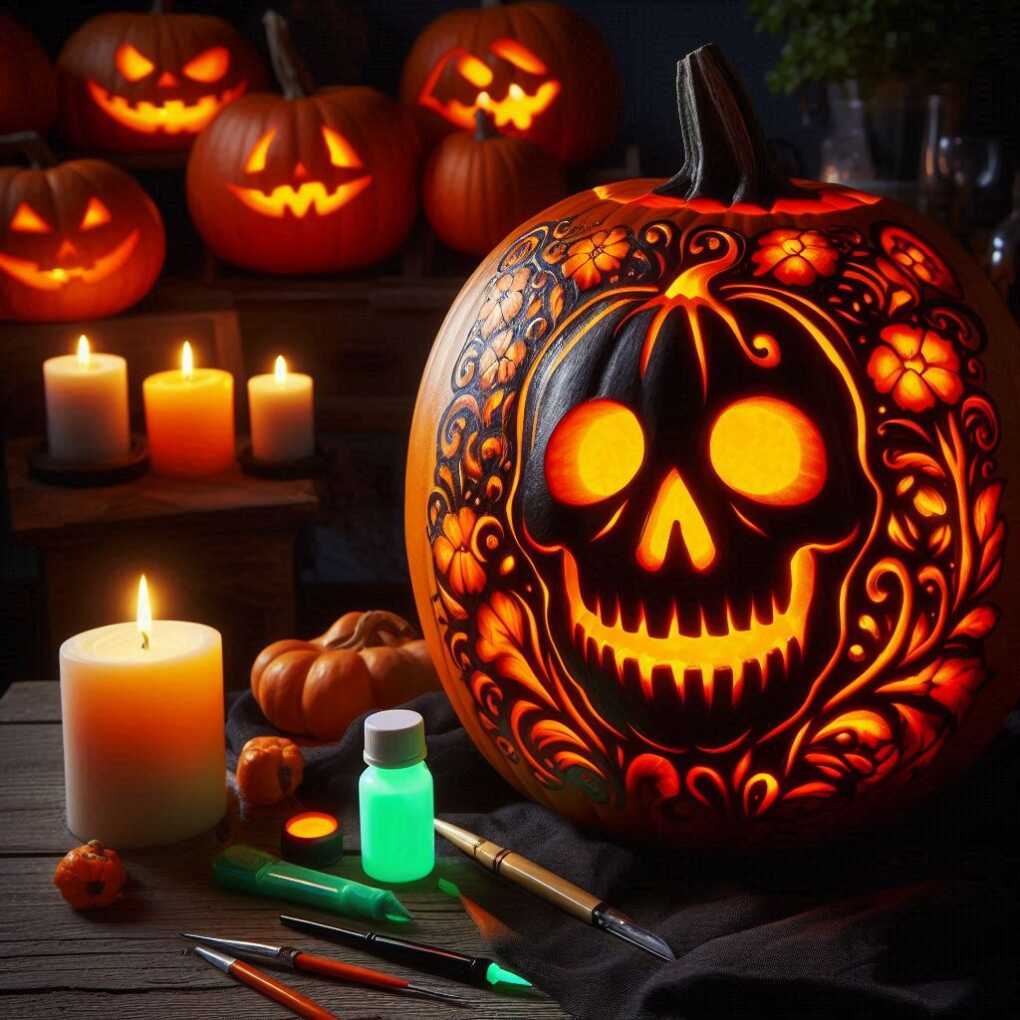
Glow Paint Ideas:
- Paint a ghost emerging from your carved design
- Highlight the eyes of a carved face
- Create a starry background for a night scene
Conclusion
In conclusion, pumpkin carving is a beloved Halloween tradition that allows for endless creativity and fun. Whether you’re aiming for spooky, cute, or artistic, there’s a design idea here for everyone. Remember to prioritize safety, take your time, and most importantly, enjoy the process. Your unique jack-o’-lantern will surely be the talk of the neighbourhood and set the perfect mood for a haunting Halloween night.